318i Tech Procedure
-
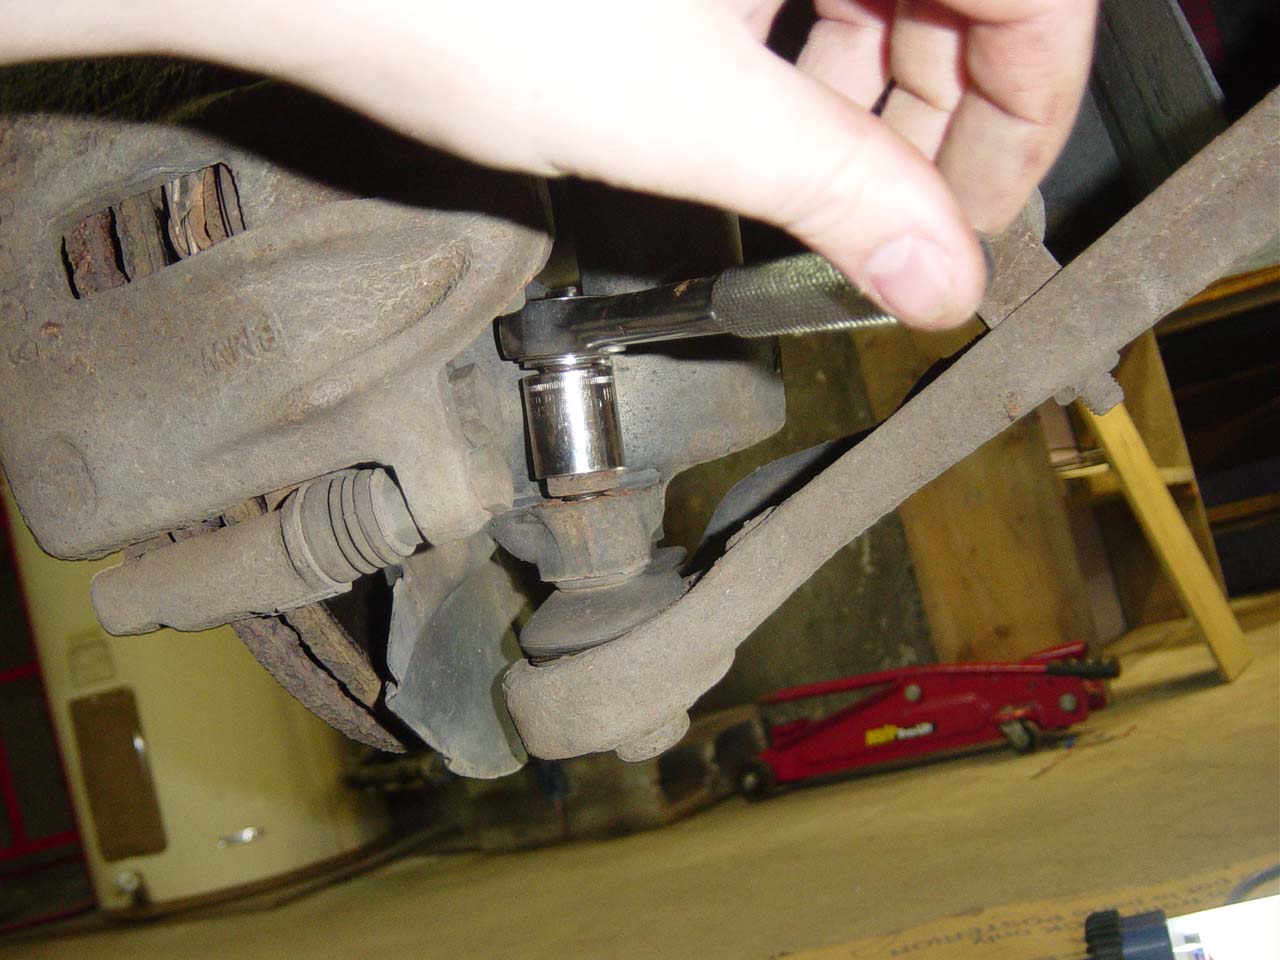
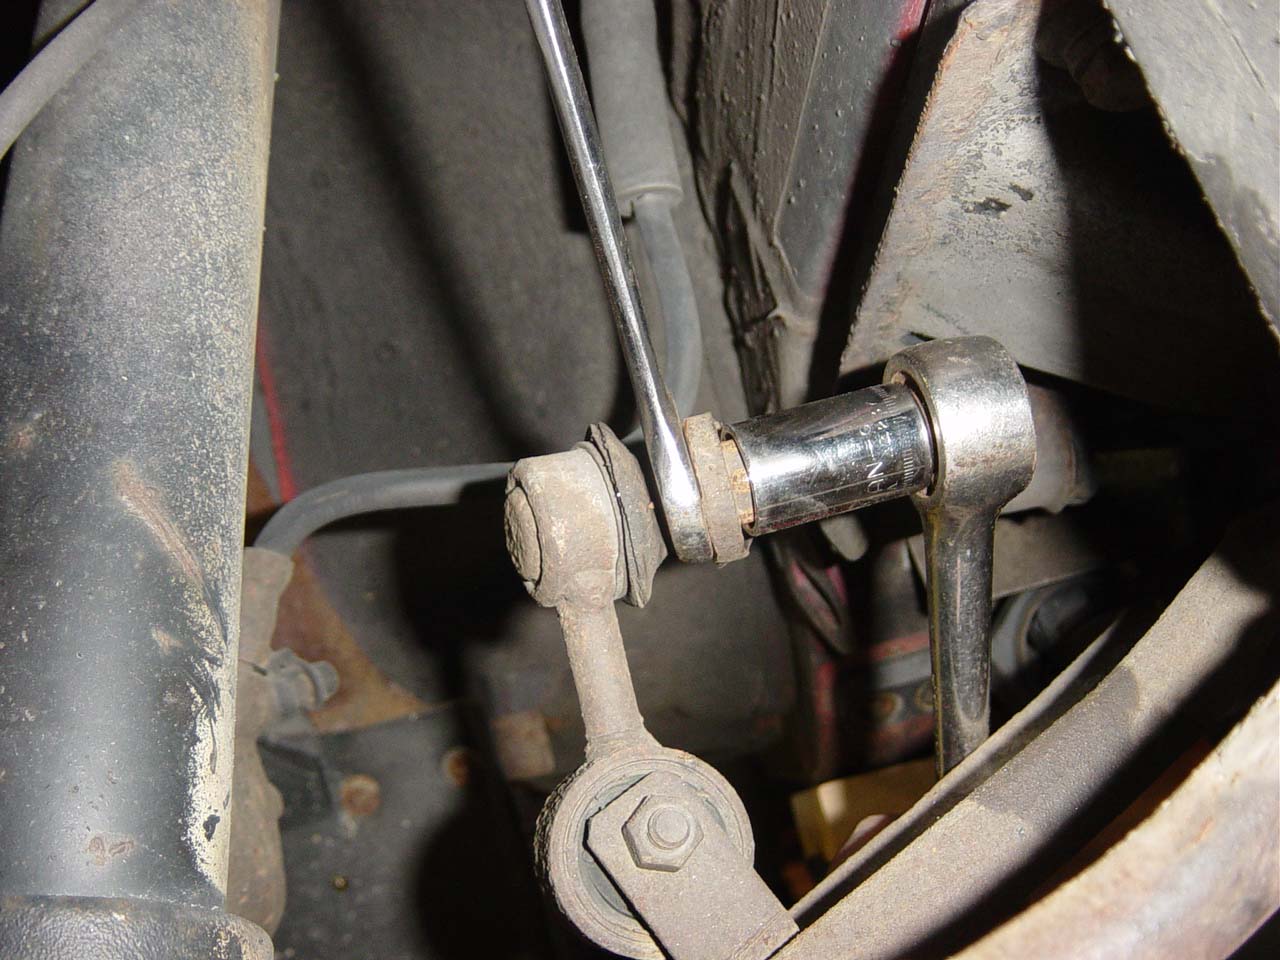
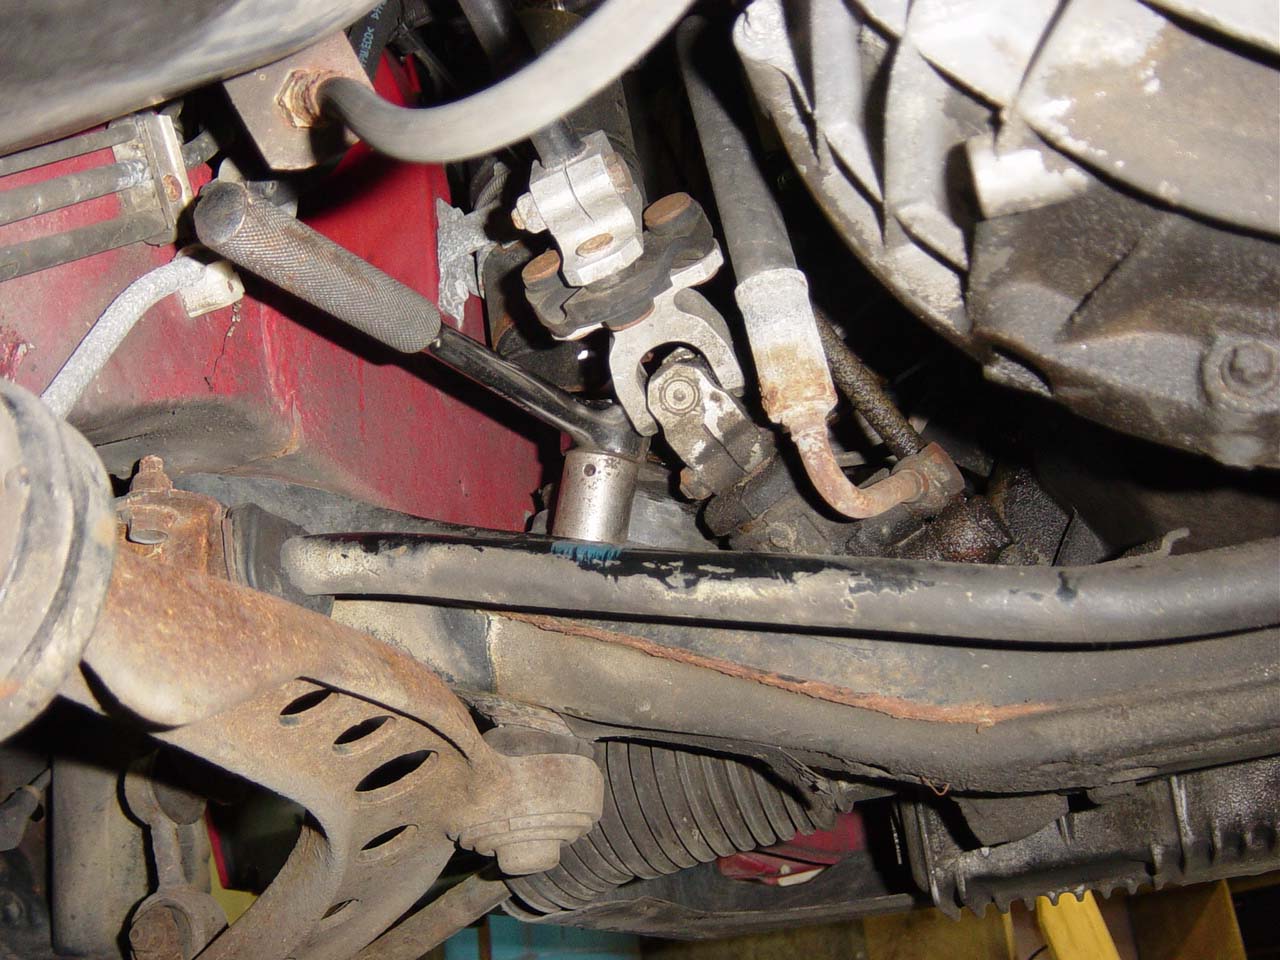
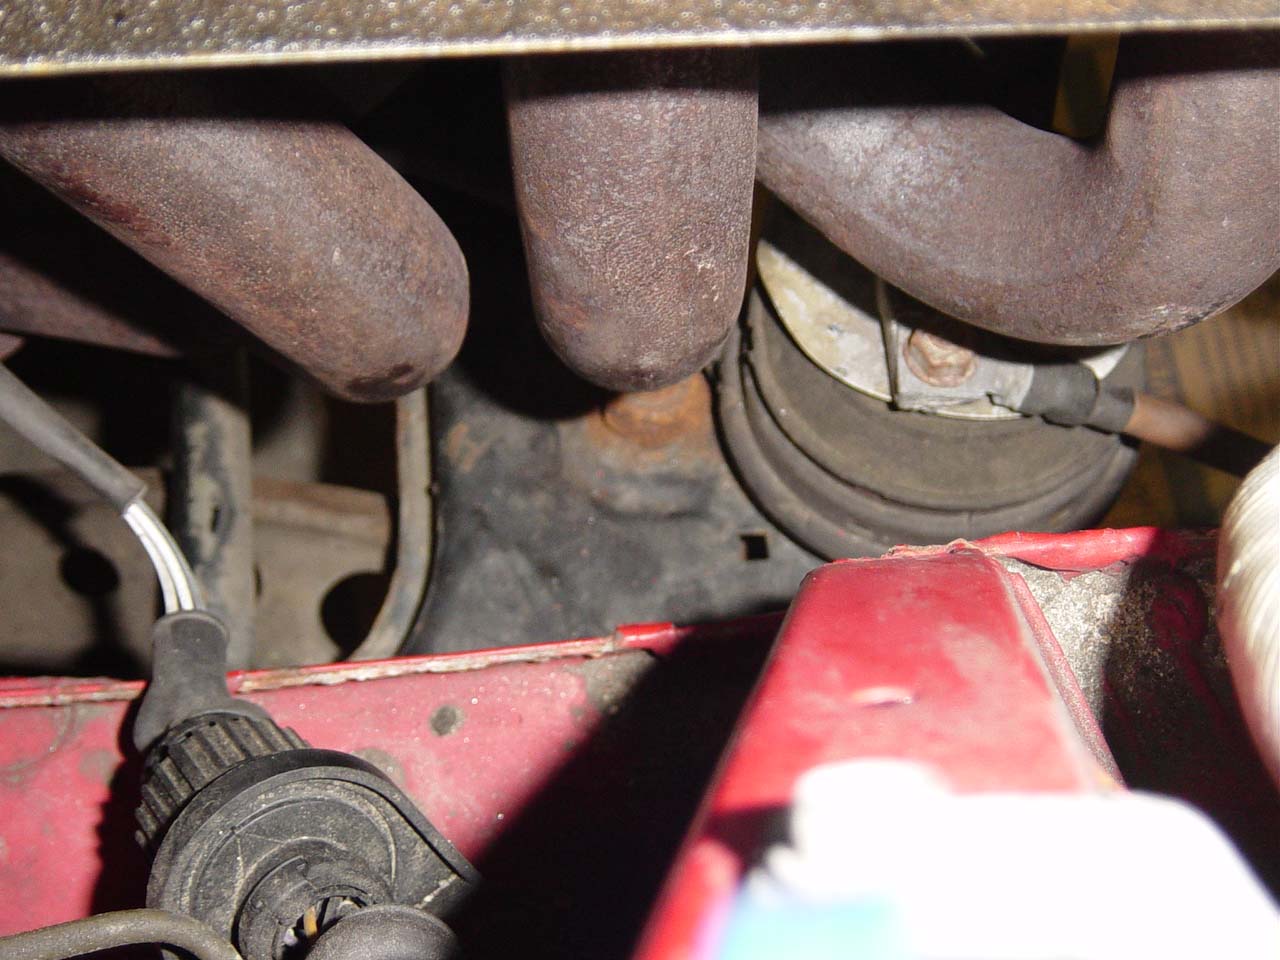
Control Arm/Control Arm Bushing Replacement
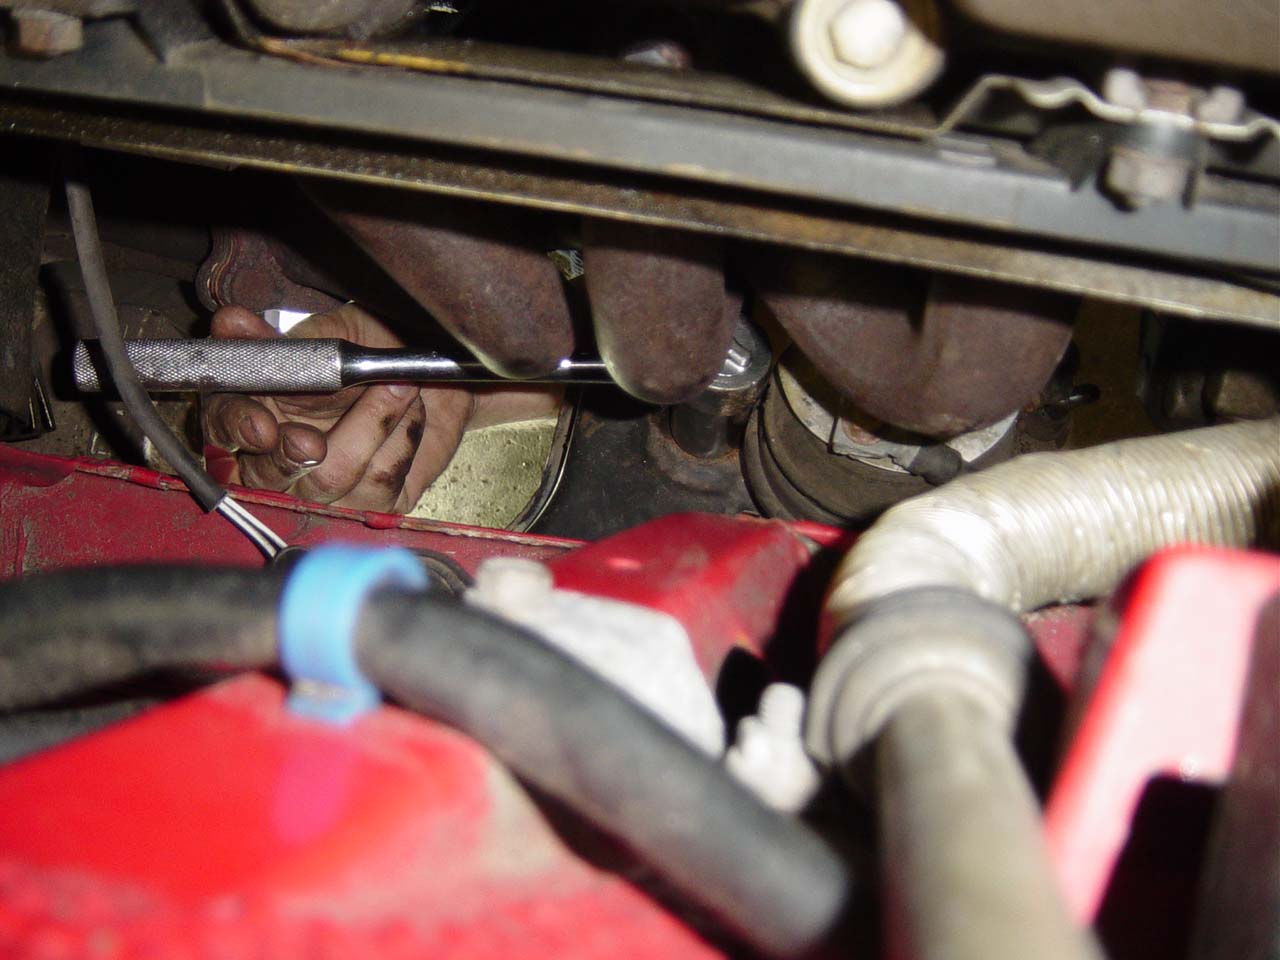
Changing the control arms and the control arm bushings is a task
that every E30 needs done each 100K miles. You'll know you need to
replace the control arms and the control arm bushings if your front
end feels loose. You can verify this by taking the front wheels off
the ground and pushings and pulling on the front wheel. It should
not feel loose. The loose front end will show up in the handling of
the car as well. Another common symptom is if the steering wheel shakes
while breaking even though your rotors are good and your wheels are
well balanced.
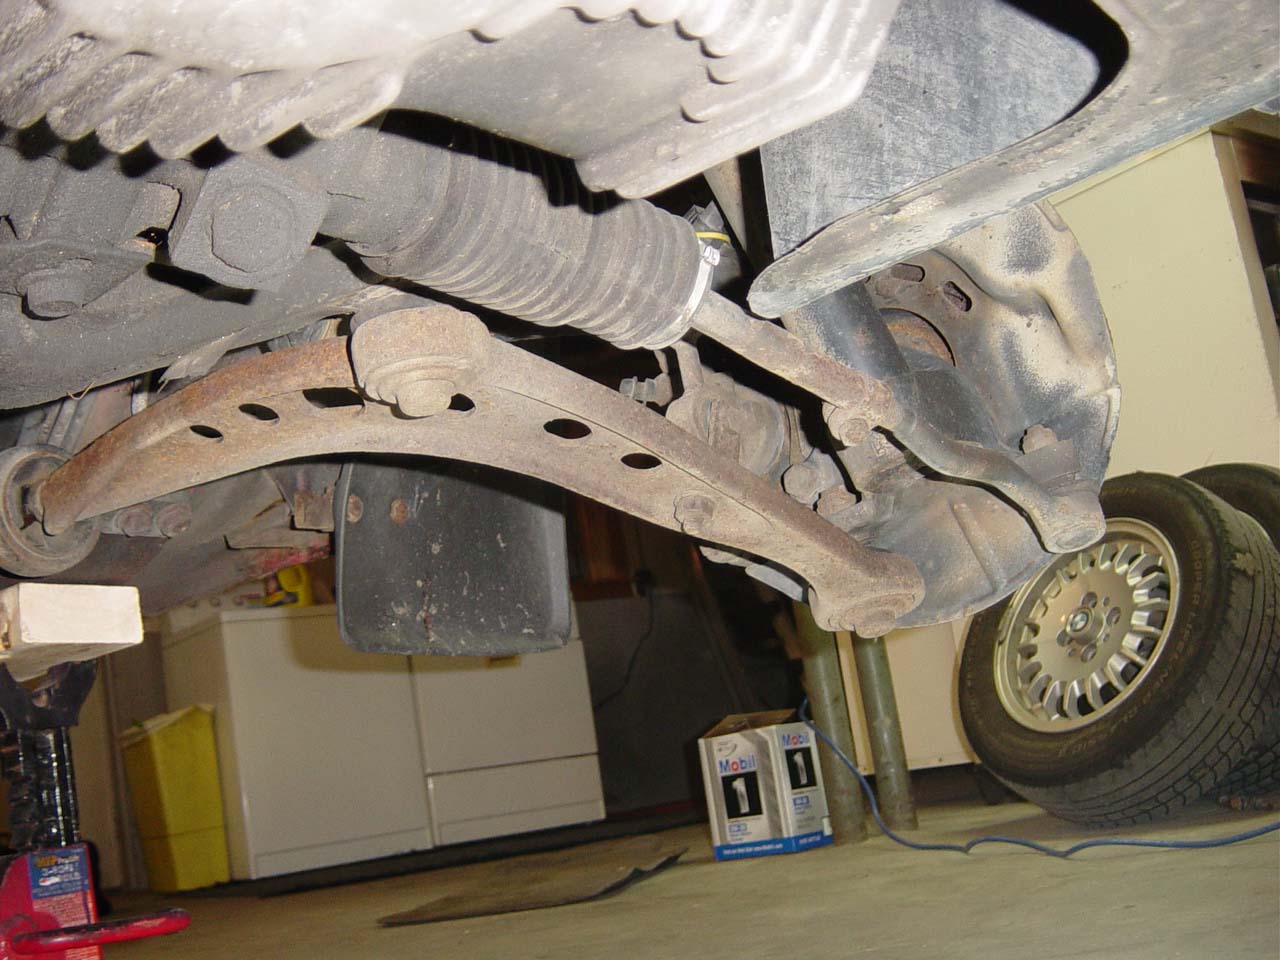
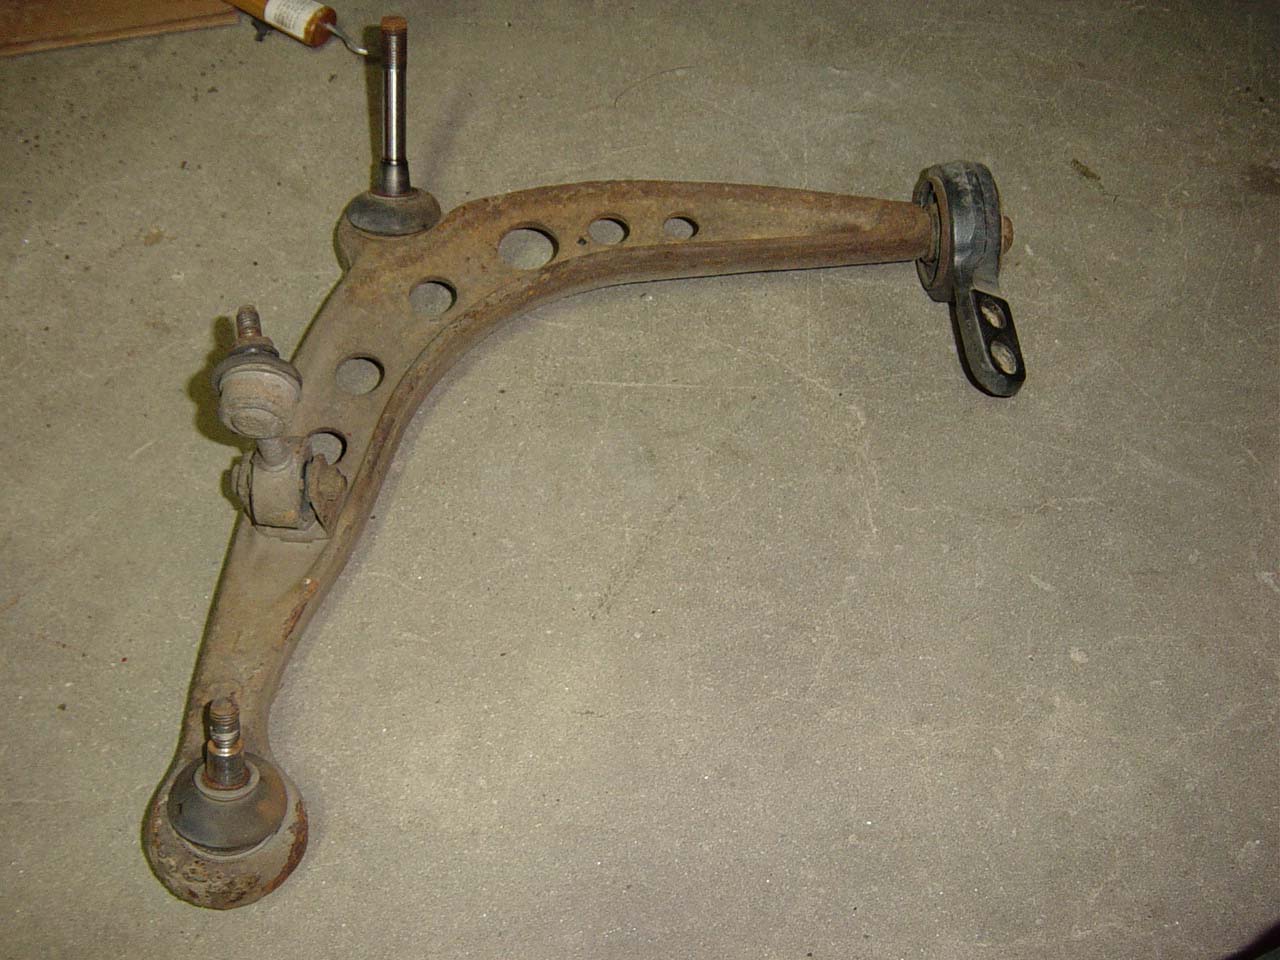
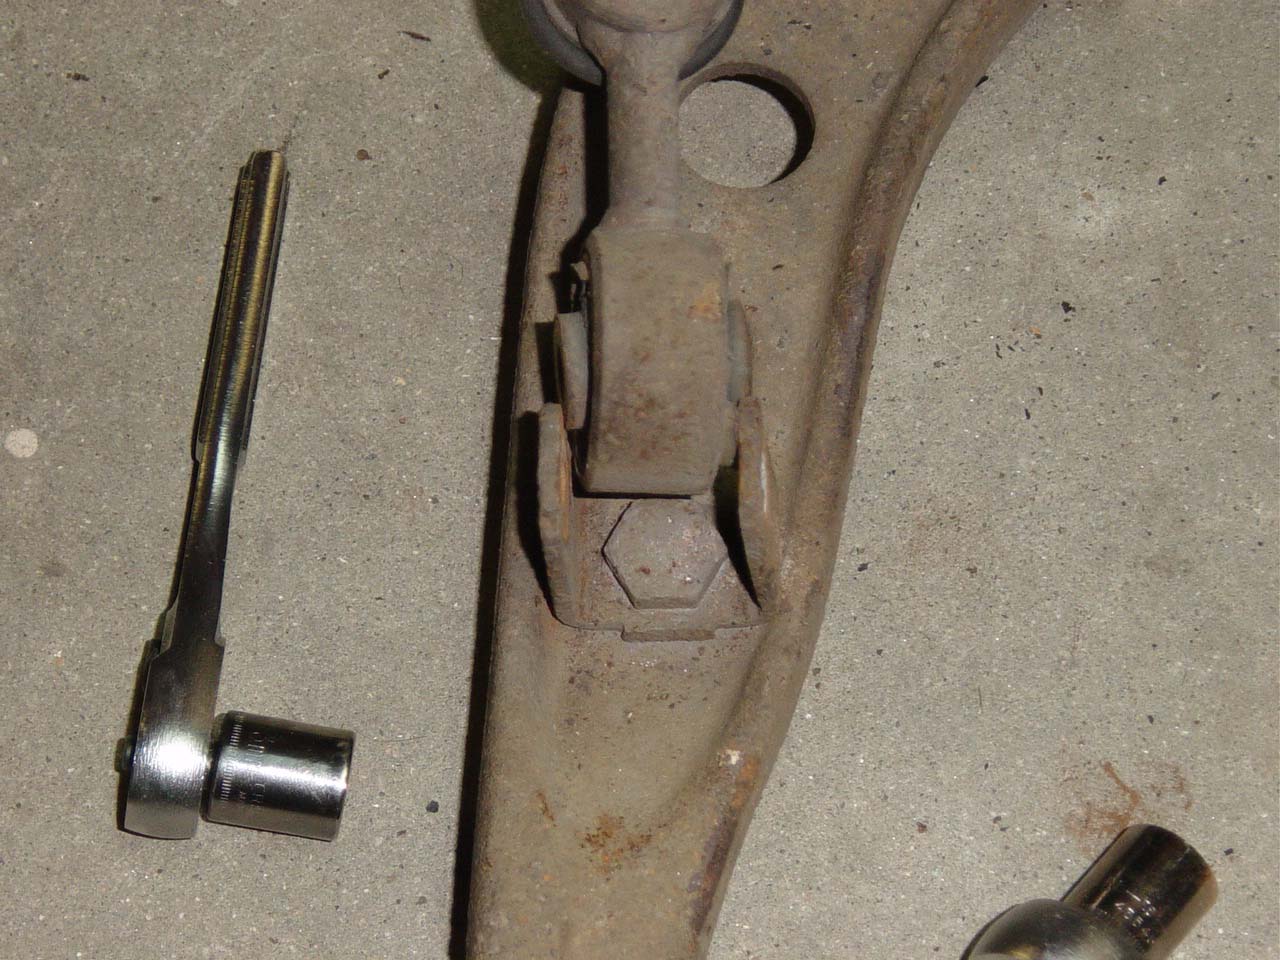
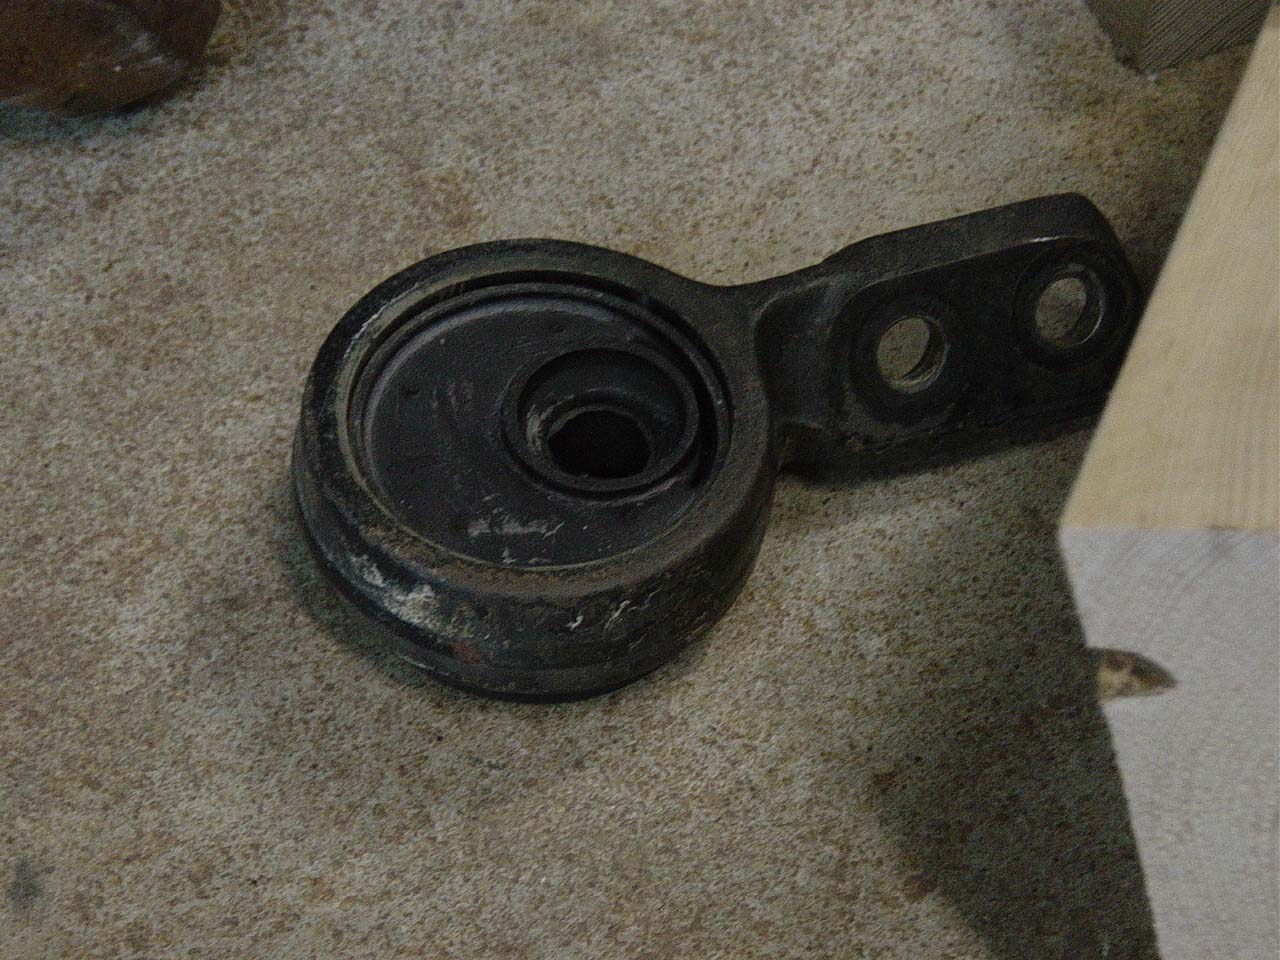
In reality, the wear items on the control arms are the inner and
middle ball joints. Some people try to replace just the ball joints.
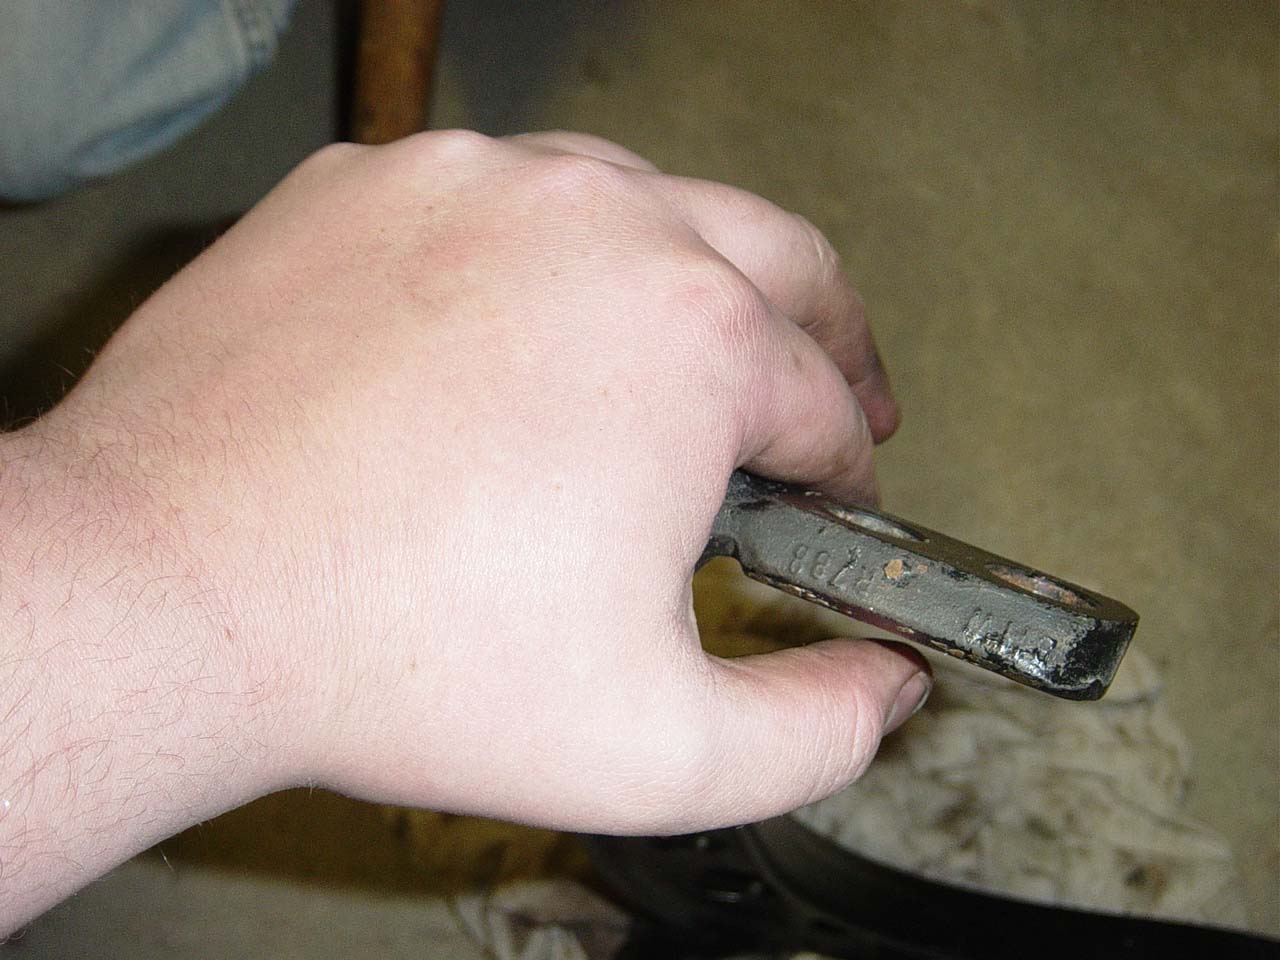
Most people just replace the entire arm as it is safer and easier.
When buying new control arms, buy Lemfoerder control arms. They cost
about $75 each. The generic ones don't hold up as well. I've heard
horror stories.
This is also a chance to upgrade some parts with M3 parts. Don't
bother looking at the M3 control arms. While they are lighter and
made of aluminum instead of steel, the sway bar on the M3 connects
to the spindle and not the control arm so you'd need to do a lot of
work to get the M3 control arms to work in an E30 that is not an M3.
The M3 arms are also $200 each!
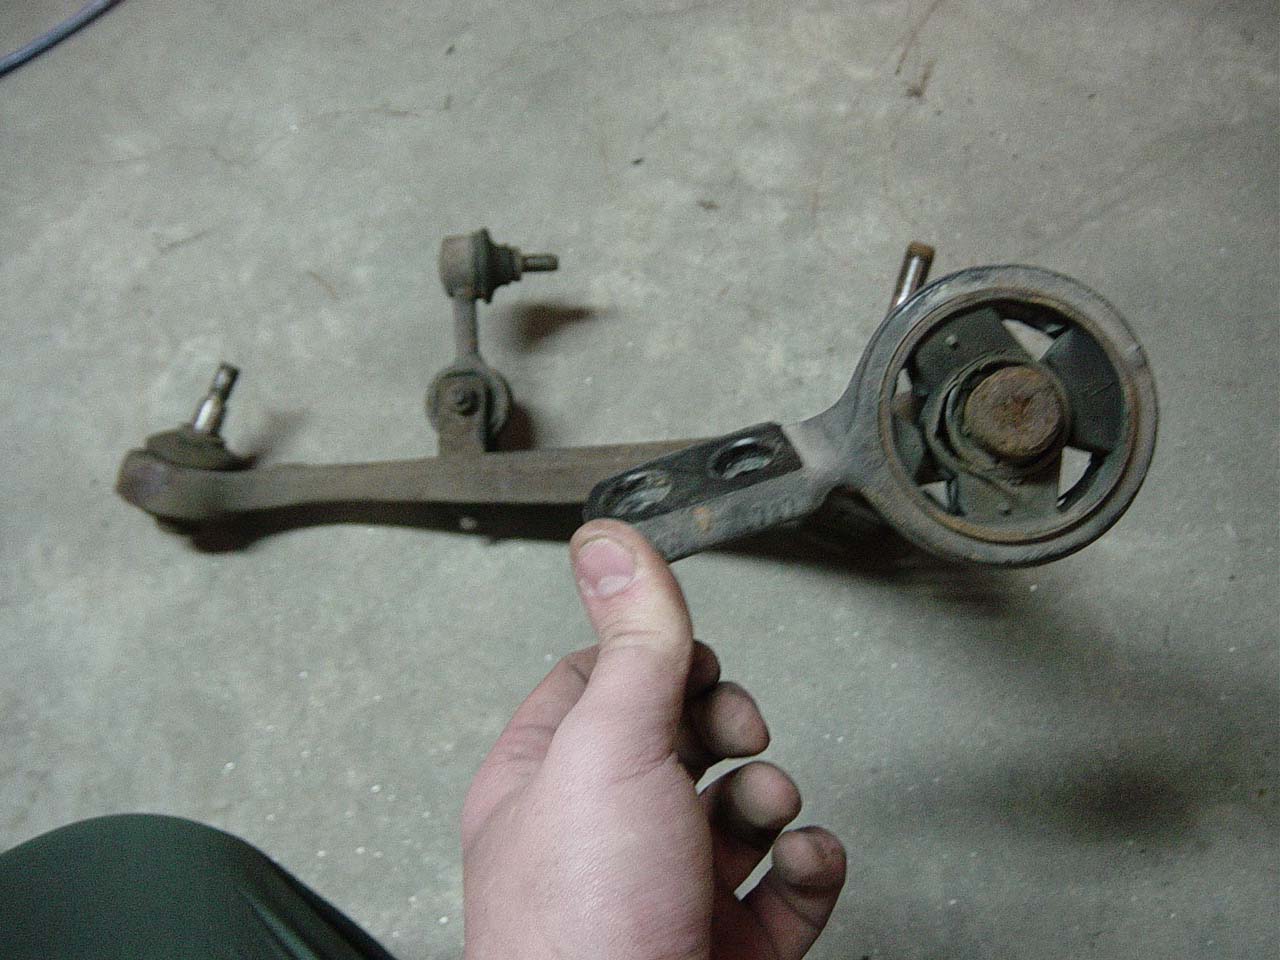
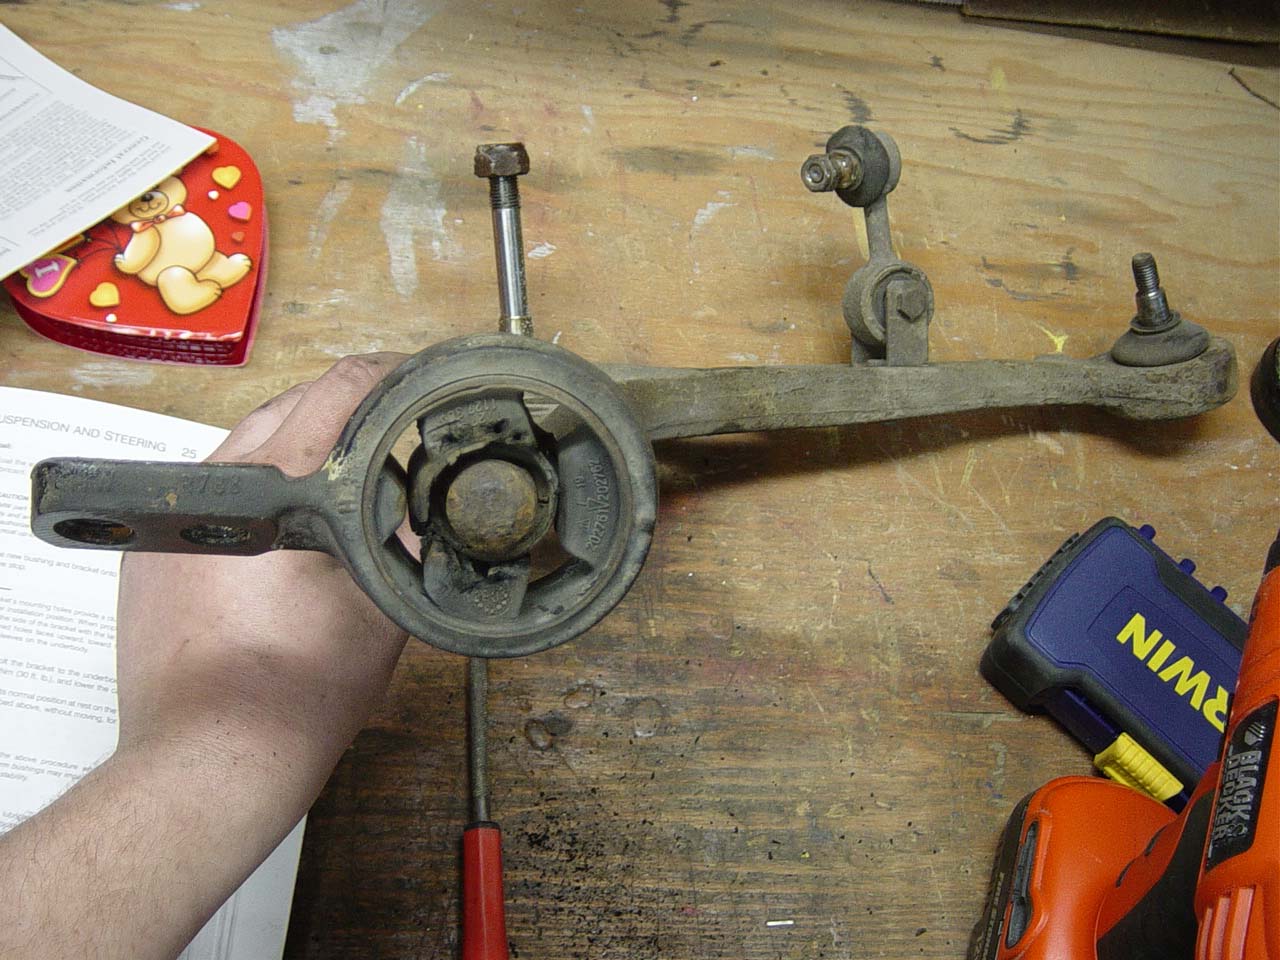
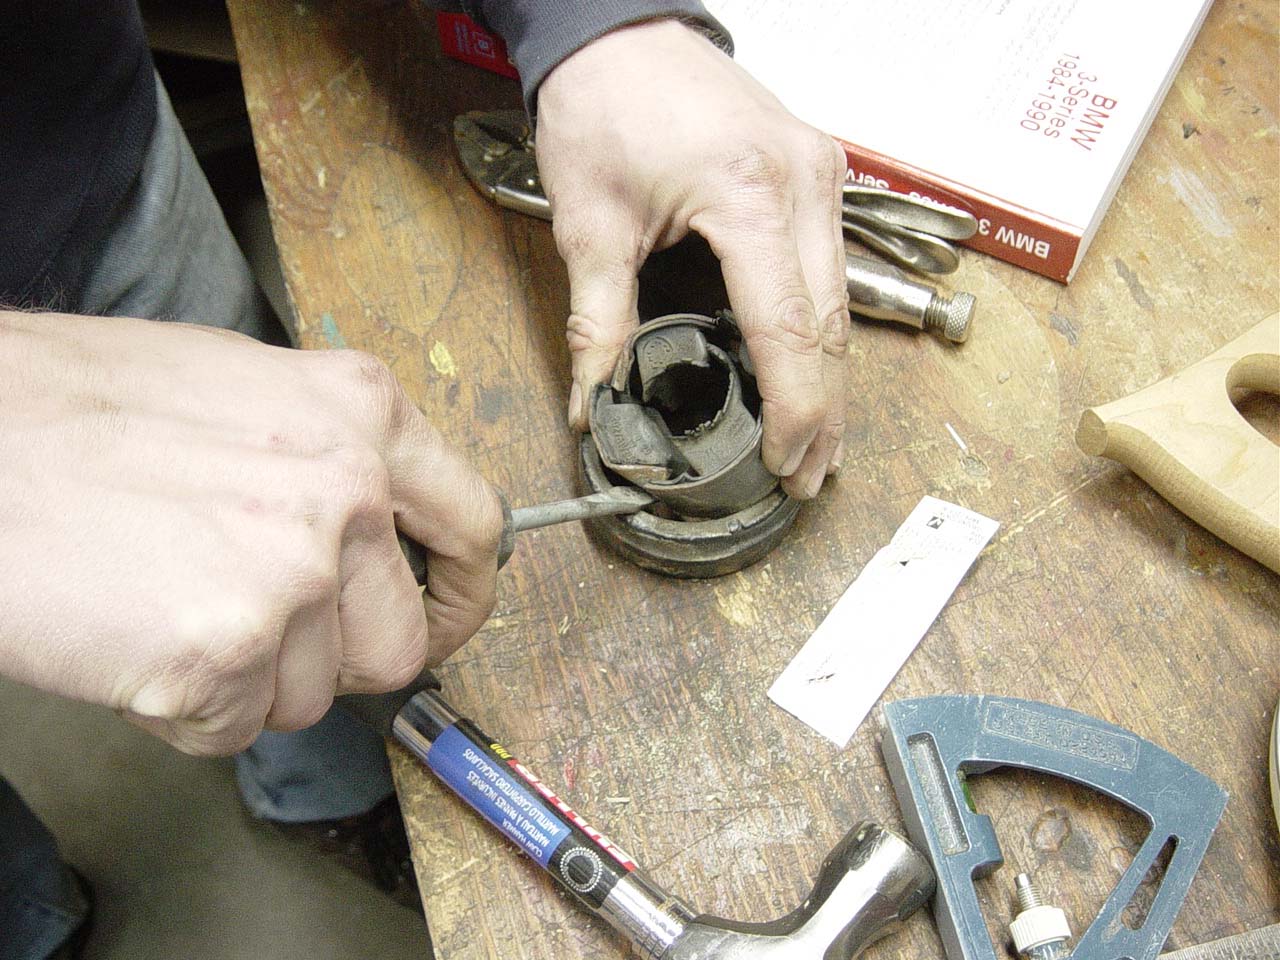
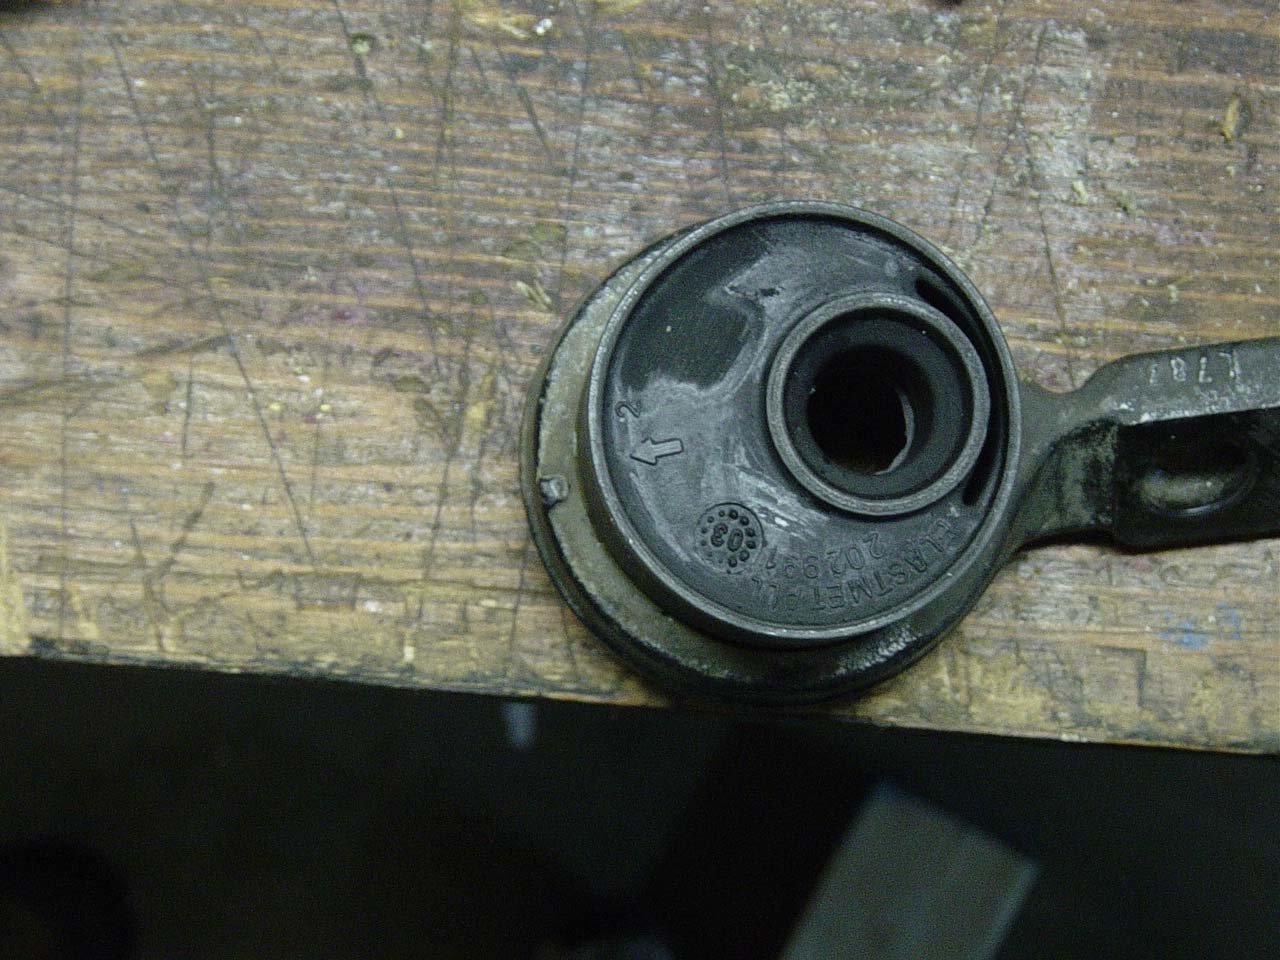
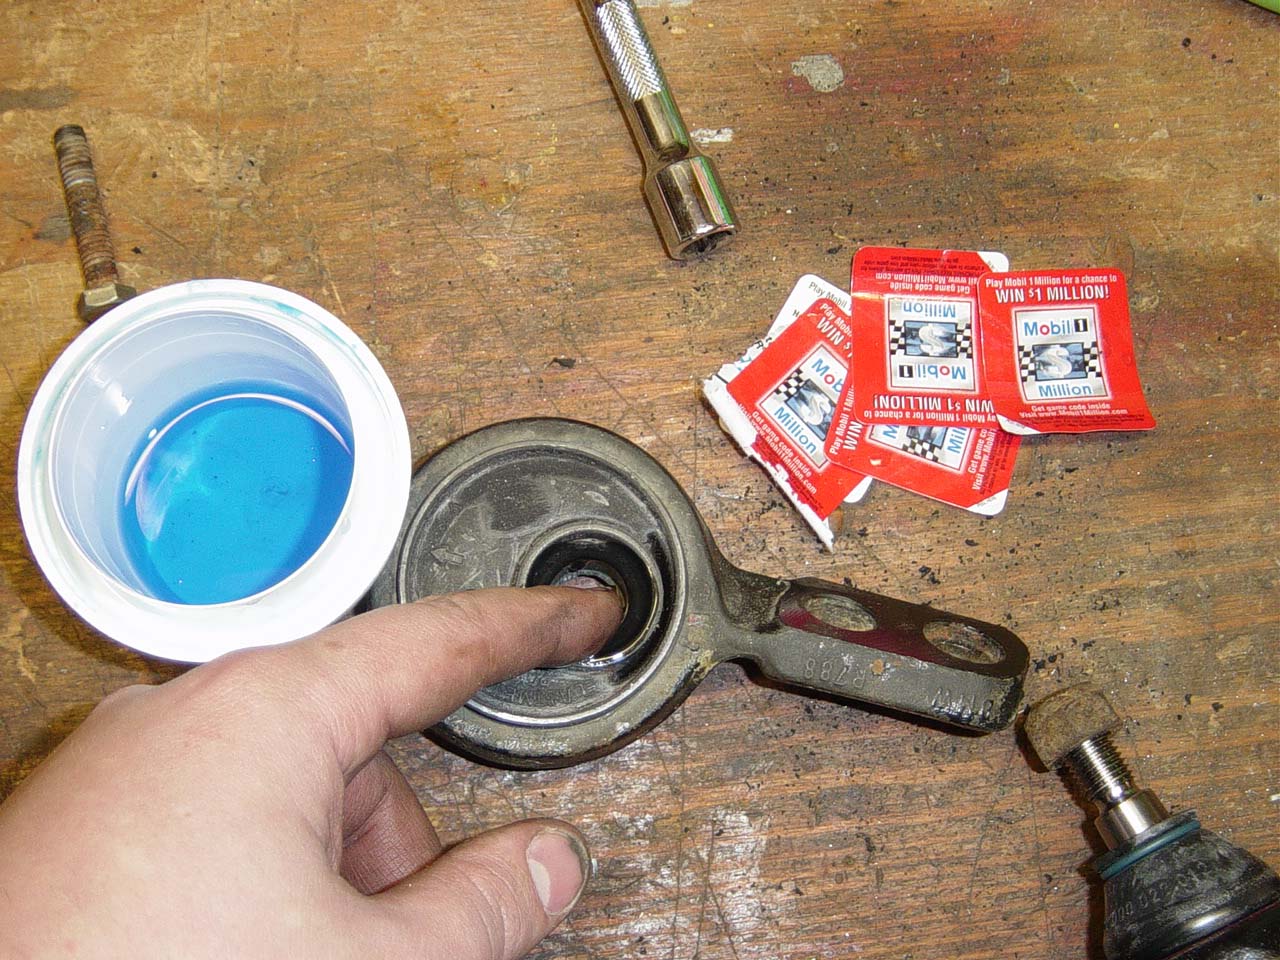
You can, however, use the M3 offset control arm bushings. There are
several benefits to using the M3 offset bushings. First, they are
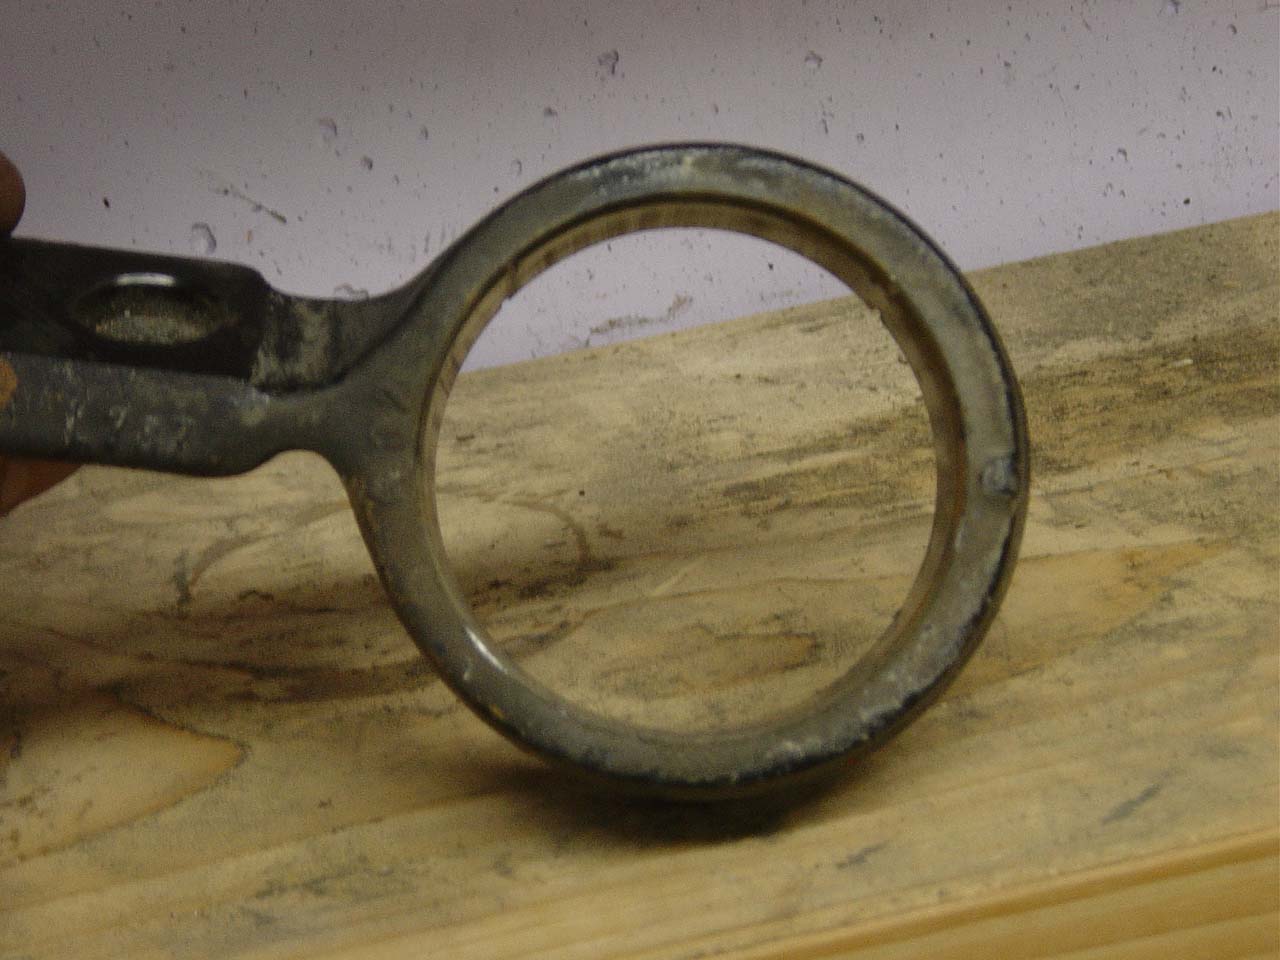
solid and will last longer. The stock E30 bushings are not solid and
as I saw from my old ones, they fall apart easier. More, solid material
is just more sound. The pictures say it all. Secondly, the M3 offset
bushings slightly changes the geometry of the suspension. They increase
caster slighly. You will need a front end allignment after installing
these bushings. M3 offset control arm bushings are about $75 for a
pair.
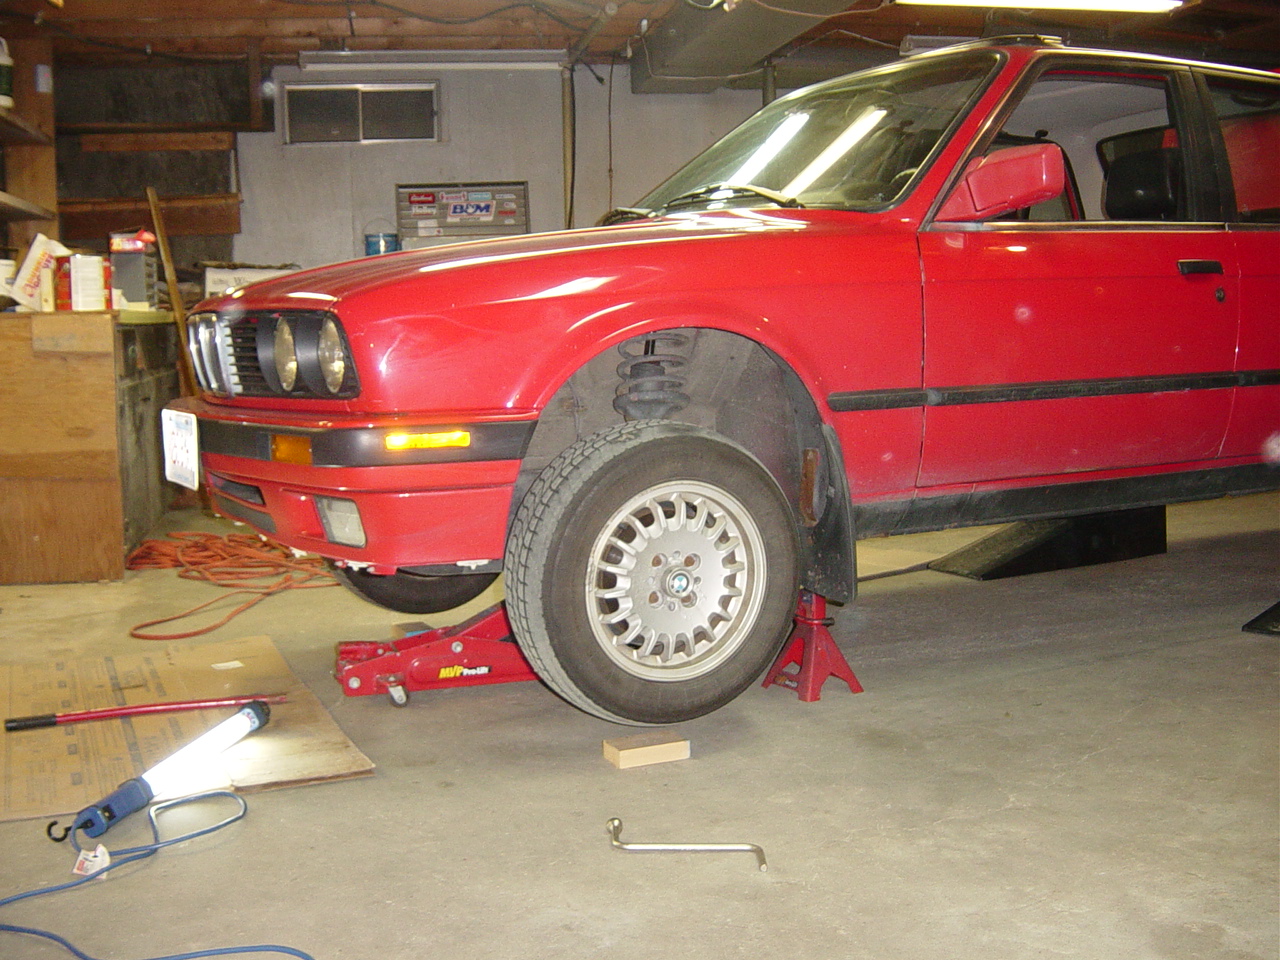
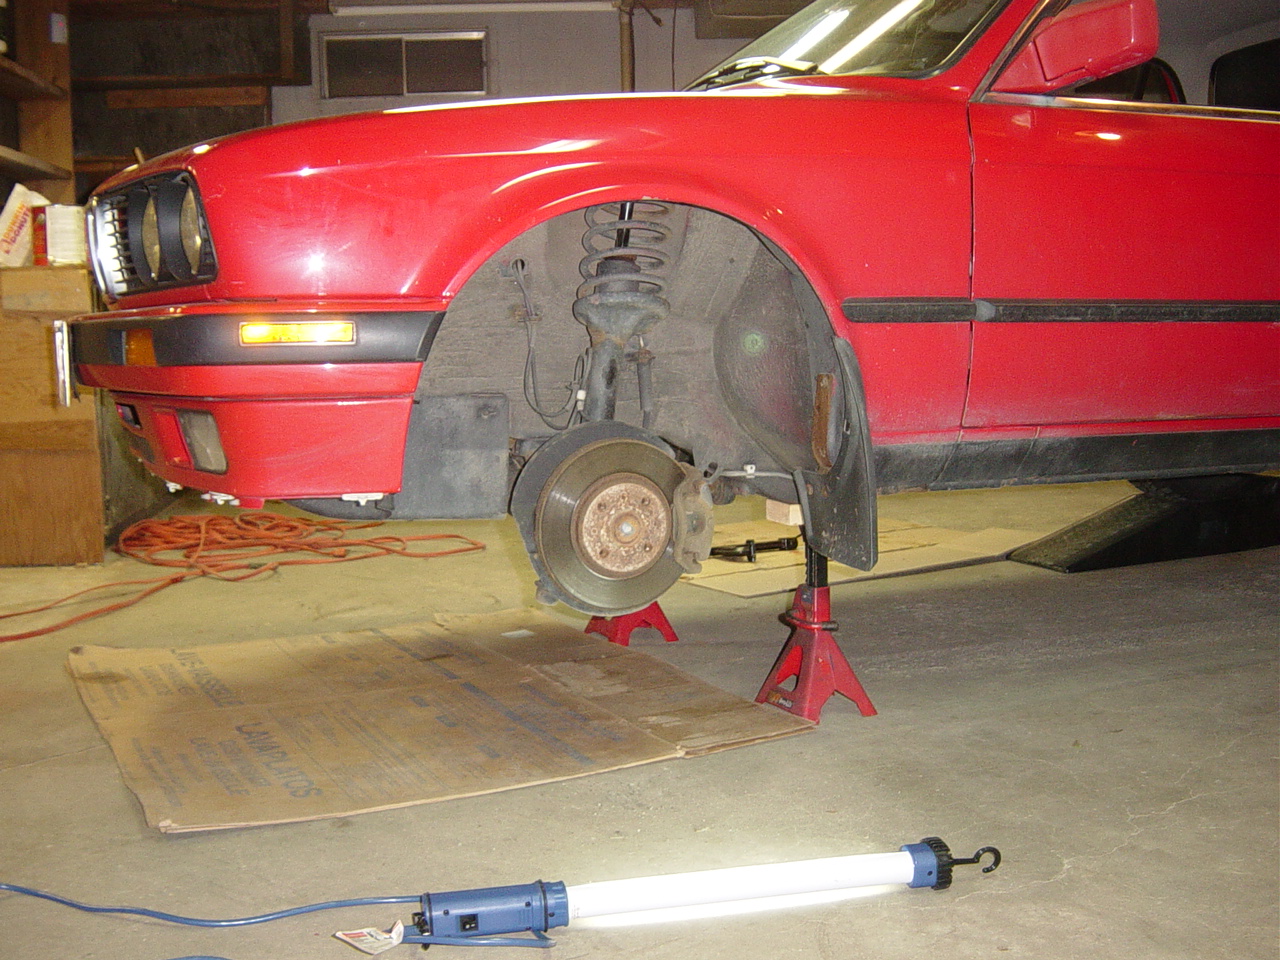
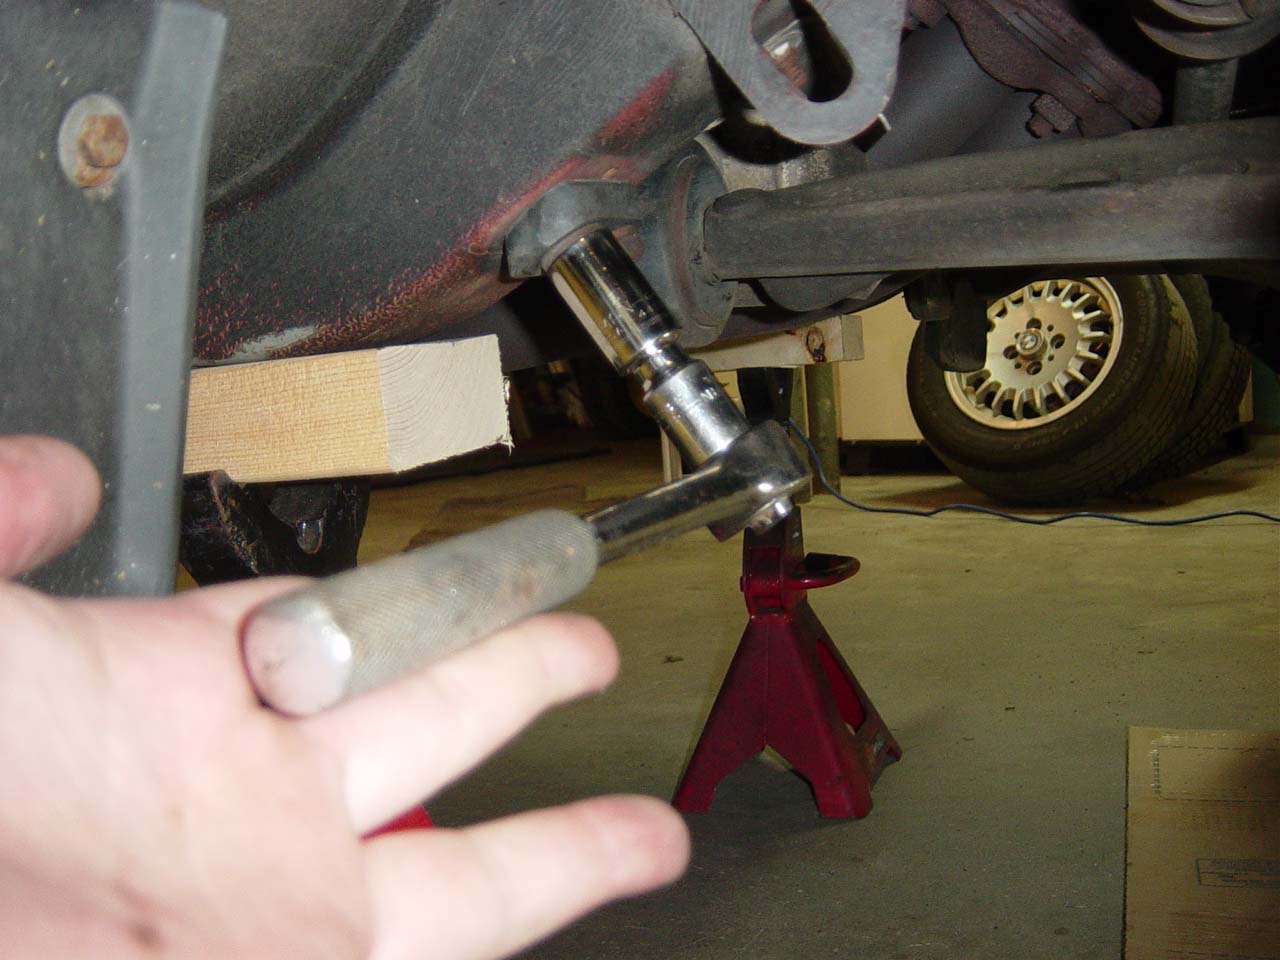
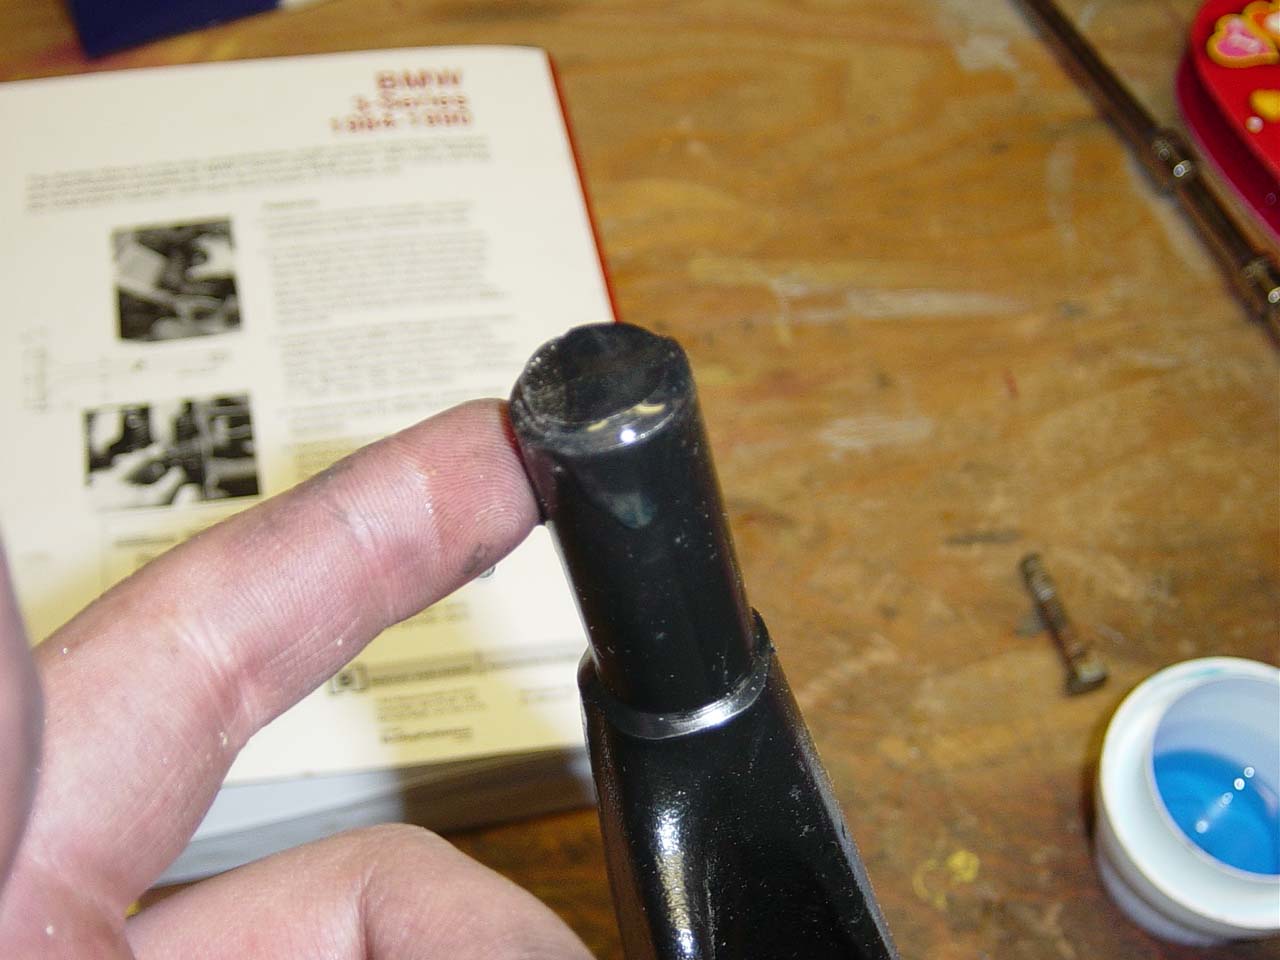
Required tool list:
Wrenches/Sockets
Spanners
Jack
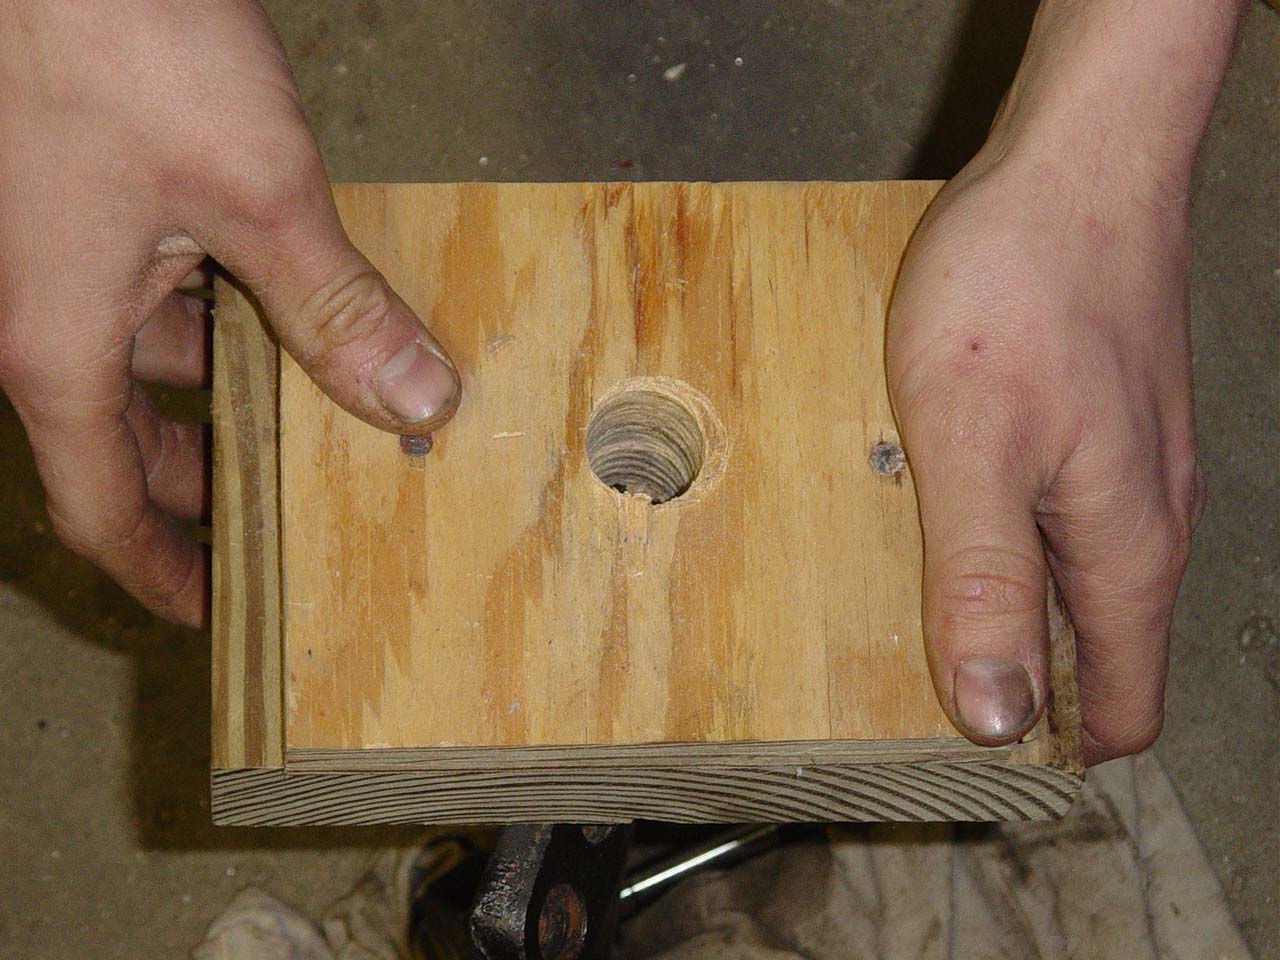
Block of wood
Heavy Hammer
Laundry Detergent for Lube
Click on the thumbnails for larger pictures.
Difficulty:
3 /5
Disclaimer: I am not a professional mechanic. Information
this page should be used at your own risk and discretion. Different
models and model years may be different than my 1991 318i. Read: If
you screw your car up following my instructions, sorry. Isn't it sad
that in this sue crazy world you have to put a disclaimer on your
web page?