My dash lights were starting to go. The left side of my dash cluster
would go out for a week then come on for a day and the light behind
my fan switch was out. Dash cluster removal is a process and will
take you some time. The key is to not force anything and take your
time. I read on the internet that some people have been able to get
to the dash console without taking the steering wheel off. I was close,
but the steering wheel trim was blocking my ability to get a dash
trim piece off and I didn't want to add force. Perhaps non airbag
equipped E30s are different. Take that as a warning that this write
up is how I replaced my dash lights. There may be a better way and
other cars may be different.
 |
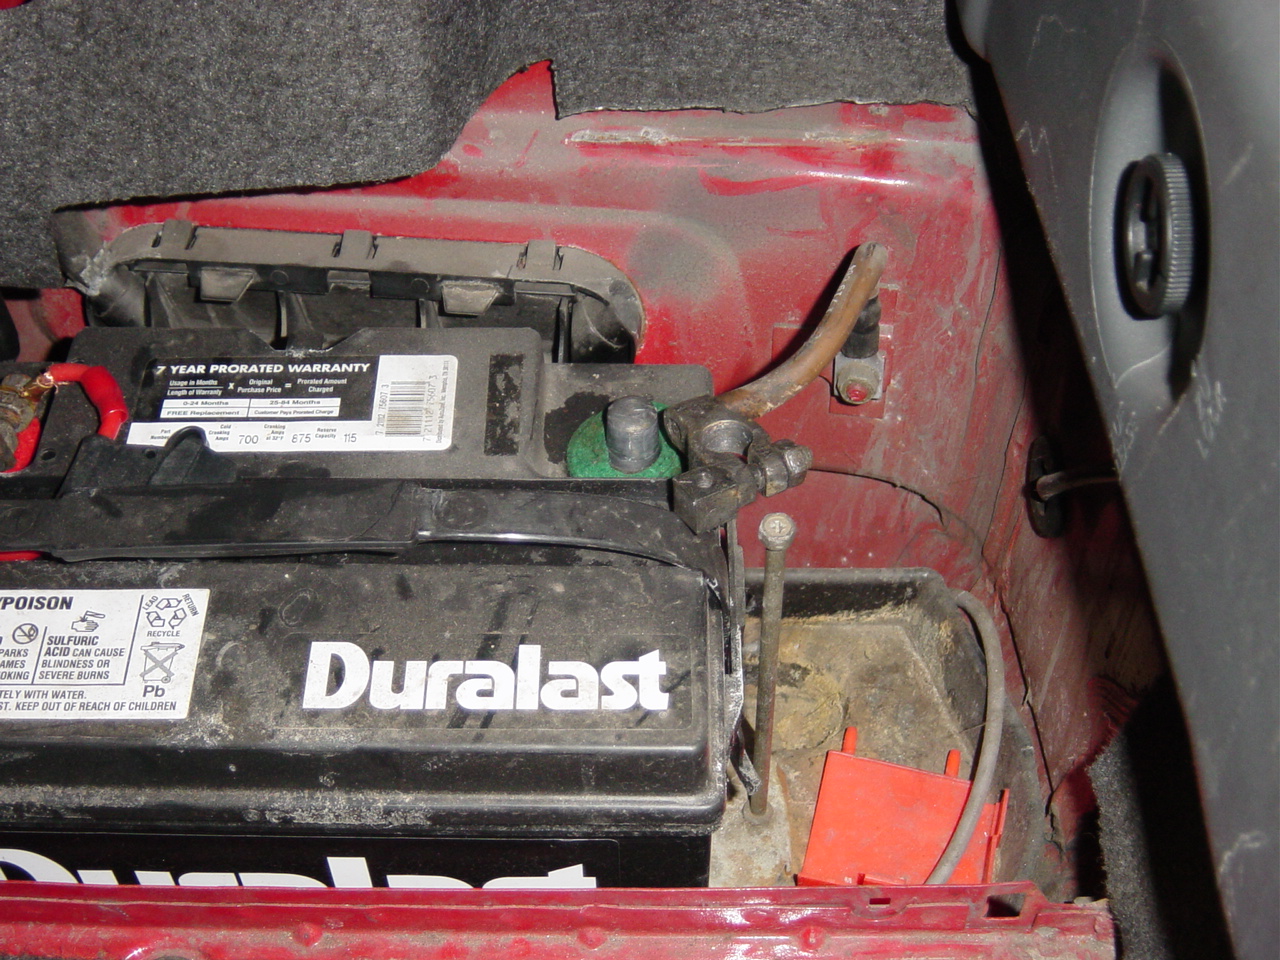
Unplug the negative terminal of the battery.
If you have an airbag, make sure you wait at least 10 minutes
before disconnecting the airbag. |
 |
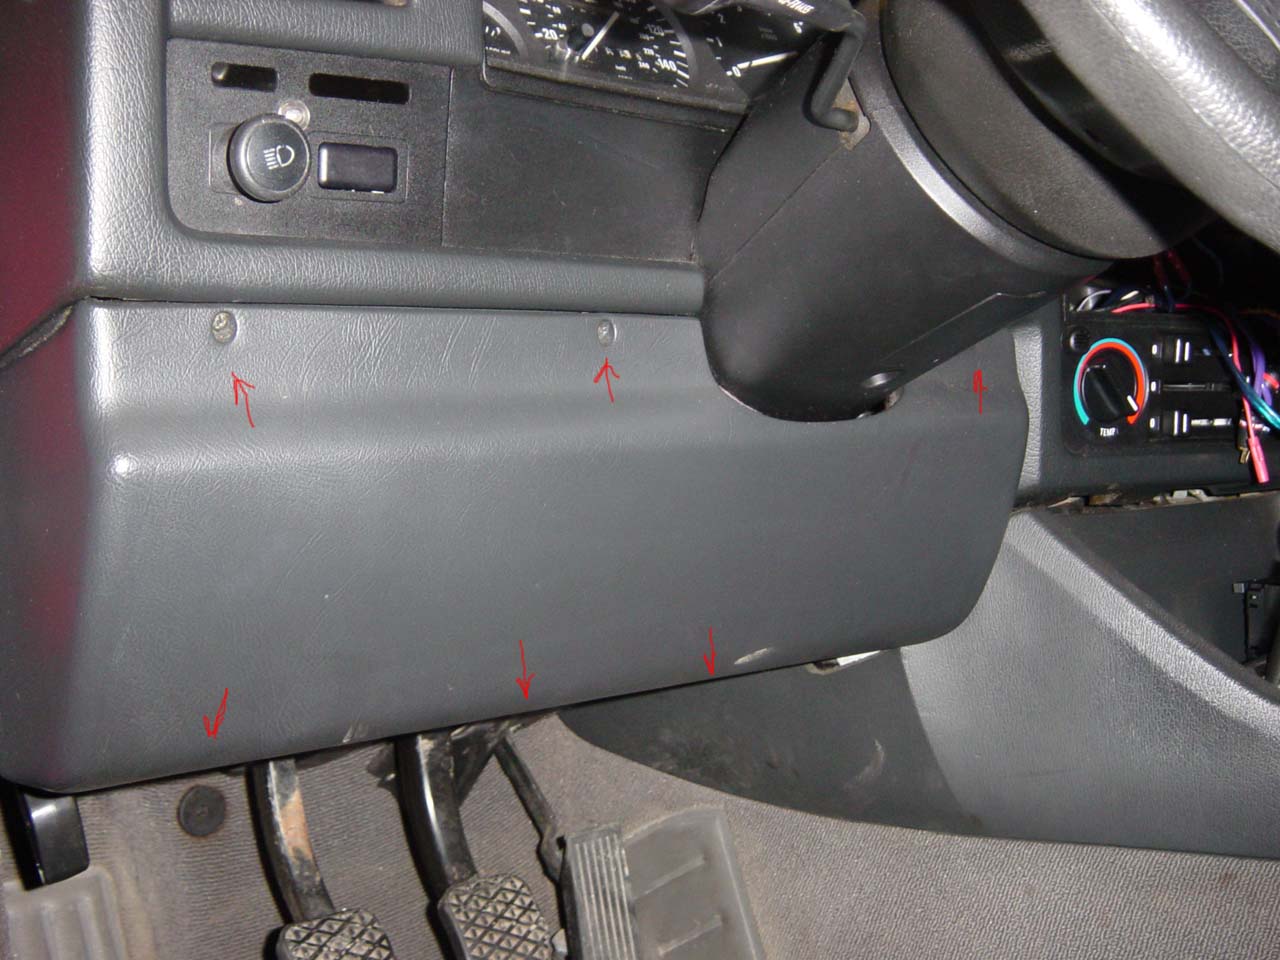
Remove the screws holding the panel in that is above the pedals.
Then remove the screws that hold in the knee bolster. See the
red arrows. |
 |
Remove the padding behind the knee bolster. |
 |
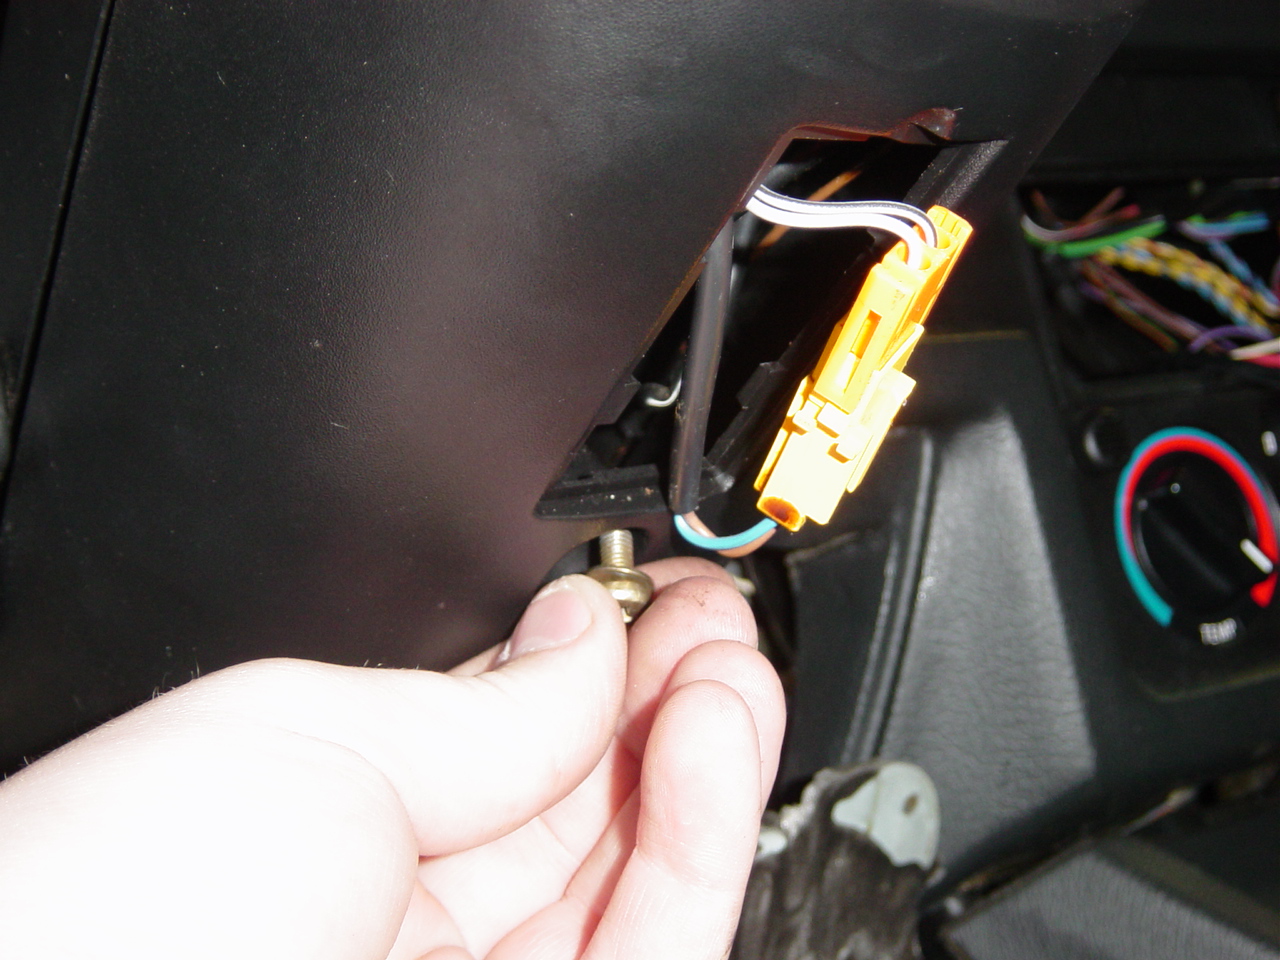
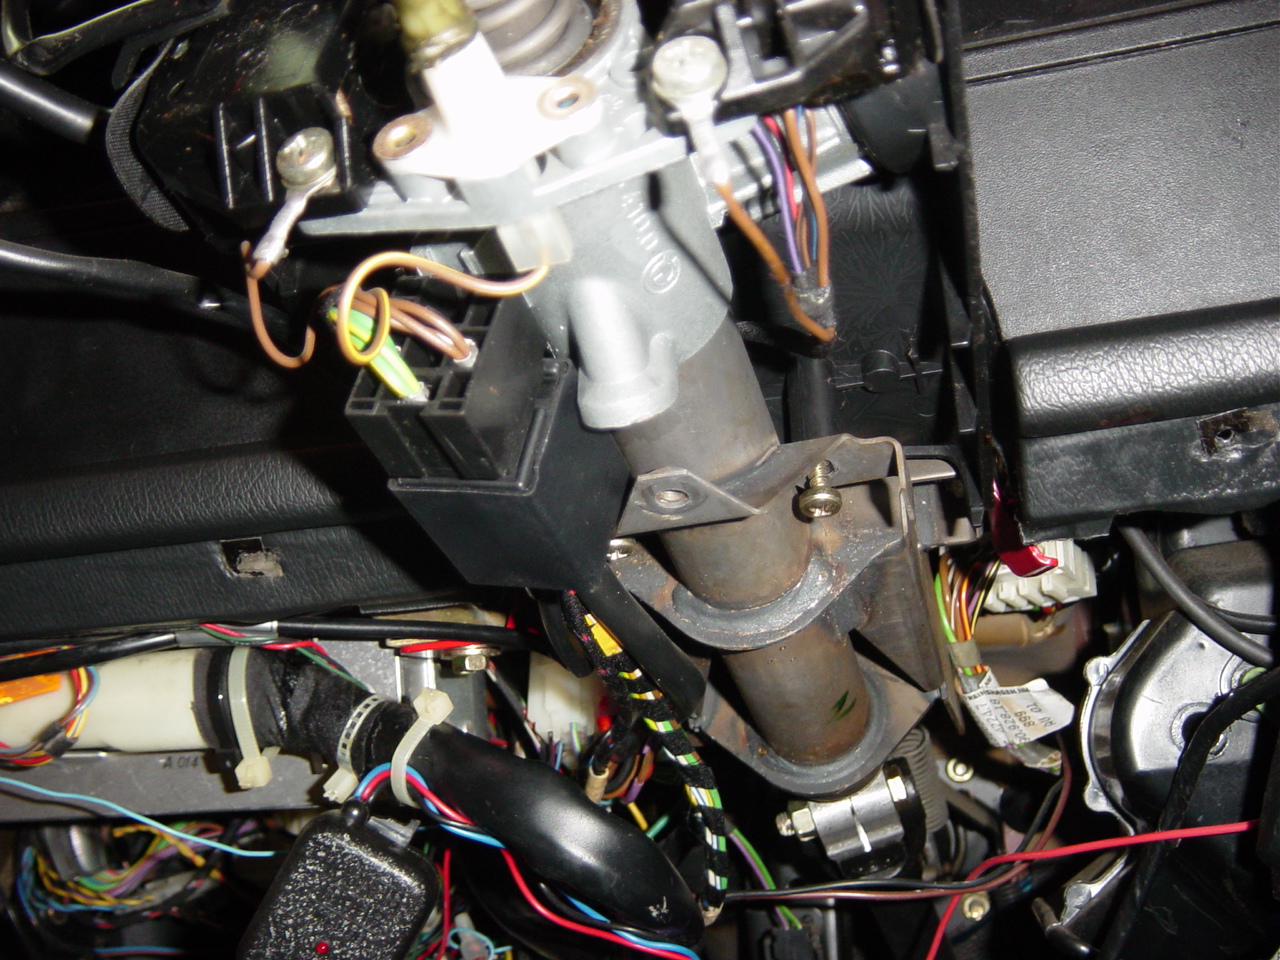
Under the steering column, remove the philips head screw and
pull the panel off that exposes the airbag wires. |
 |
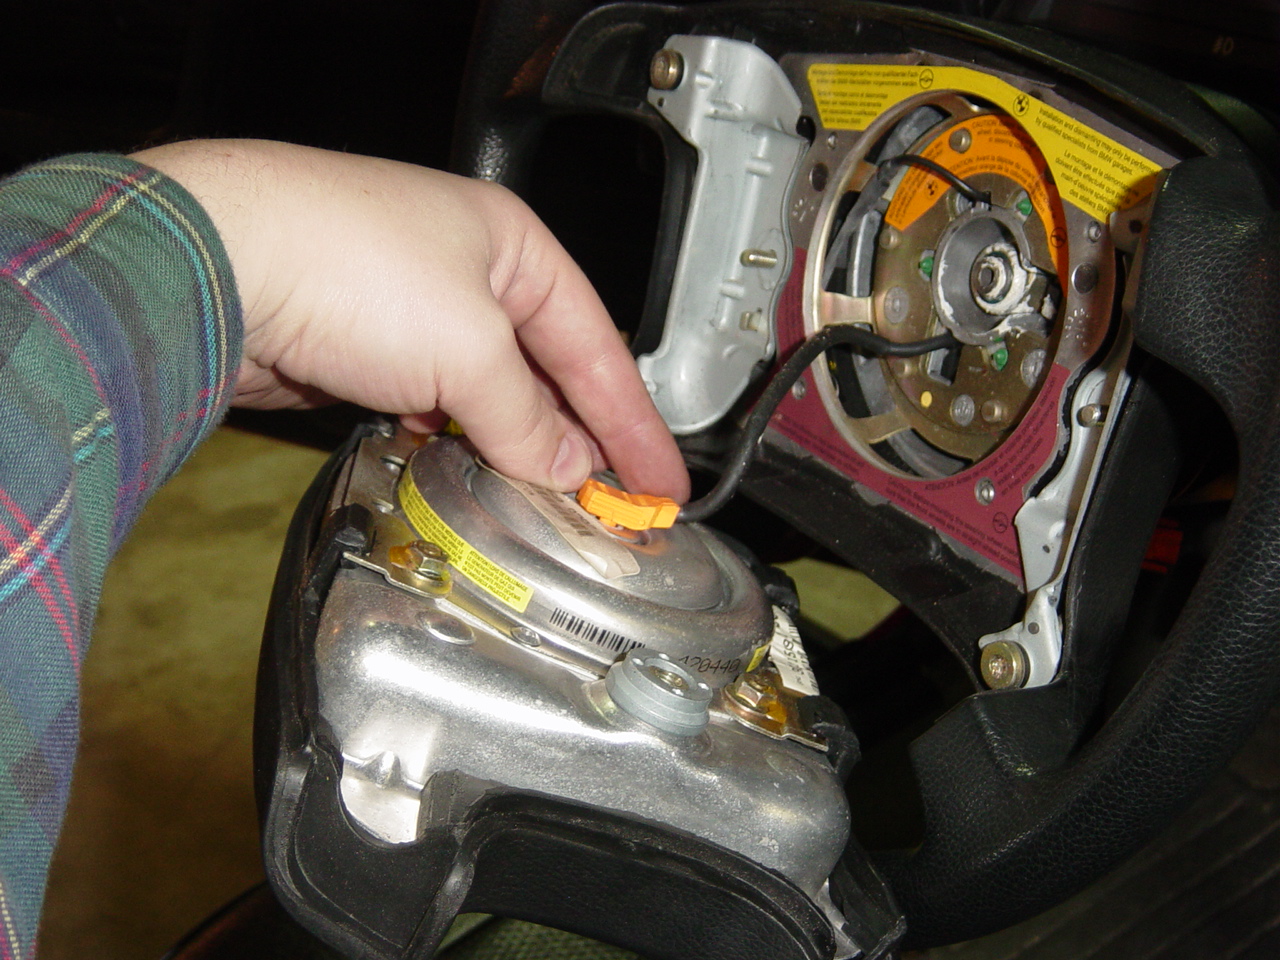
Unplug the airbag connector. |
 |
Use a torx screw to unscrew the airbag from the steering wheel. |
 |
Unplug the airbag connector. Place the airbag in a safe place
with the metal side up. |
 |
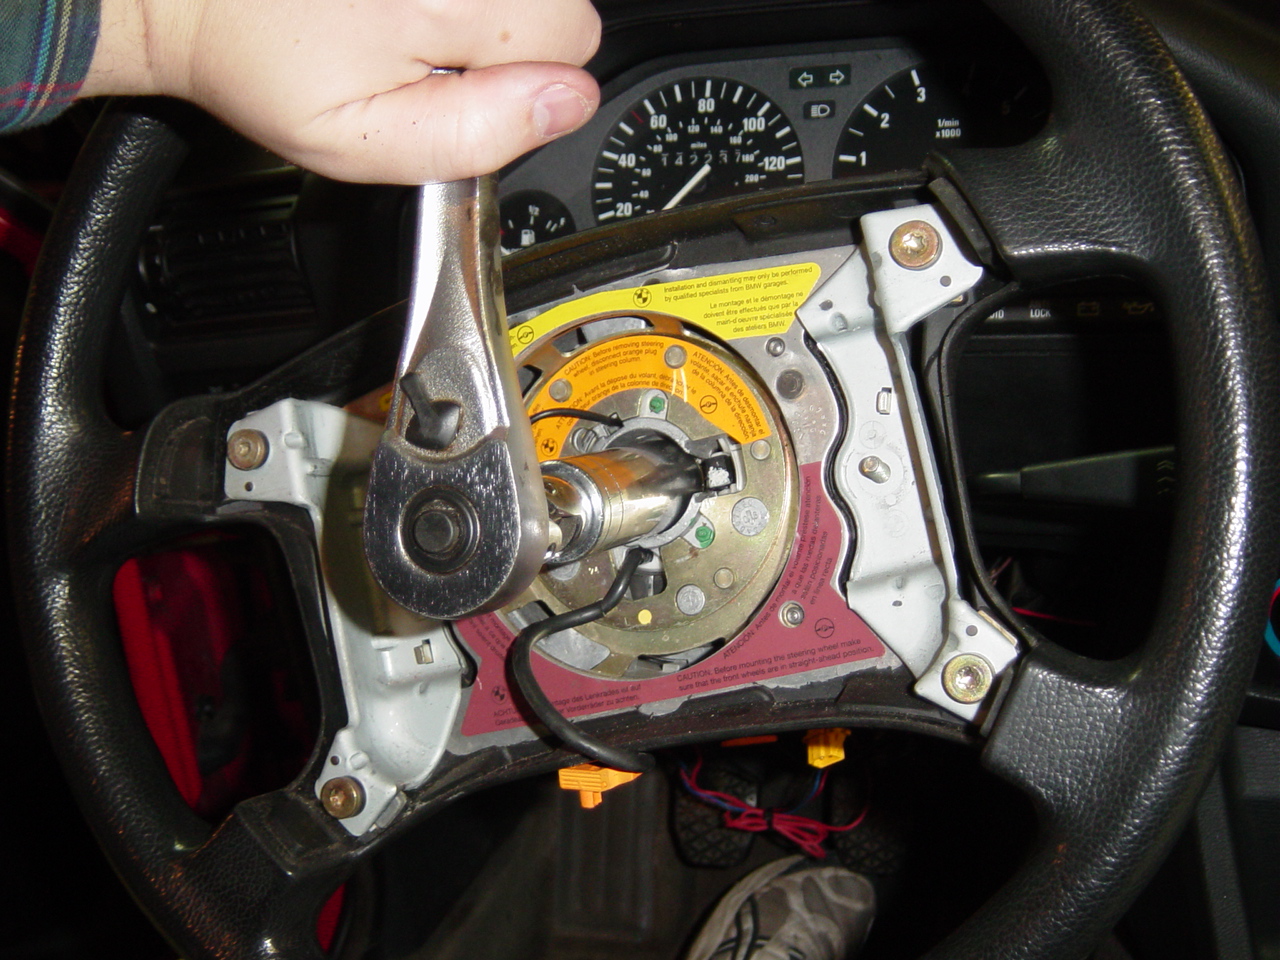
Mark the steering wheel and the steering post end so you can
put the wheel back on straight. Use a 21mm wrench with an extender
to remove the nut. Bentley recommends replacing this nut, but
it seemed fine to me. Note, if you put the key in the ignition
when the airbag is unplugged, the SRS light will go off when you
put it all back together. |
 |
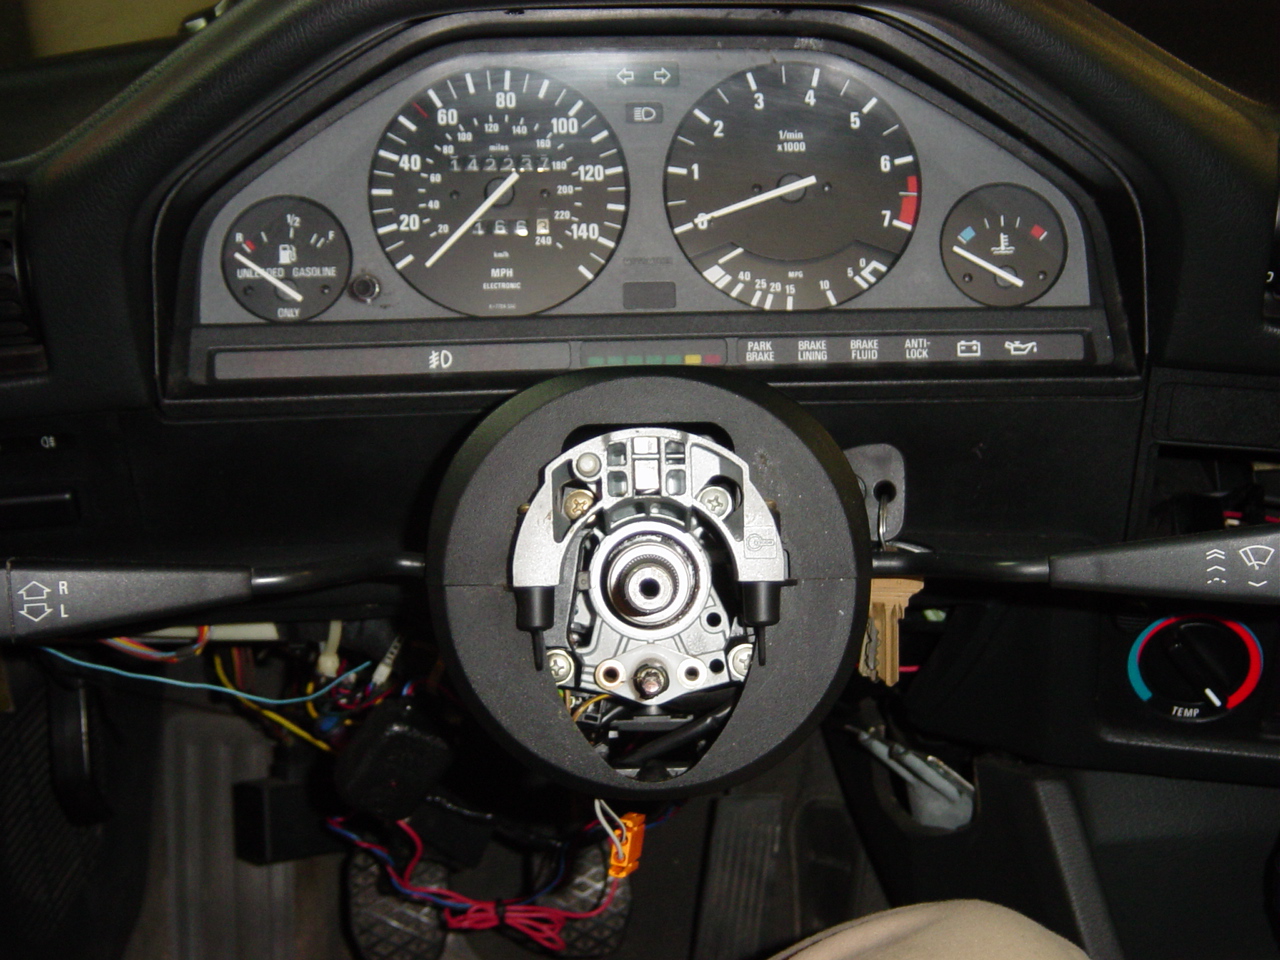
The wheel is finally off. |
 |
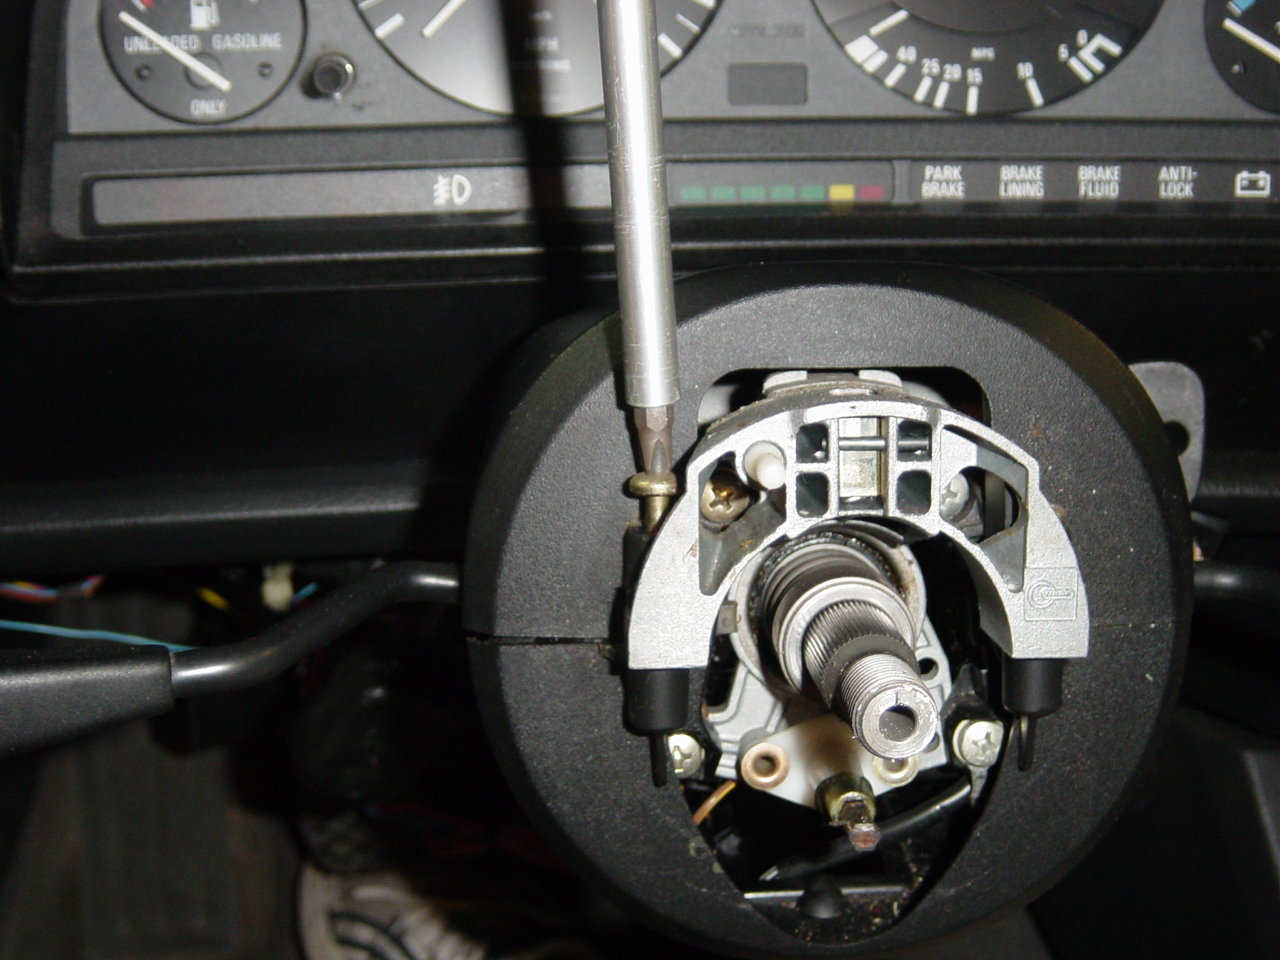
Remove the two screws holding the bottom steering wheel column
trim on. |
 |
Remove the two screws that hold the top steering wheel column
trim on. |
 |
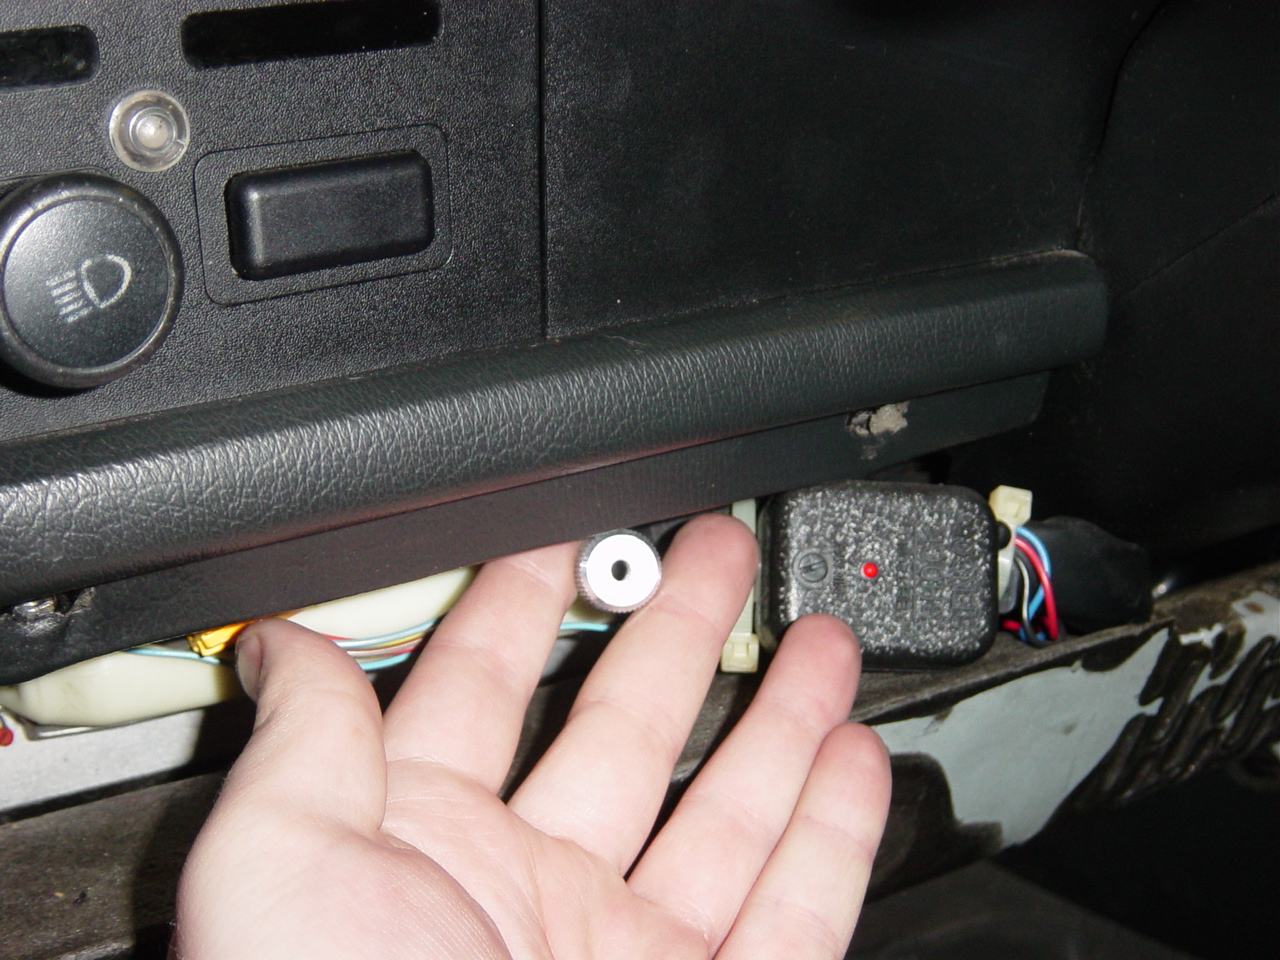
Reach under the dash and find the two thumb screws. Unscrew
them and be careful to not drop them. |
 |
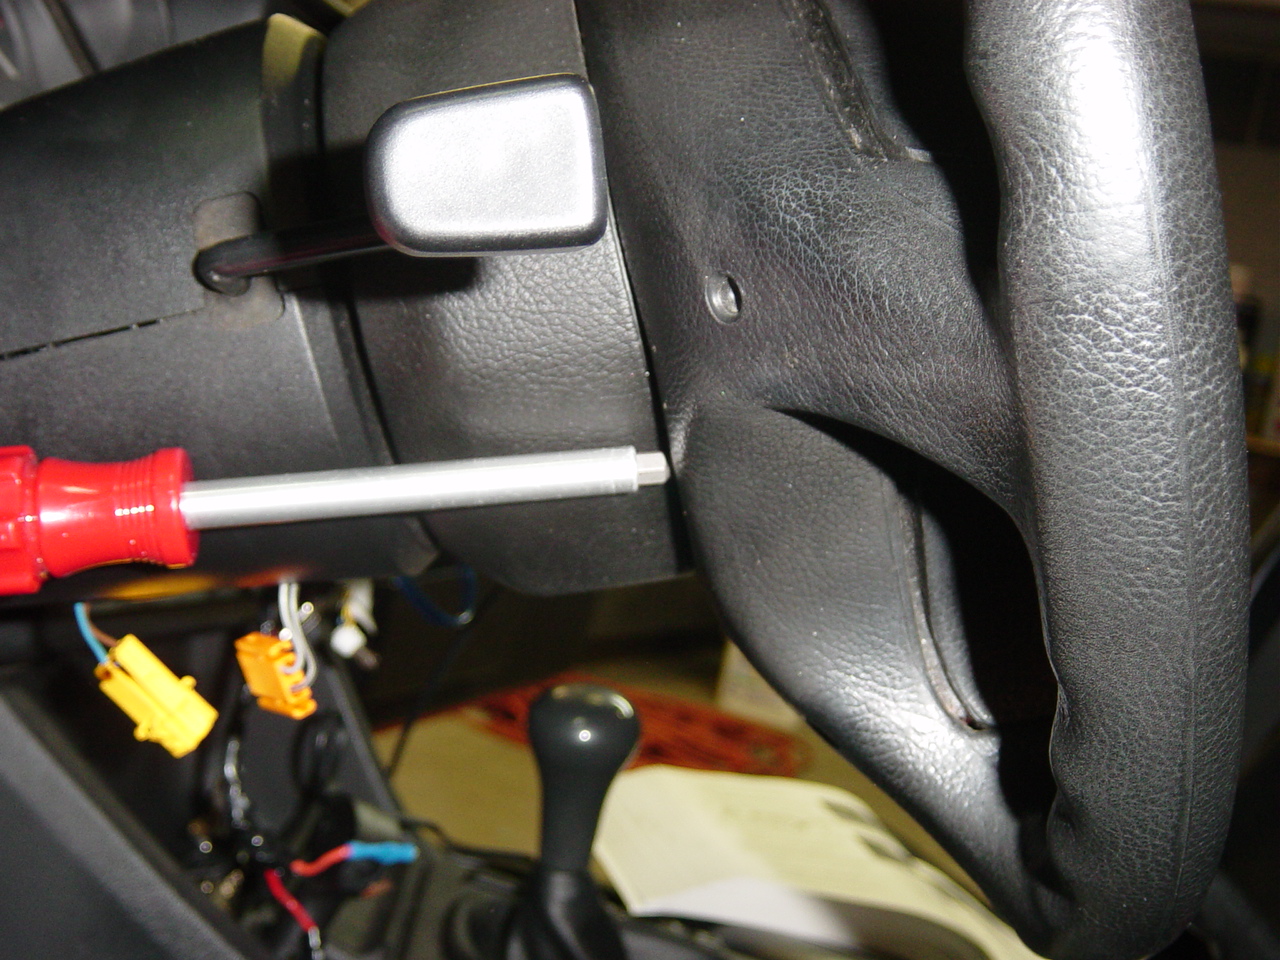
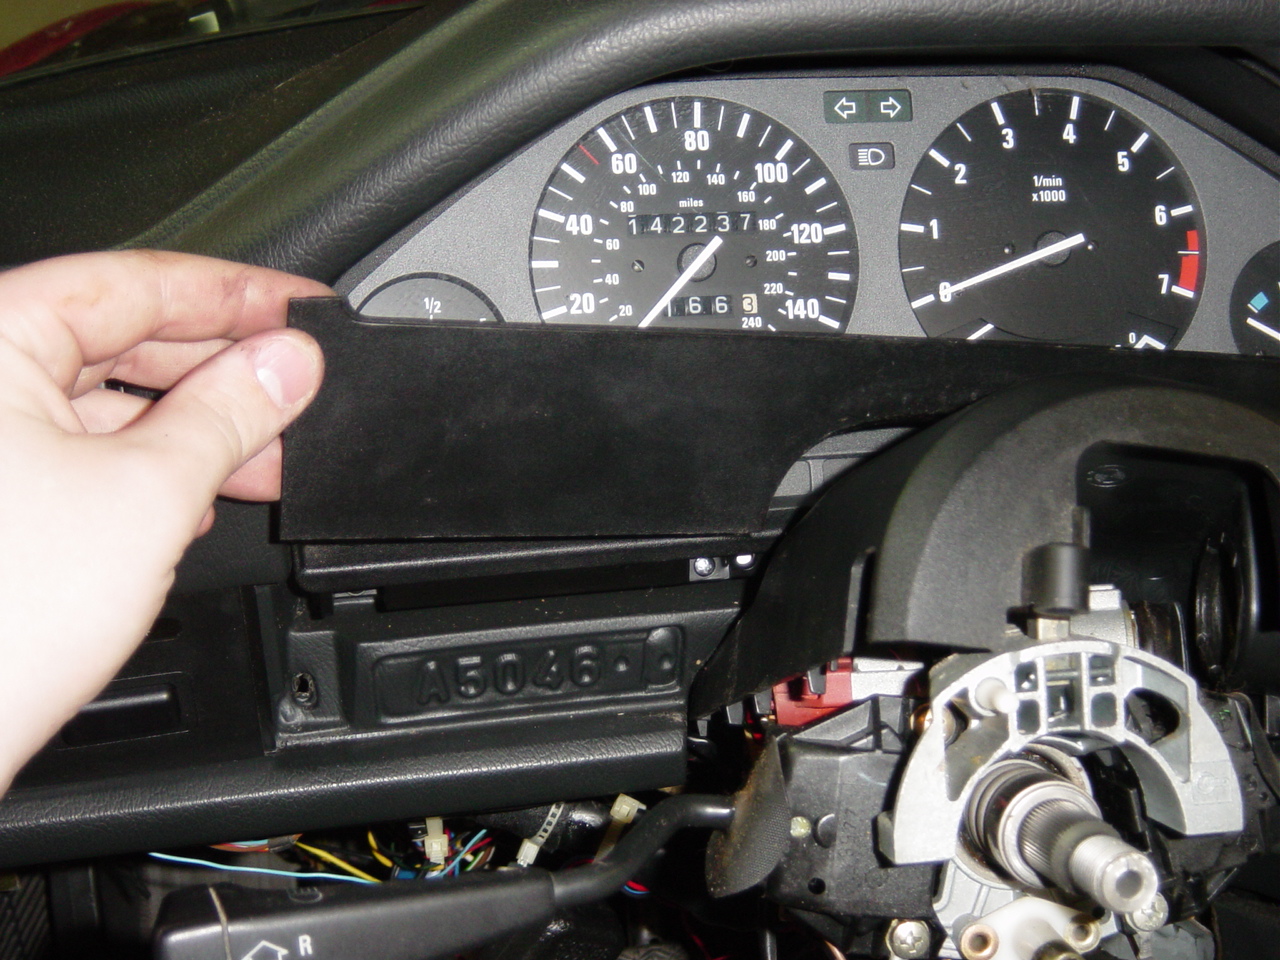
I could not get the top steering wheel trim off, but I managed
to pull it out of the way and get the trim piece behind the wheel
off. |
 |
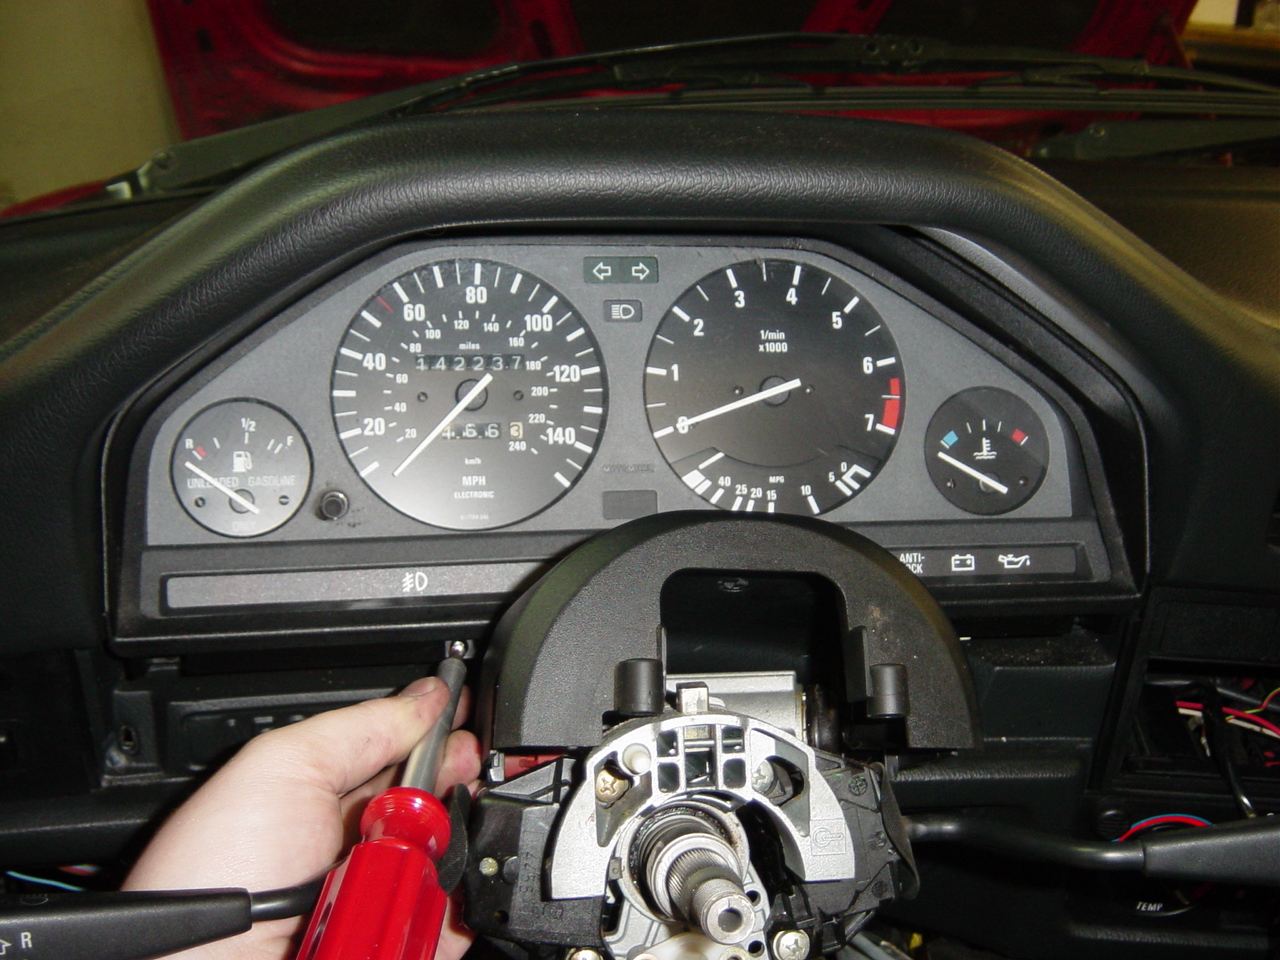
Remove the screws that hold the trim that goes around the dash
console. |
 |
More screws to remove. |
 |
With the trim around the dash console removed, the dash console
can be removed by unscrewing the two screws at the top and two
screws at the bottom. Be gentle with the top screws. When reinstalling
this part, do not torque on the screw much. I just used a bit
and my hands. Unplug the connectors behind the dash console by
pulling the black tabs and then pulling the connectors straight
out. There are a couple of bulbs back there that you can replace
too. Be very careful removing the dash console. I broke one of
the two mounting tabs near the top of the console. Luckily it
holds ok with just one. |
 |
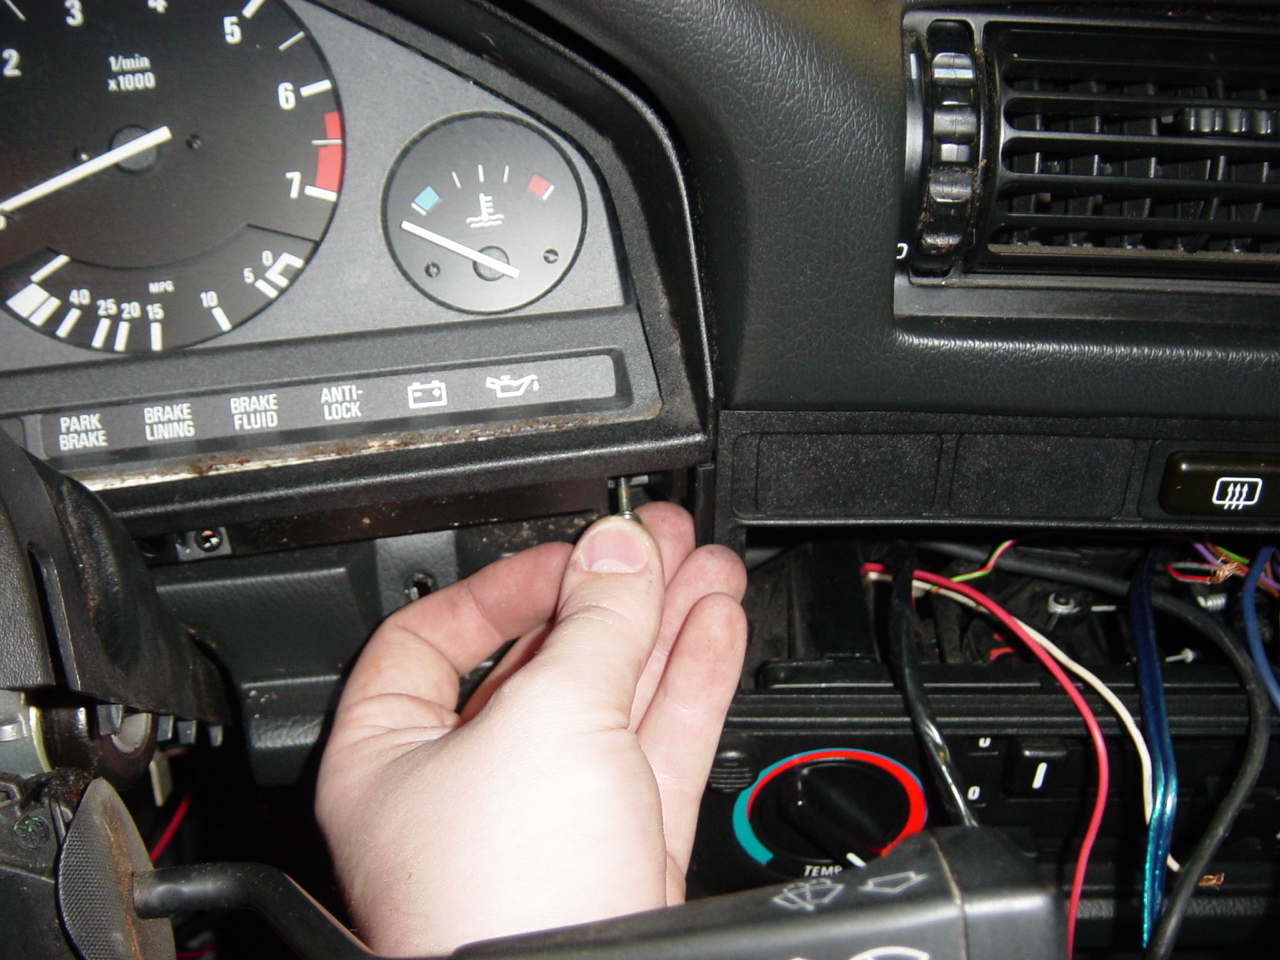
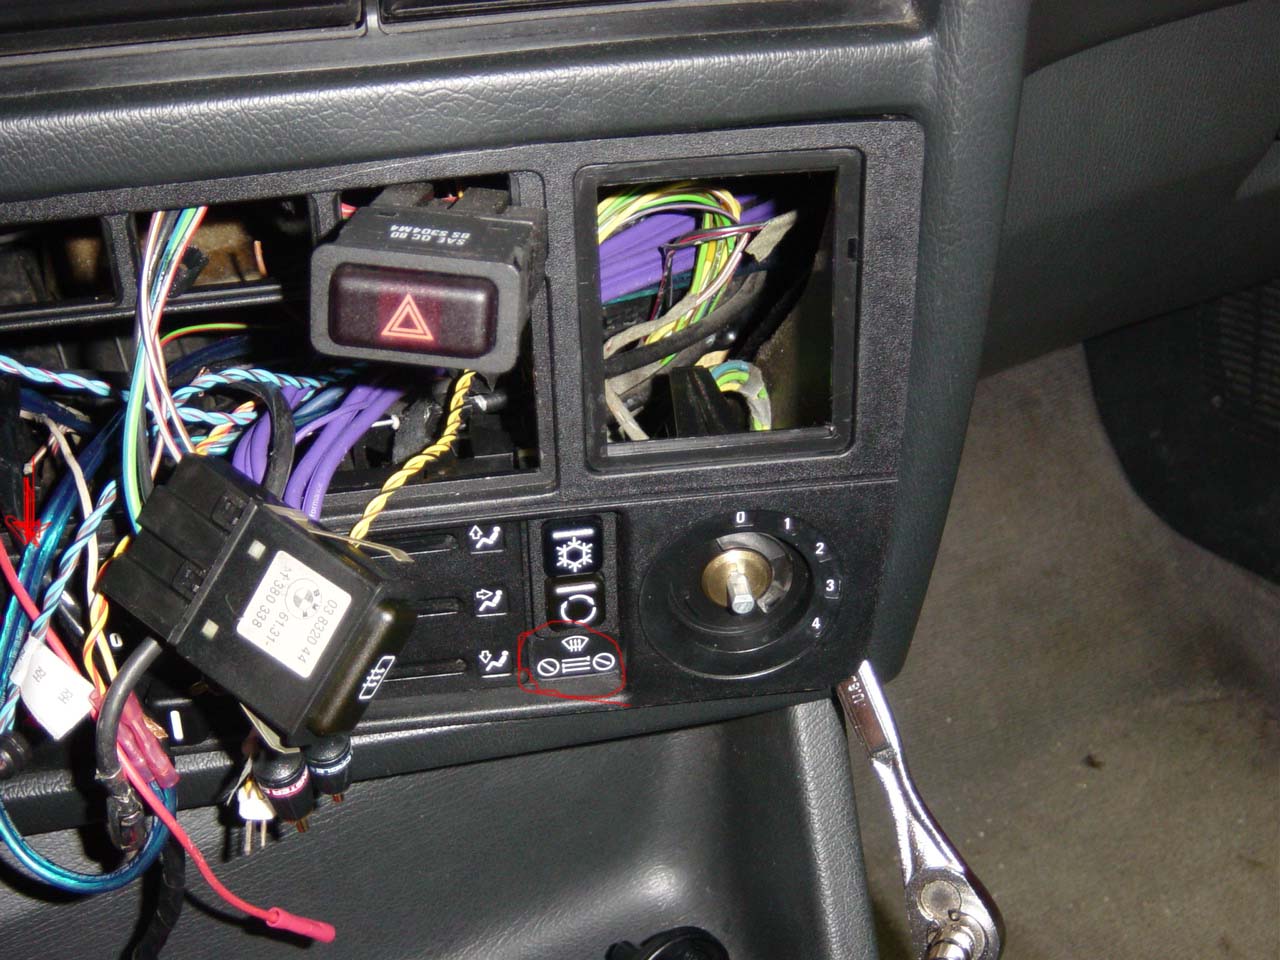
Take the radio and OBC/clock out. My car didn't have a radio
at this point and the OBC/clock is easy to remove. Just pry the
face off then pull at the top and bottom squeeze tabs. The location
of the bulbs are circled or arrowed. There are two bulbs in here.
The left one is easy to get to. It is right near the radio opening.
The one of the right side is a pain to get. it is down low, but
if you squeeze your hand in the OBC hole, you can pull it out. |
 |
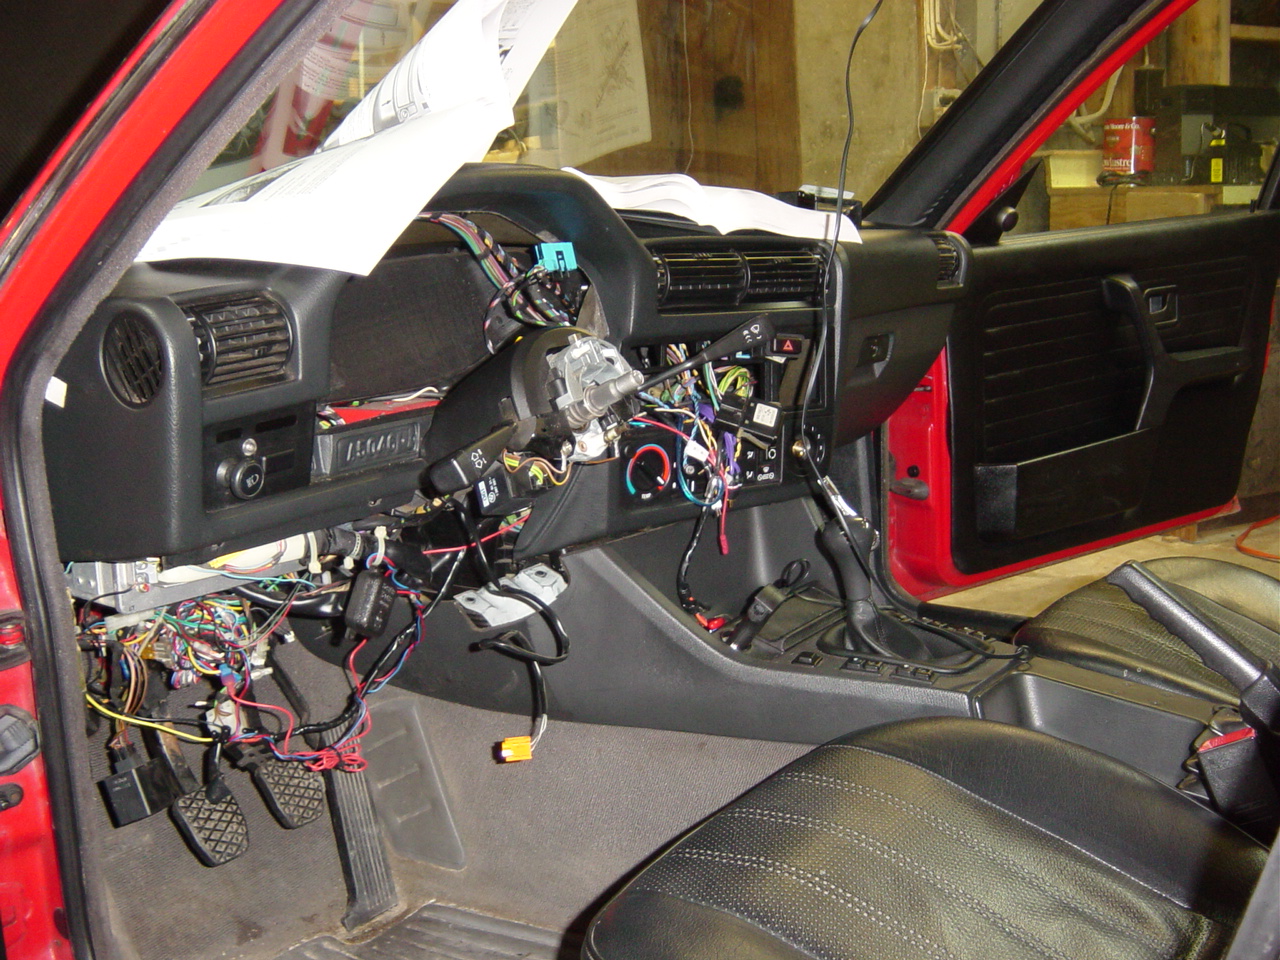
Here is a picture with everything ripped apart. What a mess!
Take your time and don't force anything. |
 |
Here is the rear of the dash console. Take out all the screws.
I think there are about 8 or so brass colored ones. Carefully
pull the dash apart. Be careful not to not let anything touch
the cluster face. The dash bulbs are behind the orange plastic
lenses. Just twist out the bulb housing from the read. Take all
the bulbs you took out of the dash and the console behind the
heating controls to your local auto parts store. Do yourself a
favor and replace as many bulbs as possible. It is good preventative
maintenance because you won't want to have to do this more times
than necessary. Clean the dash console connectors while you have
the console out. They'll have the ones you need or ones that are
very similar. Installation is the reverse of removal. Take your
time and don't force anything. |