318i Tech Procedure
-
Front Shocks, Springs, and Strut Mount Replacement
In my ongoing crusade to repair, replace, and refurbish every part in the 318i, I decided to replace the suspension with an aftermarket suspension. While I'm not sure, I believe that the shocks in the car were the original shocks. The car at this time had about 155K miles on it.
I decided to upgrade to H&R sport springs with Bilstein Sport shocks. The sport springs and shocks will dramatically improve handling and will lower the car approximately 1.25" all around.
I ordered all the parts from eap4parts.com. Be sure not to order HD shocks with sport springs or sport shocks with OE springs.
Required tool list:
H&R Sport Springs
Bilstein Sport Shocks
New Strut Mounts (BMW Part Number
31 3 31 139 452 )
Various Sockets
(2) Spring Compressor
Chisel & Hammer
Propane Torch
Bilstein Strut Collar Tool
Click on the thumbnail for larger pictures. I apologize for the low resolution pictures. I had forgotten my new camera at work the weekend I did this procedure.
 |
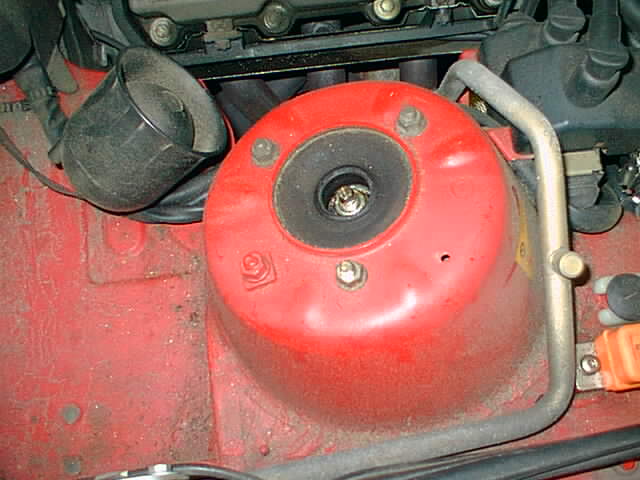
With the car on the ground, take the strut mount cap off and give the nut a good impact to loosen it. Do not take it off and don't loosen it too much. This nut holds the strut together and keeps the spring compressed inside the strut. |
 |
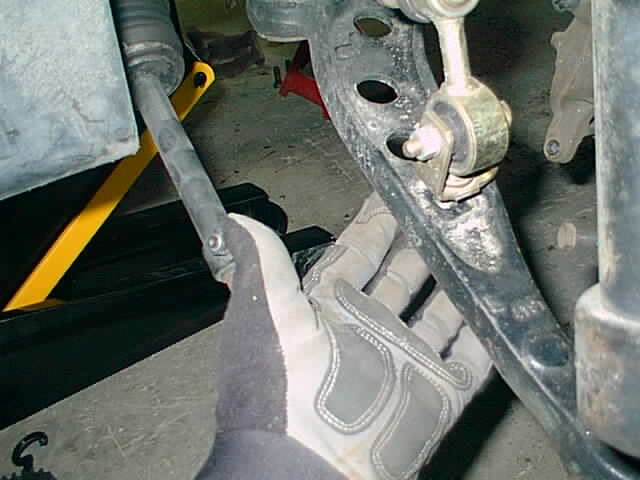
Lift the car off the ground, secure it properly on jack stands, and take the front tires off. Remove the tie rod from the spindle. |
 |
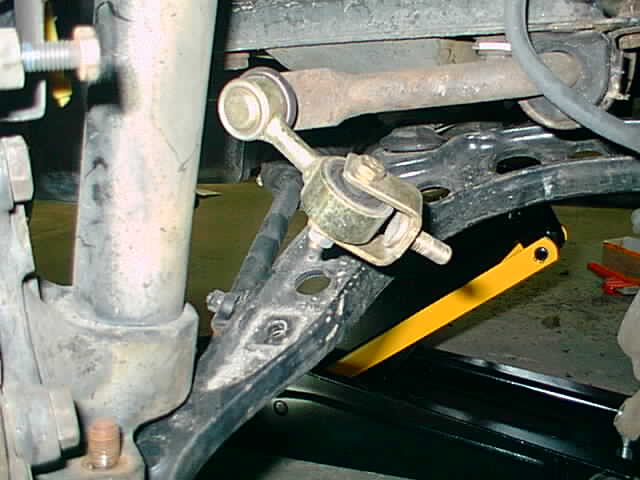
Remove the sway bar link from the control arms to let the arms drop. |
 |
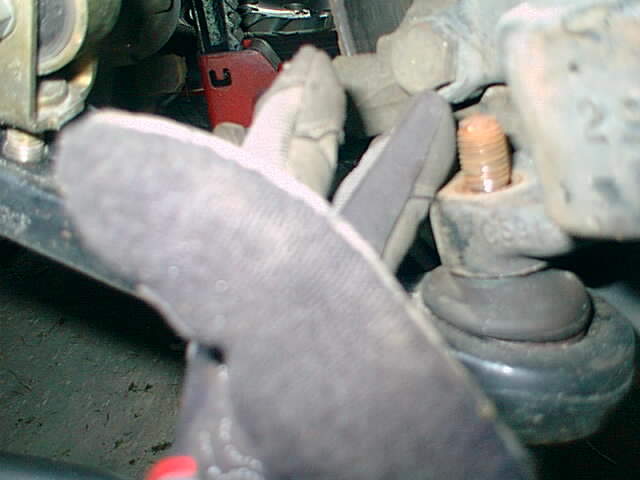
Remove the control arm from the spindle. |
 |
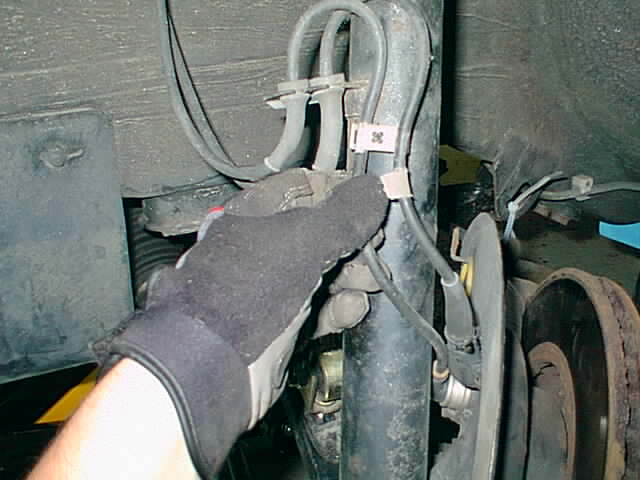
Carefully remove the brake and ABS lines from the strut. |
 |
Remove the ABS sensor from the front spindle. |
 |
Remove the front brake caliper and zip-tie it away making sure there is no pressure on the brake lines. |
 |
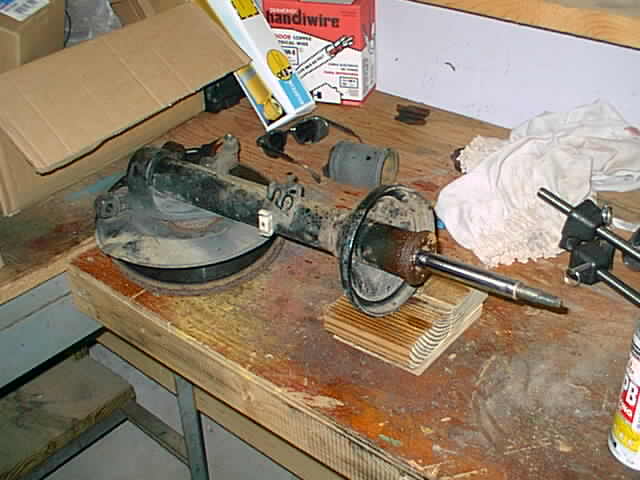
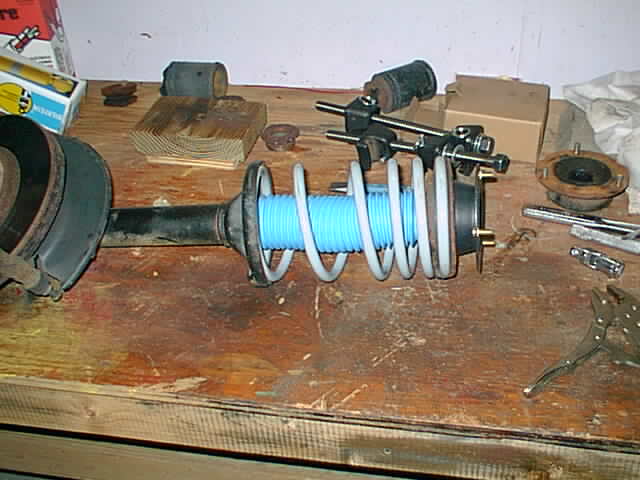
Undo the three smaller nuts holding the strut mount and strut into the car. See first picture.
I got some feedback from a forum user who got the wrong impression from this picture and it made the procedure more difficult for him.
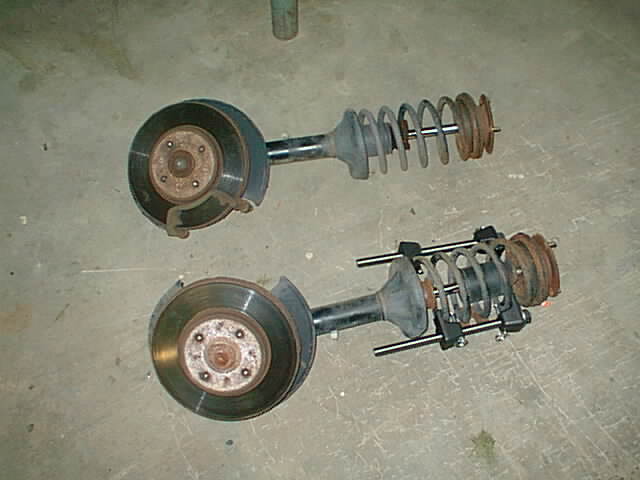
As long as you haven't removed the large, center strut nut as shown in the first picture, the strut is completely safe to remove from the car. Compressed springs are dangerous, but the strut will hold the spring compressed in the strut. This picture shows one strut with a pair of spring compressors on it because I was about to compress the spring on my workbench when I realized I wanted a picture of the two struts out of the car. In conclusion, you don't need to compress the front springs while on the car. |
 |
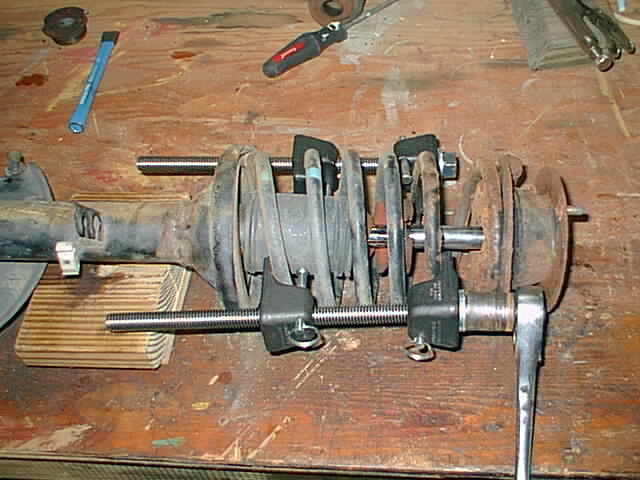
Use spring compressors and take the pressure off the strut. Take the nut off the top and thank yourself for loosening it while it was on the ground because the whole assembly will spin with no weight on it.
Be careful with spring compressors. These springs have a ton of energy stores up and if they get free of the compressor they can do a lot of damage! |
 |
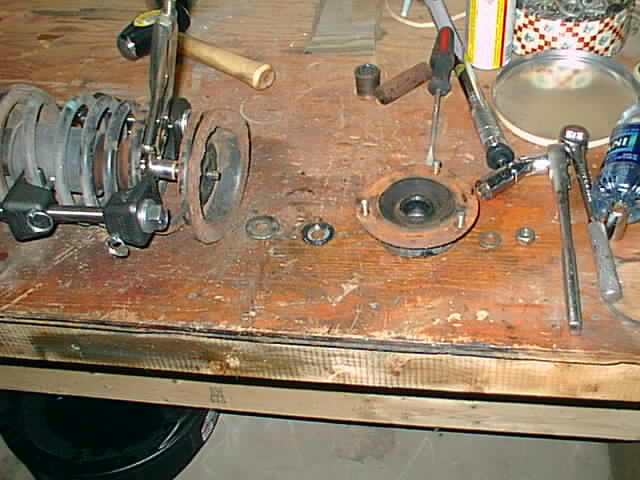
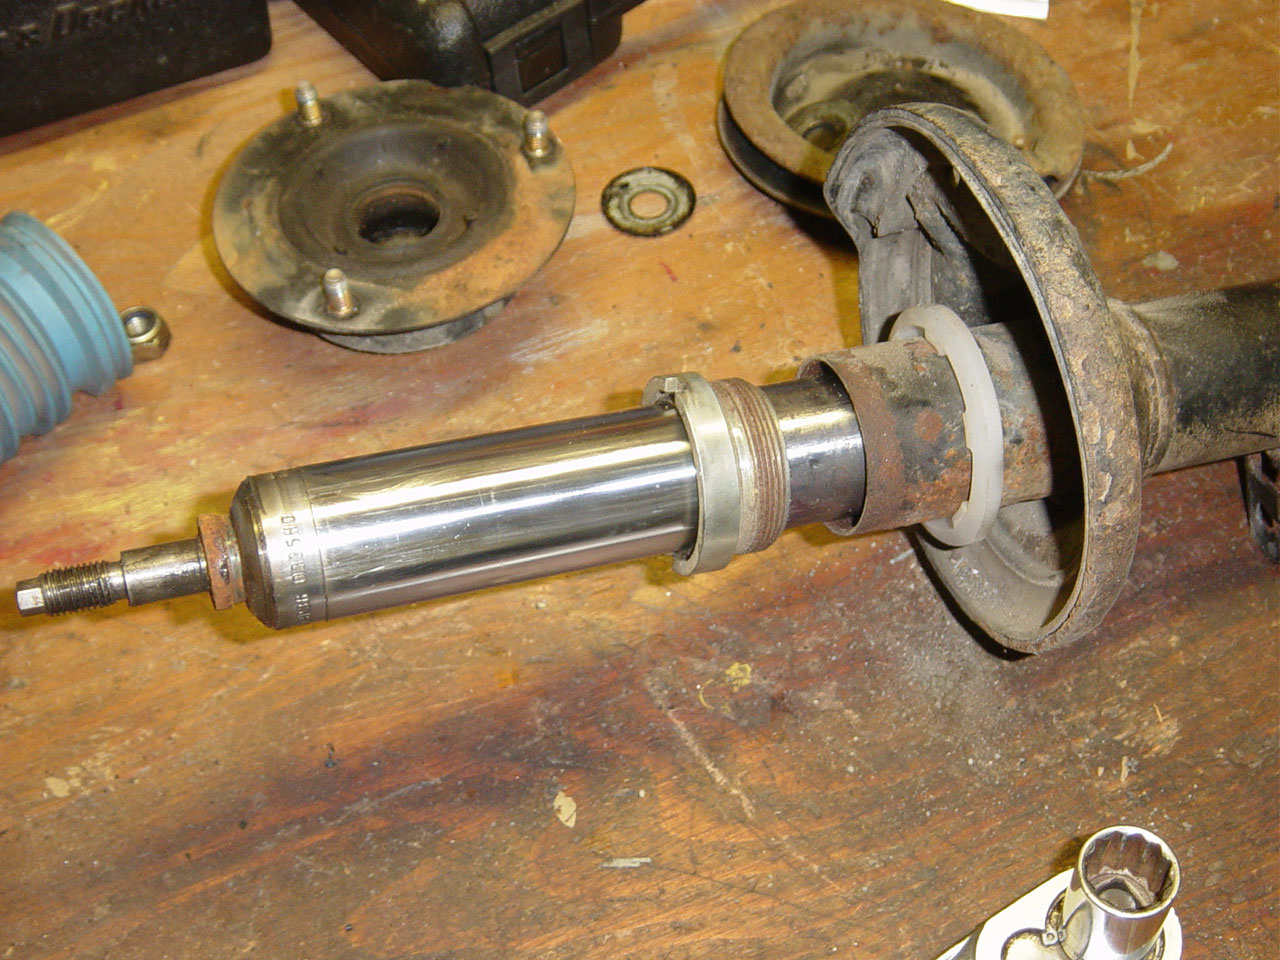
Remove the parts and remember the order in which they go back together. |
 |
The shock is held into the strut with a threaded collar. On just about all E30s, this collar is very frozen with rust and age. The best way to get it off is with a chisel and a big hammer. I first soaked mine down with PB Blaster. |
 |
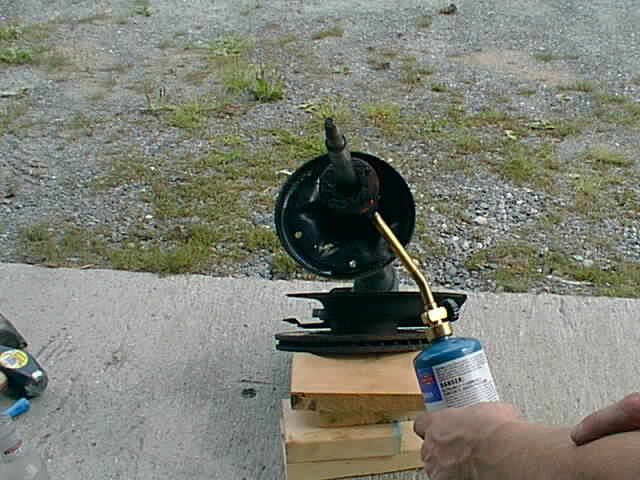
Both sides needed more than just PB Blaster and a chisel. I used a propane torch and heated the collars up. After heading them and beating the crap out of them with the chisel and hammer, they came off. |
 |
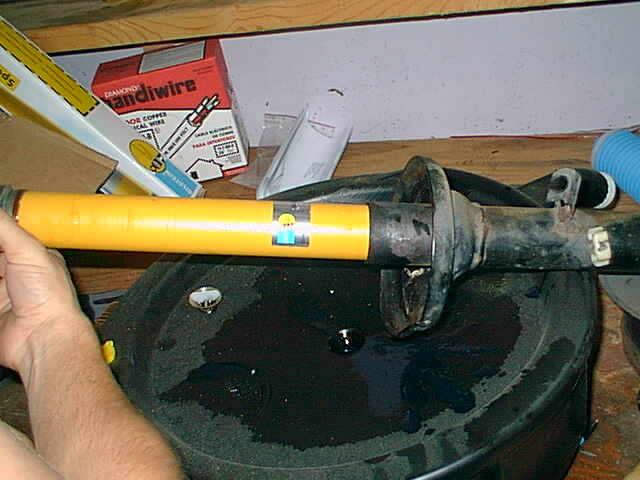
Drain the shock oil out of the strut tube. If replacing with H&R shocks, don't add any oil to the strut. |
 |
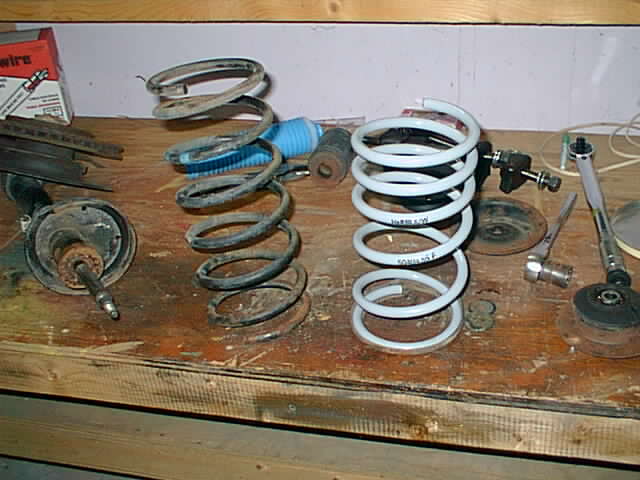
Here's a comparison of the stock spring to the H&R spring. Drooling yet? |
 |
Reassemble the strut with the protector in place and use the new strut mount. Chances are, but now your old strut mount has tired rubber and the bearing has seen better days. Strut mounts are relatively inexpensive.
No absorbers are needed. My stock ones had long since degraded and fallen off. Make sure the new spring fits into the spring pad properly.
Reassemble the front end. |
| Performed: |
August 16, 2004 |
| |
Update 1:
I started to hear a horrible clunking from the front and I immediately suspected that the strut collar backed off allowing the strut insert to move up and down. I turned around and drive the car back home and took the M3 to work. There is no sense in destroying anything just to get to work.
I suspected the strut collar was the cause of the clunking and called Bilstein to get the tool so I could do the job correctly this time. I also decided to order a set of new strut collars because I had the feeling that I manged up the last ones installing them with a pipe wrench. You can get the Bilstein tool and replacement strut collars directly from Bilstein. The tool is PN 420017. $4.
The collar PN is 440951. $18 ea.
I am disappointed that the tool does not come with the front strut inserts. It's a $4 part! |
 |
Sure enough, I took the strut out of the car again and the strut collar was totally backed off. |
 |
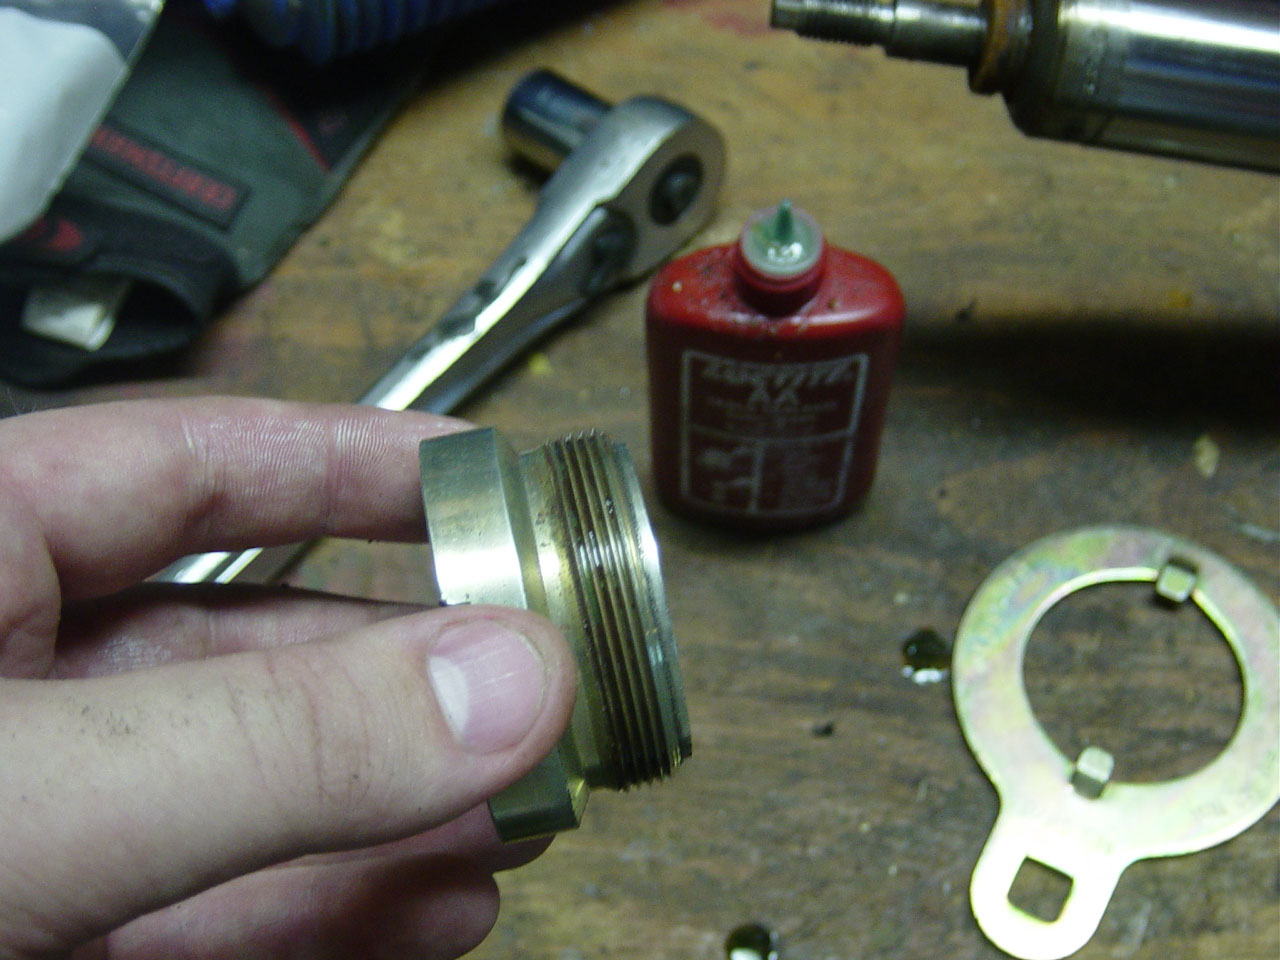
This is what the proper tool looks like. |
 |
This time I applied a generous amount of loctite. |
 |
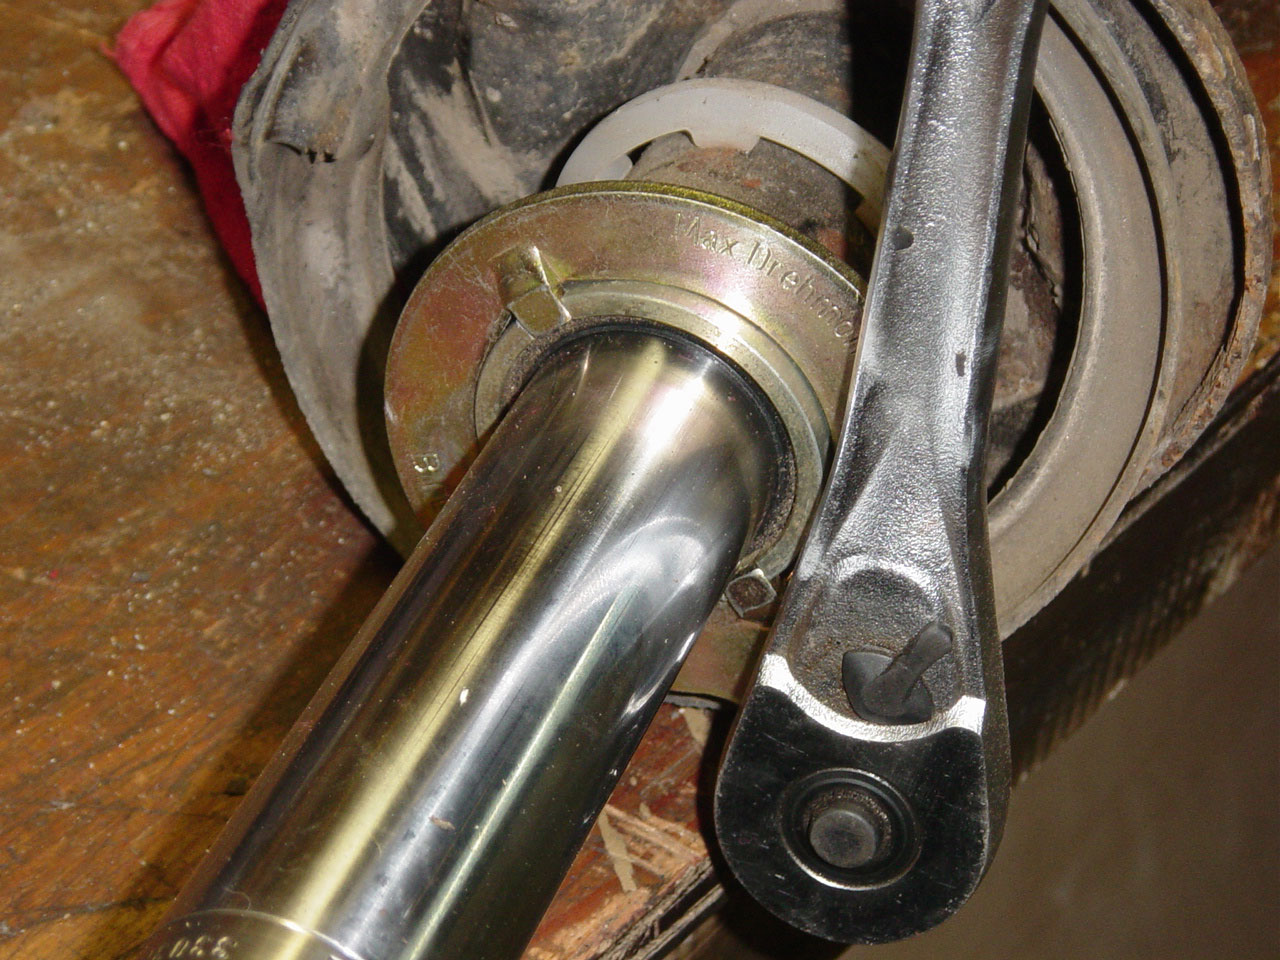
Using the new Bilstein tool and a ratchet, I torqued the strut collar as much as I could. Using the tool is a much easier than using a pipe wrench. For those of you who are installing Bilstein's, save a lot of effort and order the $4 tool if it doesn't arrive with your strut inserts. |
| |
| Date |
Mileage |
| 7/15/2005 |
174,300 |
| |
|
| Difficulty |
3/5 - The strut collars can really make this job a pain. |
After replacing my front and rear springs and shocks, the car feels like a much different car. The body roll is significantly reduced, the ride is firm, and the steering is more responsive. The ride is comfortable enough for my daily driving, but firm enough to have some fun with during spirited driving at the track. My first comment after driving the car with the new suspension was "This is how the car should have been set up from the factory!". While less important, the car also looks a lot nicer sitting 1.25" lower and has less fender gap.
Disclaimer: I am not a professional mechanic. Information
this page should be used at your own risk and discretion. Different
models and model years may be different than my 1991 318i. Read: If
you screw your car up following my instructions, sorry. Isn't it sad
that in this sue crazy world you have to put a disclaimer on your
web page?