The interior of the E30 is very dim. The only sources of light in
the E30 are two lights in the back seat area that are supposed to
light up the car. What happens if you are trying to look at directions
or a highway ticket? There is no way to turn these lights on without
reaching back and hitting a switch. It is an awkward movement. When
I saw that a maplight was available, I got one right away. A maplight
is also a must if you are driving around with a woman in the car.
They are always searching through their purse for something or another.
I bought my maplight on eBay for about $60 plus shipping. This item
is a popular modification for E30s and the auctions typically get
a lot of traffic.
 |
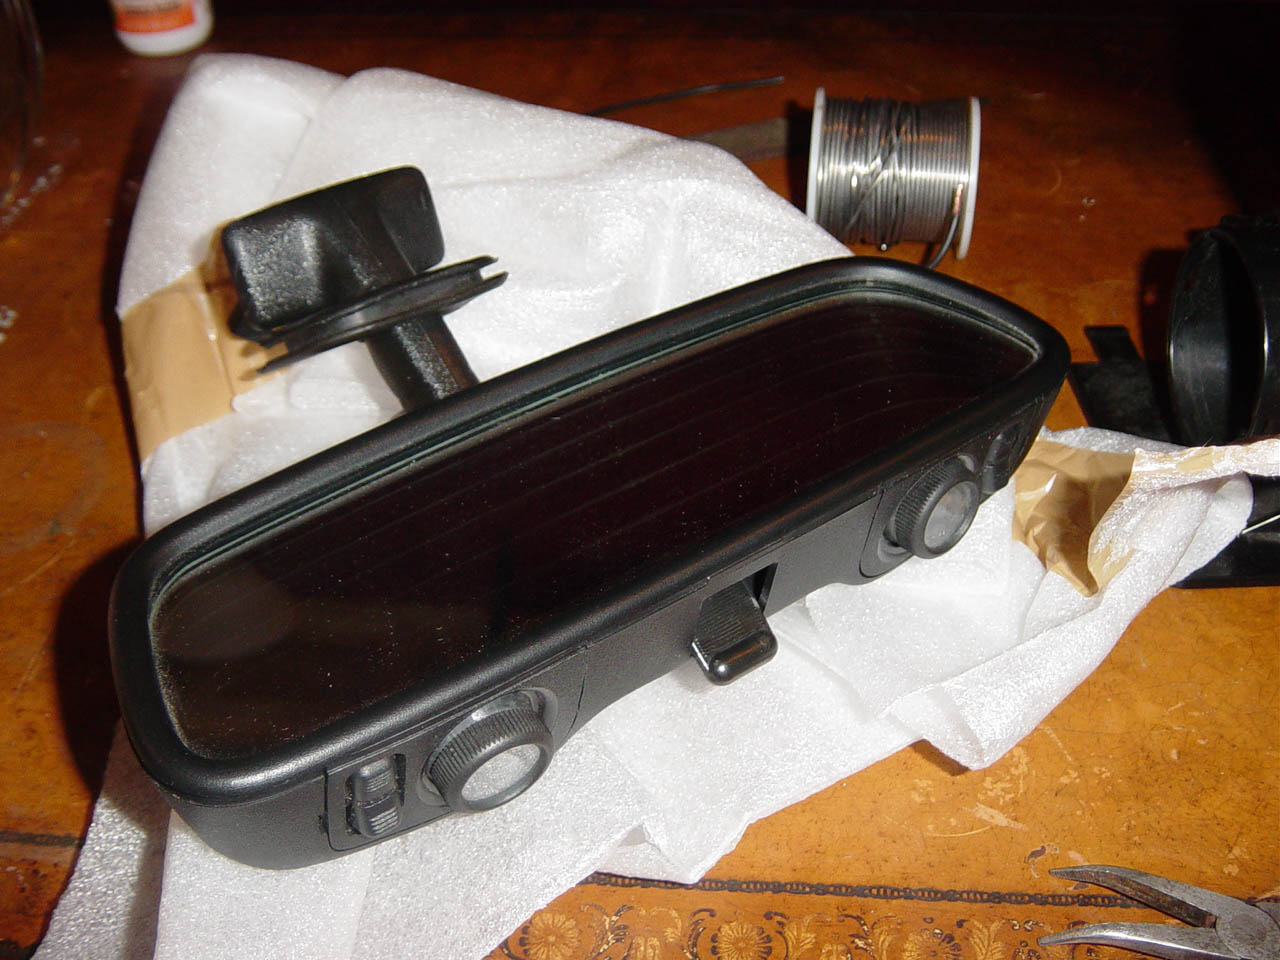
Here is a picture of the maplight. |
 |
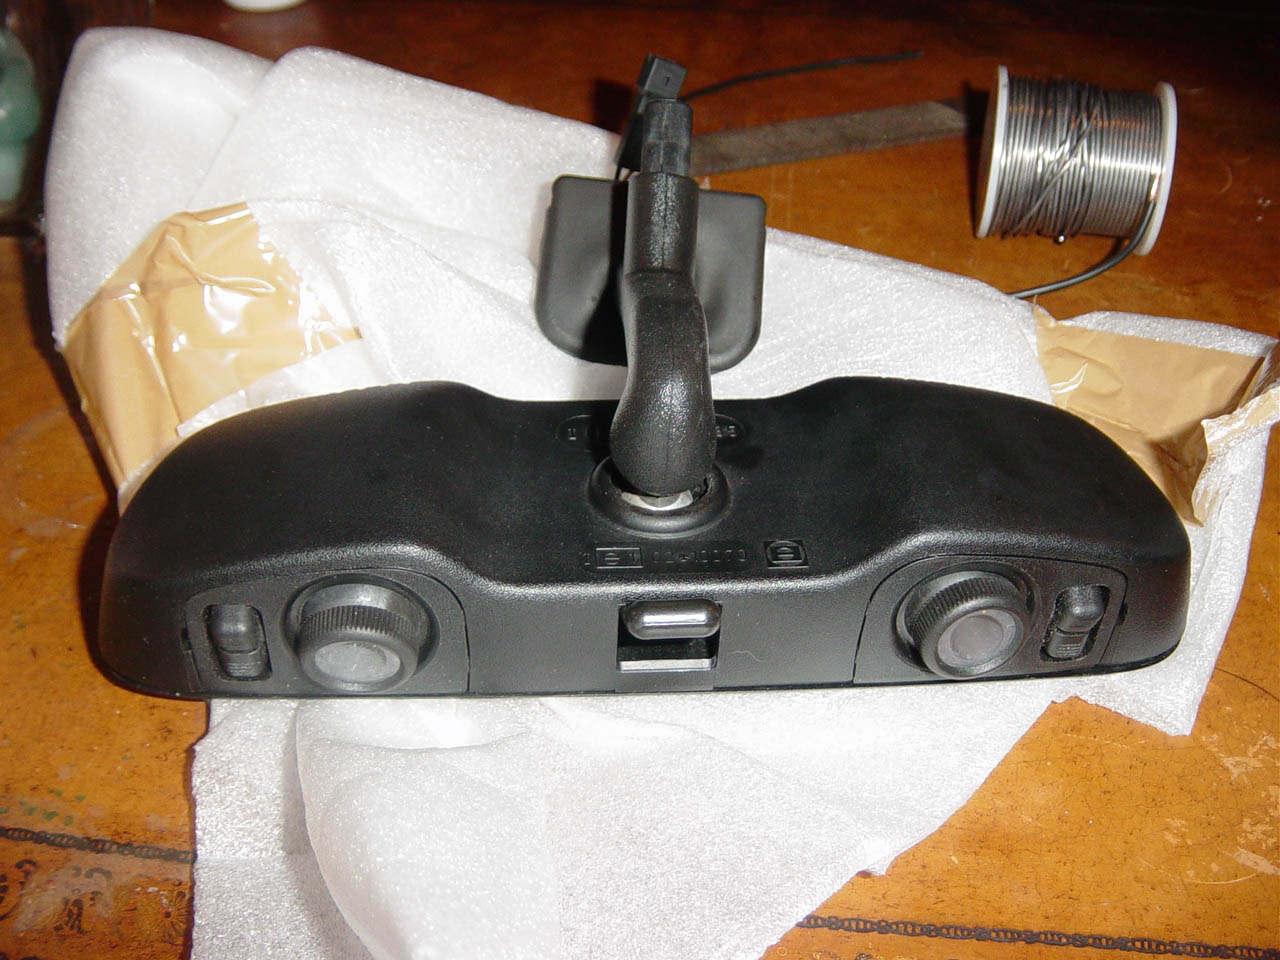
This is a back side and bottom shot of the unit. Notice the
plastic knob near the base? Make sure you the unit you buy has
this because this part, when turned, helps prevent the mirror
from shaking. Sometimes these get lost and then the unsuspecting
eBay buyer gets a mirror without one because he didn't know
to look for it. Ask the seller if it has one before you buy
if the pictures don't show it. |
 |
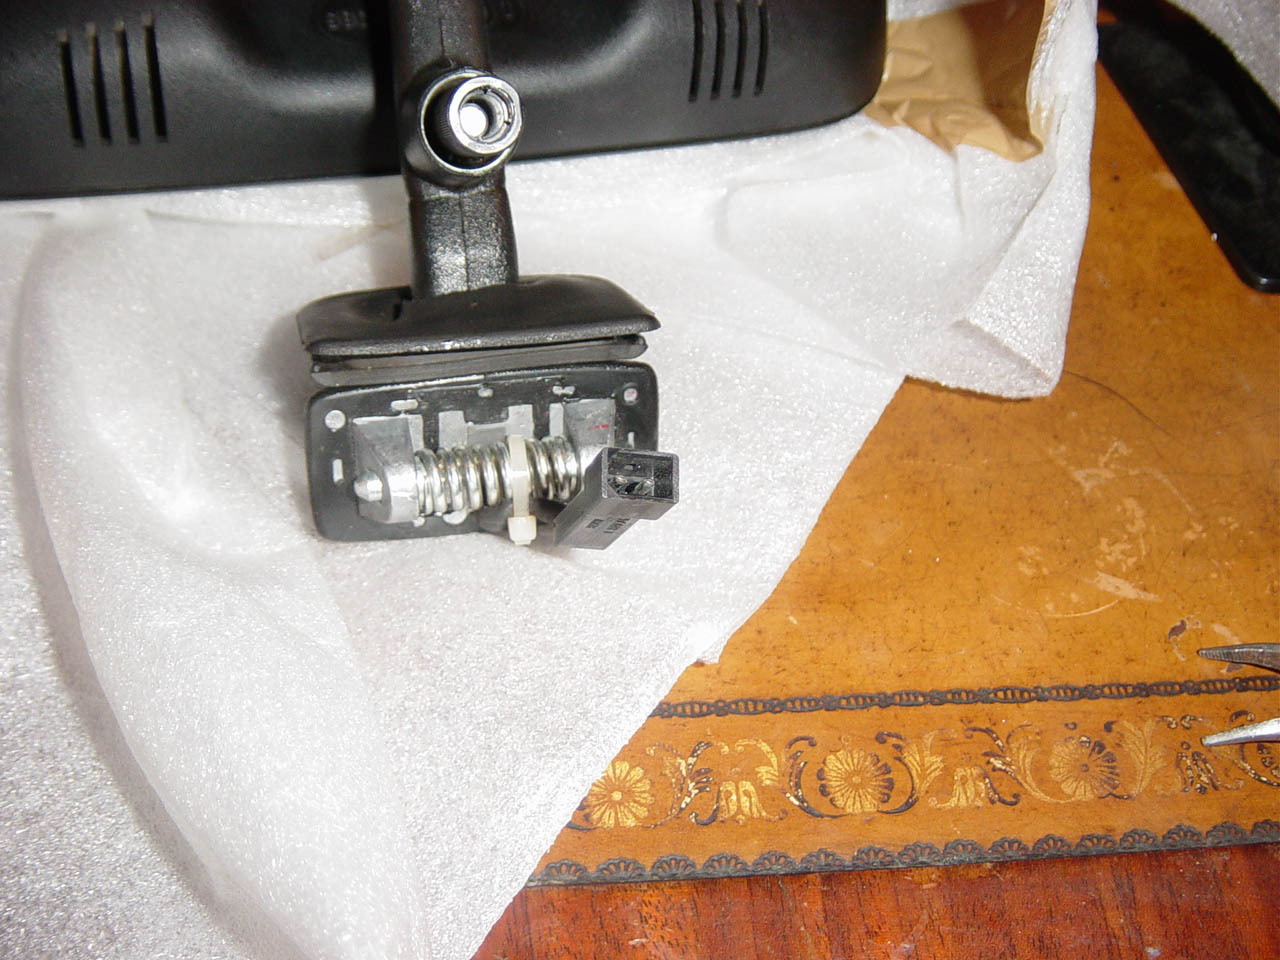
Here is a picture of the stock connector. The easiest way to
wire up the maplight is to reuse the connector. Molex makes a
connector that fits. I was unable to procure one, or cannibalize
one that fit so I came up with my own solution. |
 |
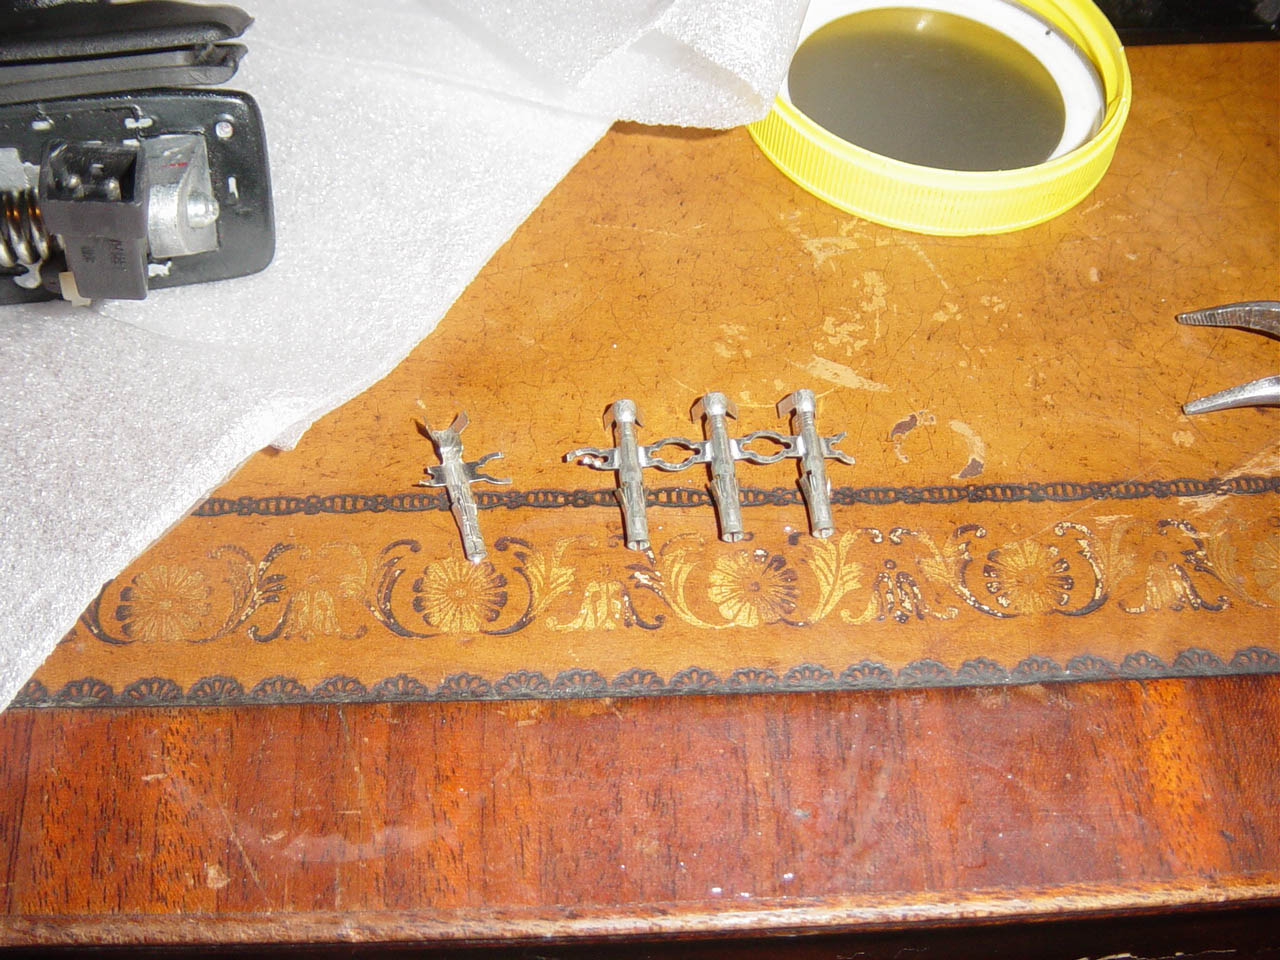
I had these connectors from Radio Shack. |
 |
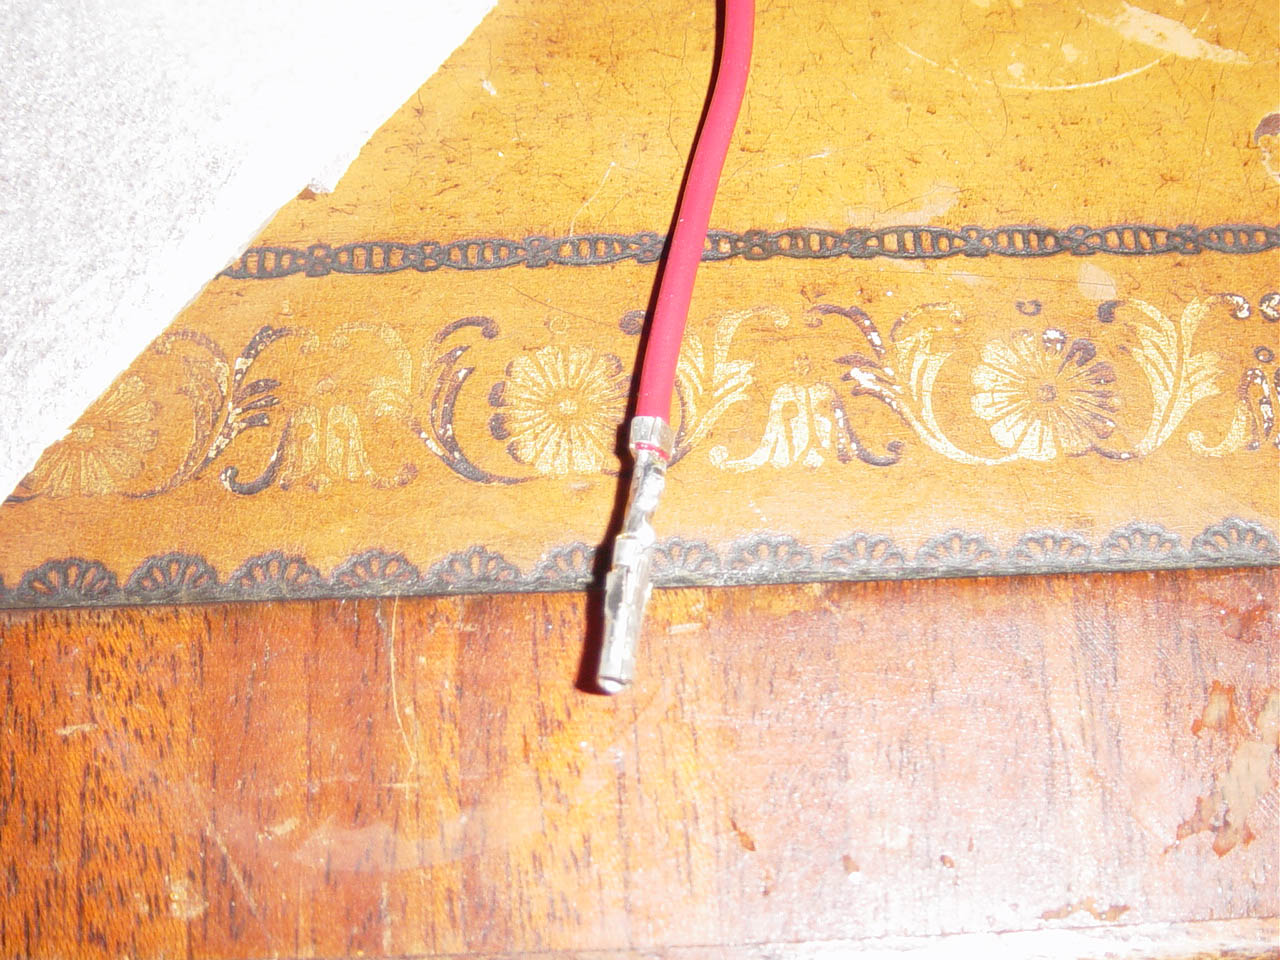
I soldered two 12" long wire onto two connector, one with
a red wire and one with a black wire. |
 |
The connectors are too loose to stay connected. I took a pair
of needle nose pliers and made the diameter of the female connector
smaller so that it fits the BMW connector very snugly. I did this
for both connectors and then wrapped them in electrical tape to
prevent electrical short circuits. |
 |
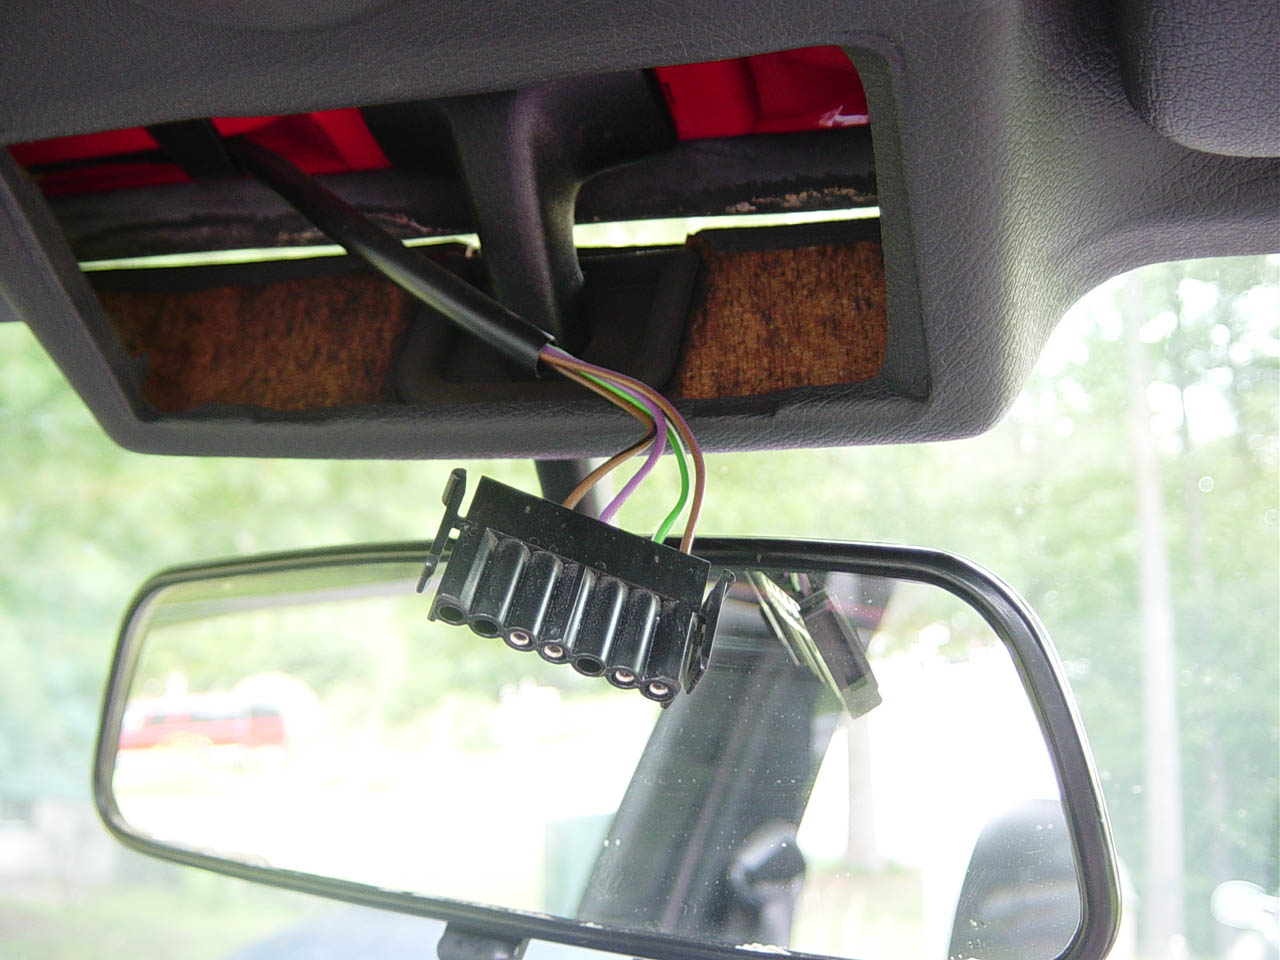
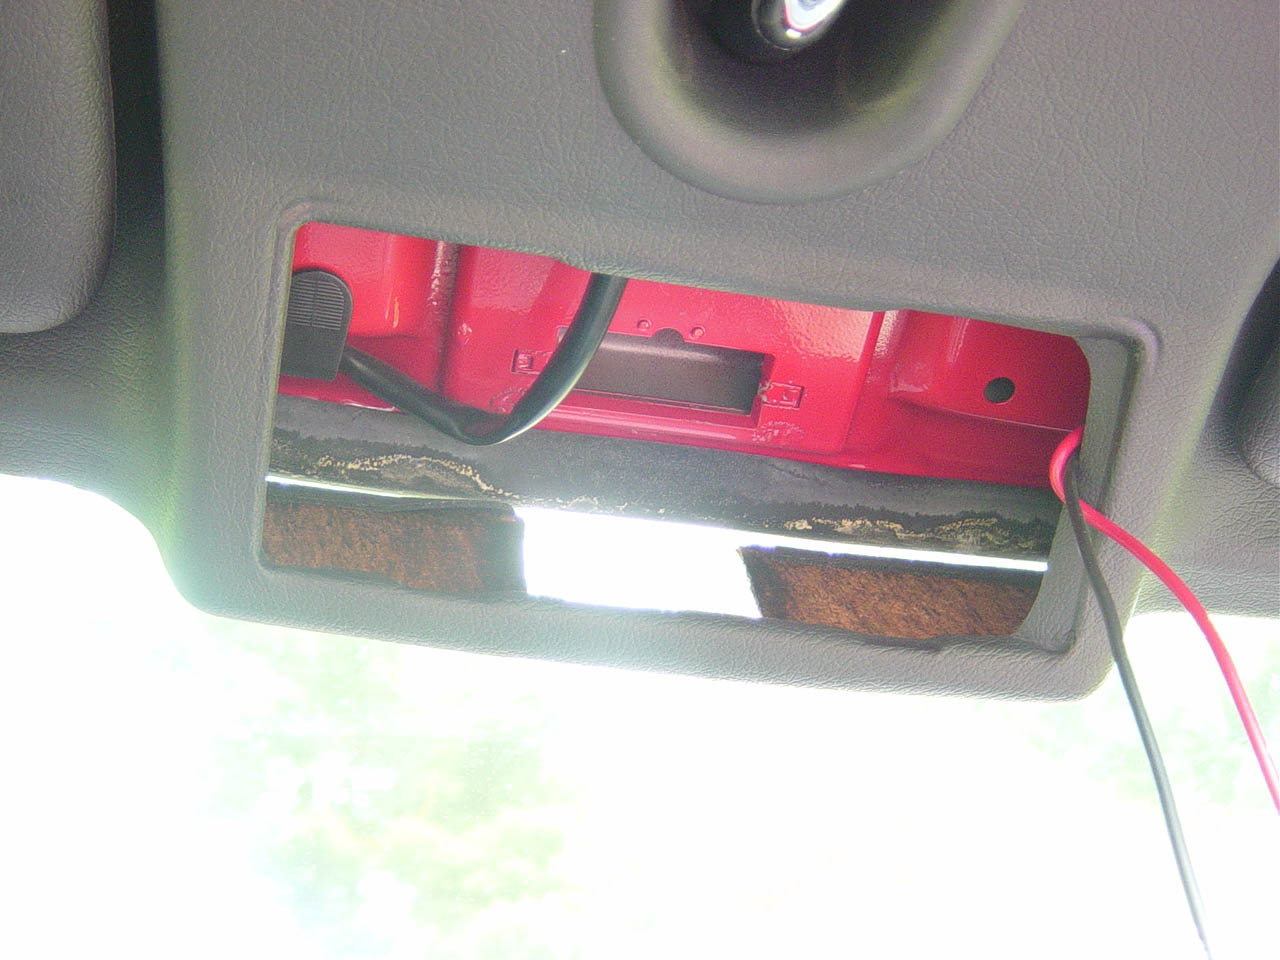
Here is a picture of my stock mirror and information panel.
I have the non-check control panel that only displays airbag
and seatbelt warning. I also have a crank sunroof. I checked
all these wires but there is no switched or constant 12V source
in this wiring connector. For those of you with an E30 like
mine, we're going to have to route power from elsewhere.
For all of you with a check control panel, use the following
pins for power and ground:
Pin 9 = Ground
Pin 15 = Constant 12V
Pin 23 = Switched 12V
You should double check these pins with a multimeter. These
pins are what I've seen on the internet and I cannot verify
them.
Connecting to constant 12V will allow the maplight to work
no matter if the key is inserted or not. Connecting to switched
12V means that it will only work if the key is inserted. |
 |
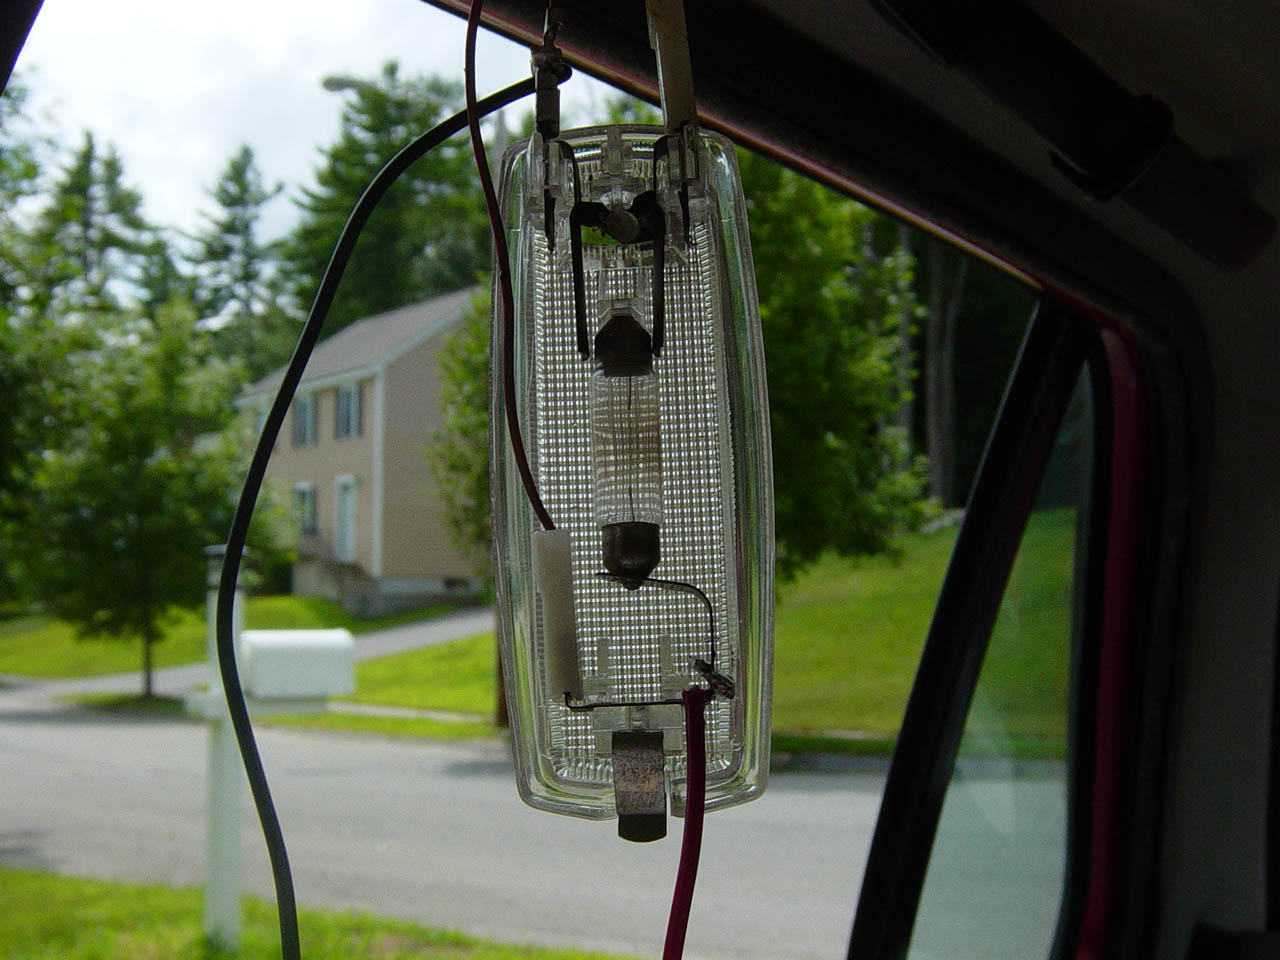
I decided to grab constant 12V from the side lamps. I wanted
constant 12V so the light will work at any time. |
 |
Solder wire to the lamp like this picture shown or crimp to
the corresponding wire. I prefer soldering because I don't trust
crimp connectors. The red wire is to the right and the black wire is to the left. The camera didn't pick up the colors too well in this shot. |
 |
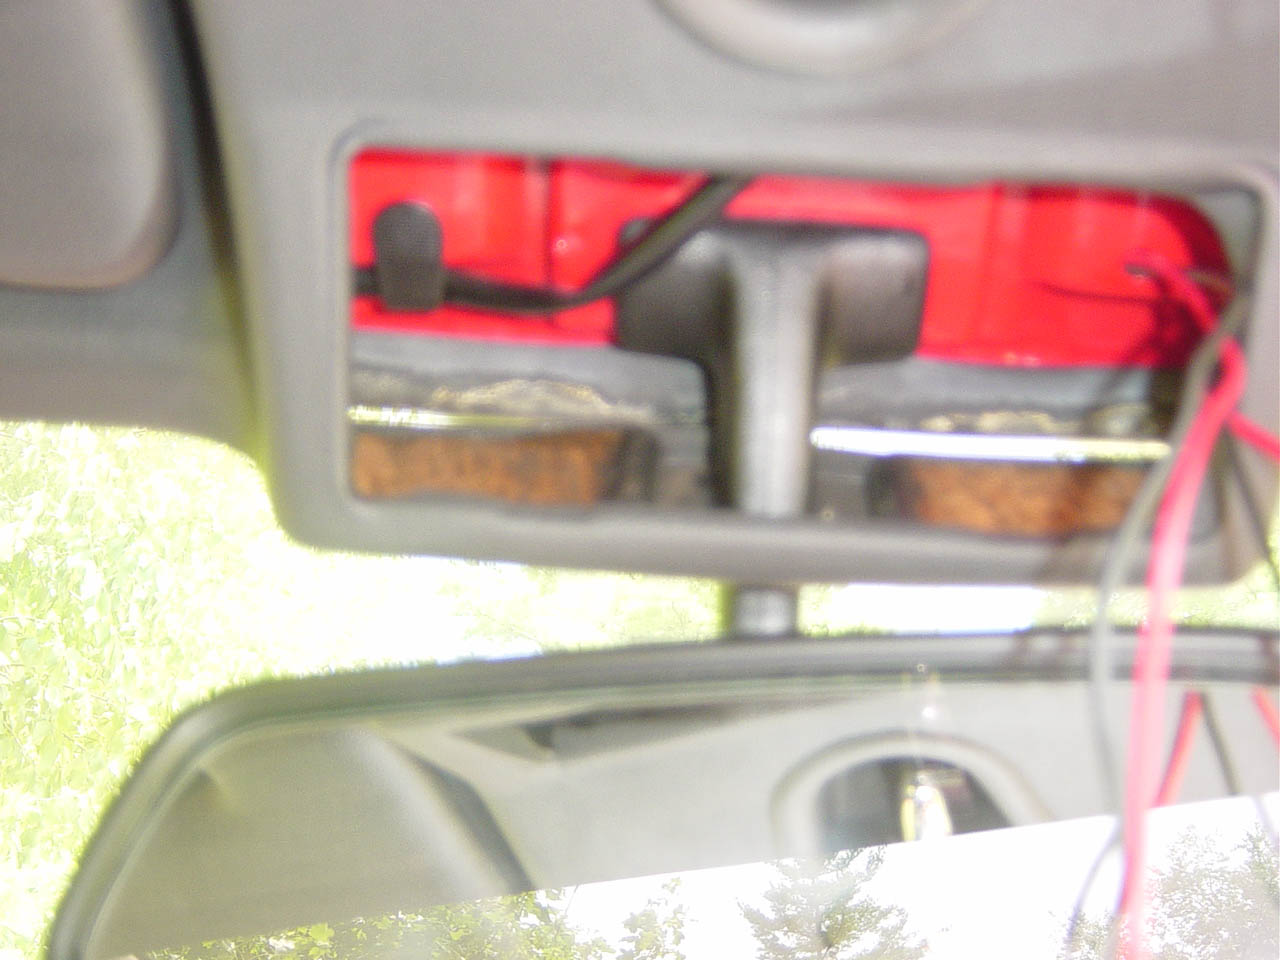
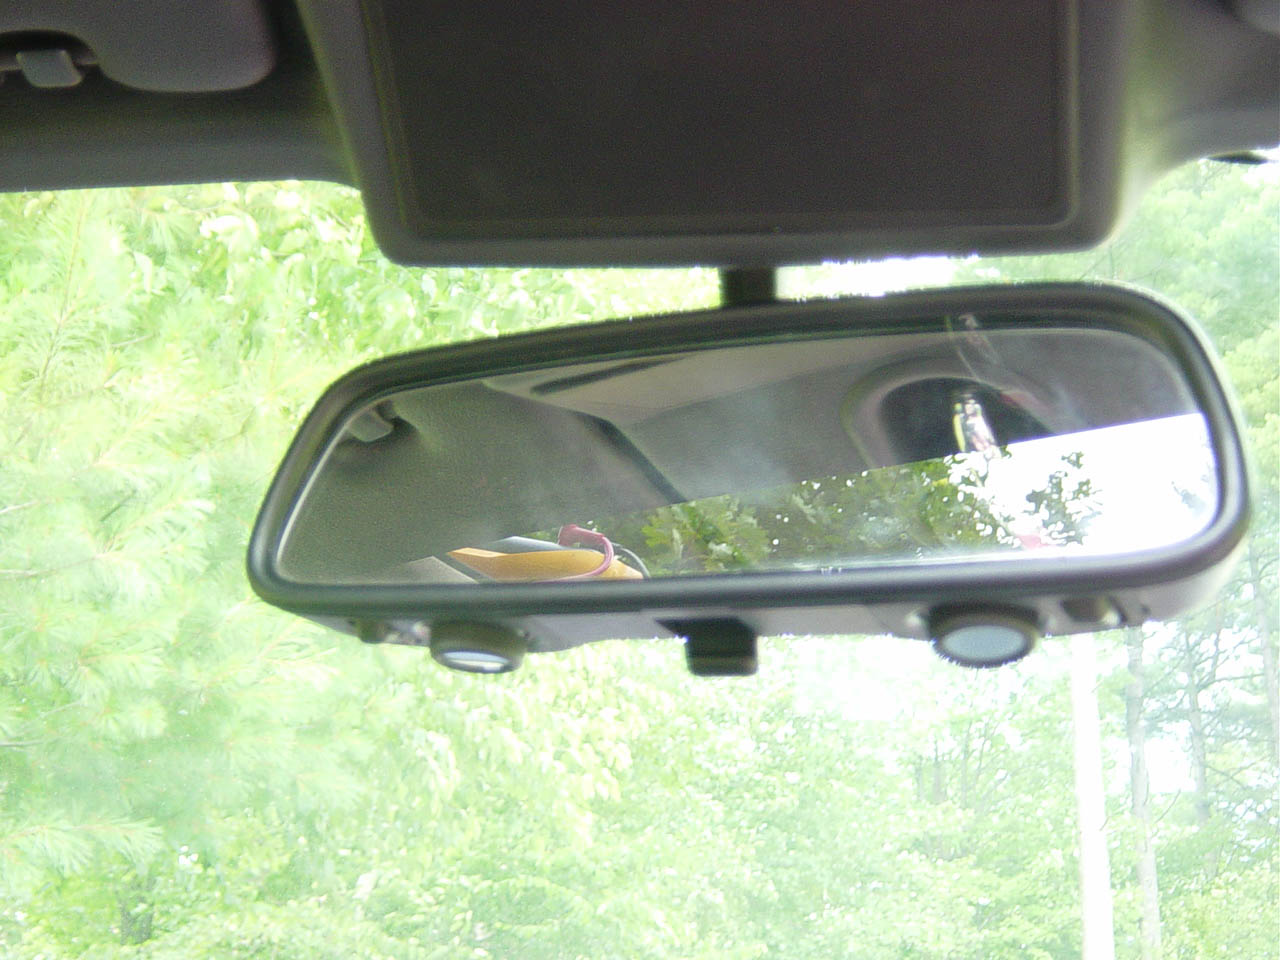
Pull out the old mirror by firmly grabbing the base of it
and twisting downwards. It is held in by tension.
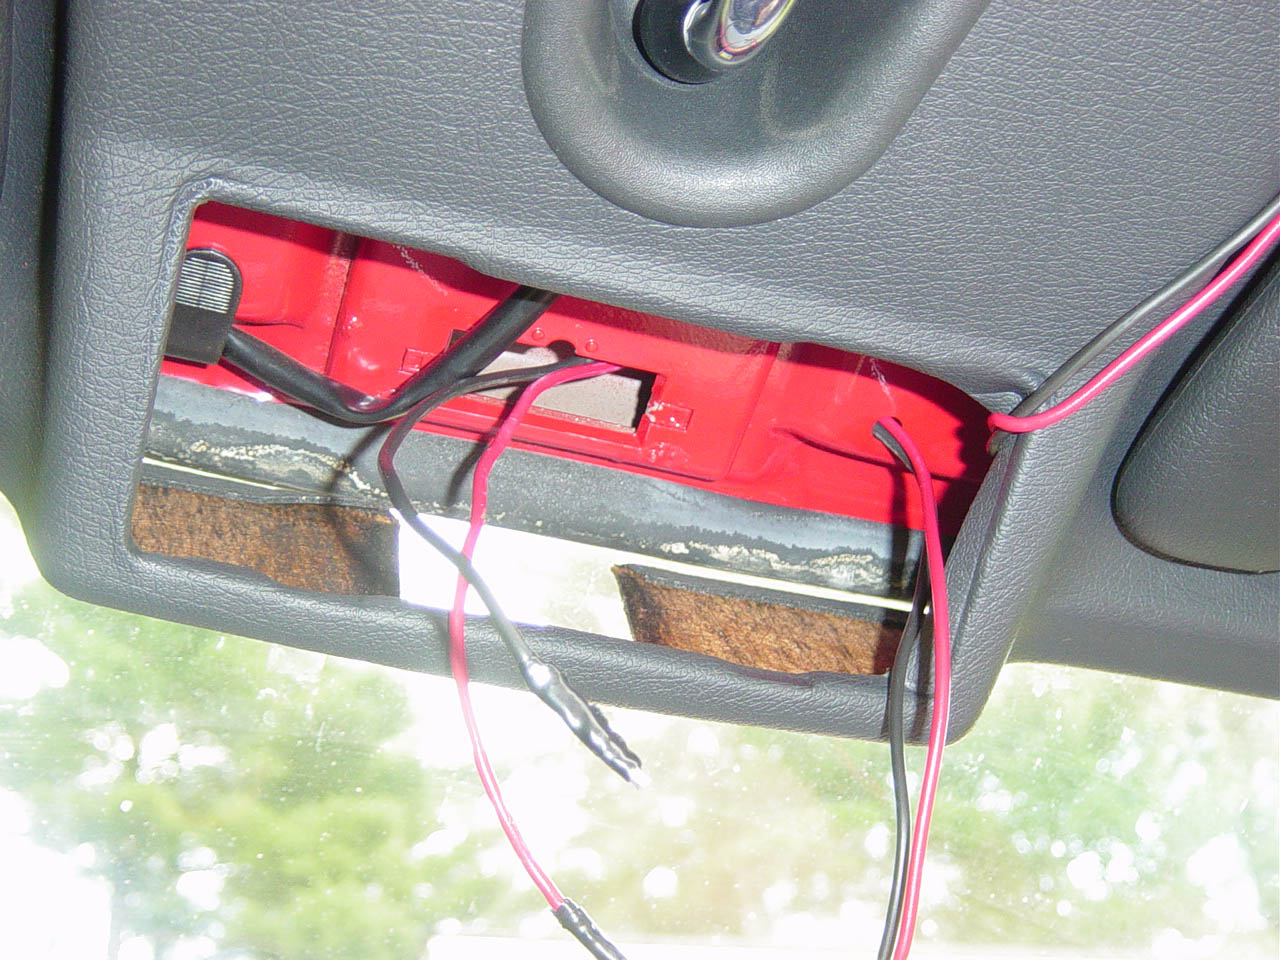
Route the red (12V) and black (GND) wires through the ceiling
over to the mirror area. I had to pull down my door trim but
the routing process was easy. |
 |
Grab the wires with the female pins that you soldered together
and route them through the large hole and the smaller hole to
the right. |
 |
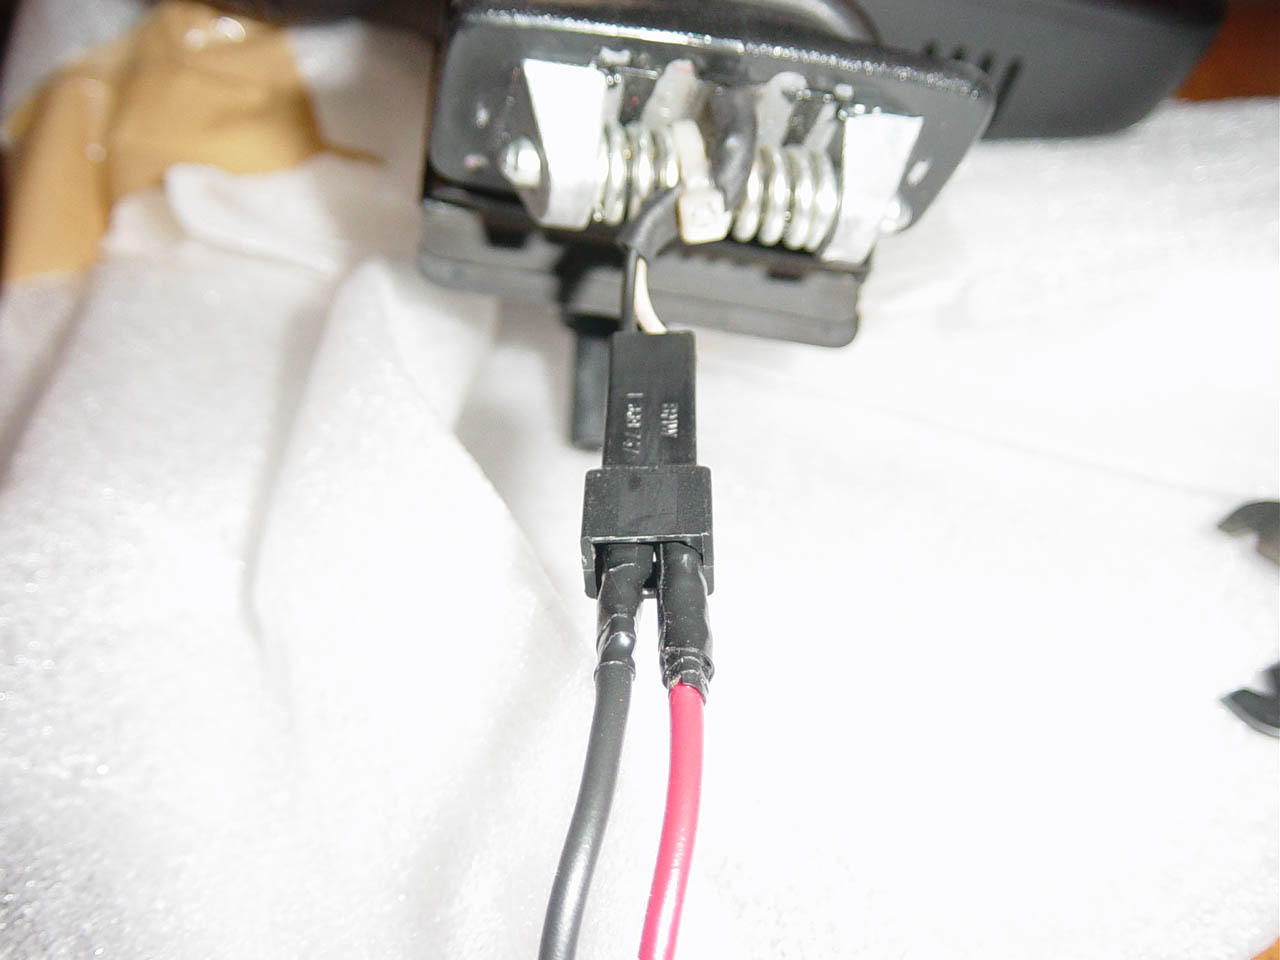
Plug your pins into the BMW connector on the maplight. The
red wire (12V goes toward the curved end of the connector. Make
sure the pins are in solidly and wrap it all with some electrical
tape for extra strength and piece of mind.
Install the new mirror by inserting one side and then pushing
the other side in. You'll probably see how it works by the time
you take the old mirror off.
Solder the wires from the connector and the wires that were
routed from the lamp together. Red to red. Black to black. |
 |
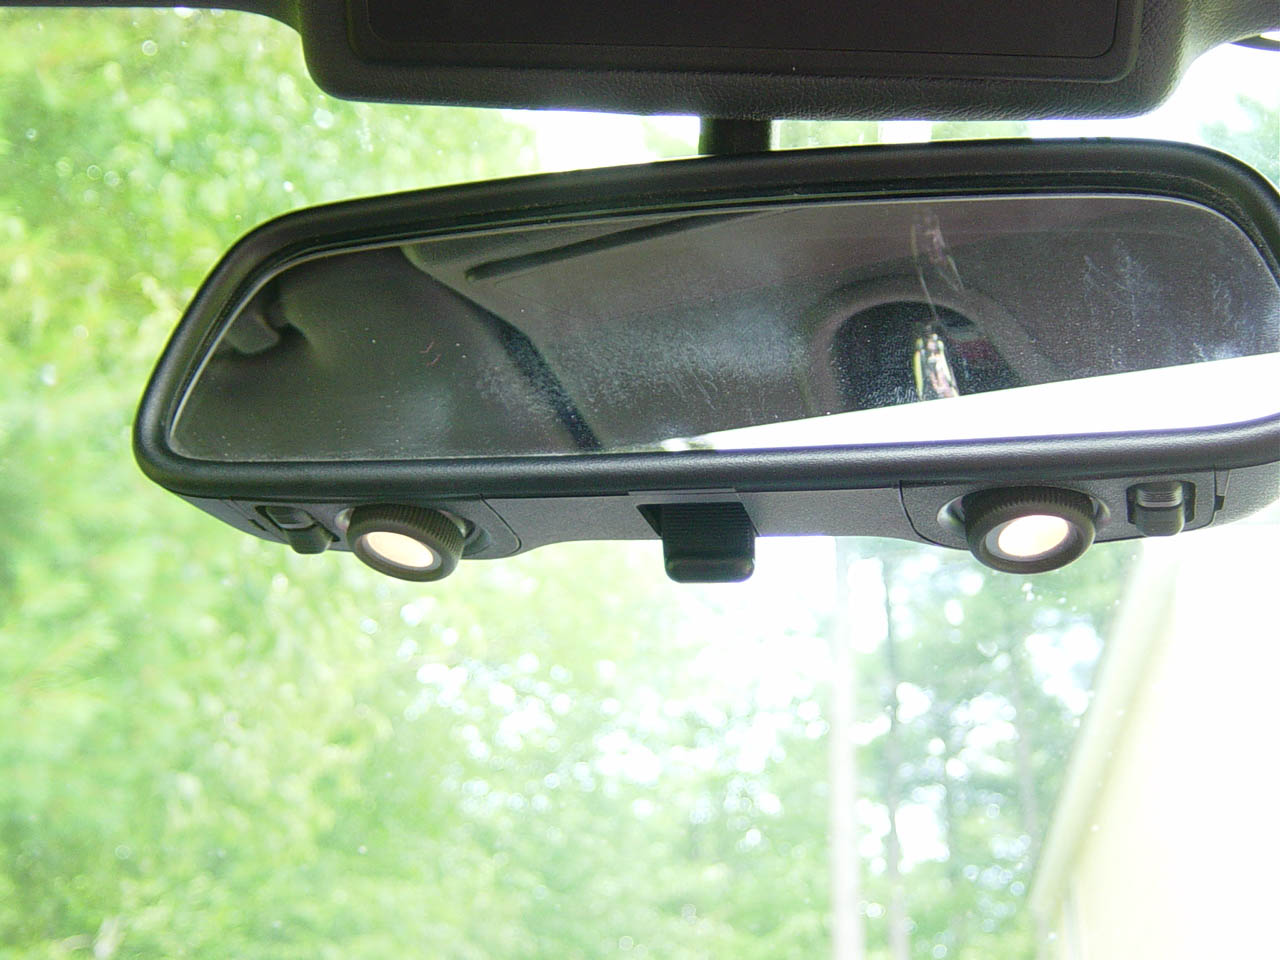
Reinstall the panel and test your maplight. |
 |
Adjust the know that pushed against the windshield until the
unit feels tightly secured. If it shakes while driving, adjust. |