318i Modification
-
CD/MP3 Player Installation
When I purchased the car the radio was missing. The previous owner
had a system in the car and ripped it out before selling the car.
Hanging out of the dash were several sets of RCA cables and numerous
random wires. Whatever factory radio harness used to be in the car
was gone. It took a while to discover what the previous owner had
done to the car. Luckily the guy left me with a good starting ground
for installing my new system. Like I said, the RCAs were already running
to the trunk along with a amp turn on line. The 5.25" speakers
in the rear deck lid and the front kick plates were upgraded with
Kicker and Kenwood speakers. Pod style tweeters were added to the
plastic plates that are near where the side view mirrors attach and
crossovers were installed to the front speakers and the tweeters.
All the speakers were wired into the trunk. There were already thick
power and ground wires leading to the trunk.
I have a 4 channel, 200W Denon amplifier that I wanted to use in
the car. The next step was finding a suitable head unit. My goals
for the head unit were:
1) Needs to play CDs and MP3s on CD-R and CD-RW formats.
I especially wanted MP3s because I have a large collection and it
is very handy to be able to put them onto one CD and have a ton of
music available. I also have several audio books and "learn foreign
language" audio books that I'd love to listen to on my hour long
commute to work. I wanted the ability to play CD-RWs because if I
burn an audio book and listen to it, I want to be able to reuse the
disc to burn another audio book.
2) Needs to have a simple, flat black faceplate.
My M3 has a Kenwood fold out screen with NAV and DVD. I love
the system, but when the screen is closed, it does not match the interior
of the car. I really wanted something that would look good in the
car. Too many head units I saw in my search had silver or glossy black
faceplates with crazy looking buttons and graphics on the LCD screens.
Most of them are obnoxious looking.
3) Needs to have red buttons and screen.
I really wanted the control buttons and screen to match the
dash lights in the car. I definitely didn't want a blue screen or
green control buttons.
My search finalized with the Clarion
DXZ645MP
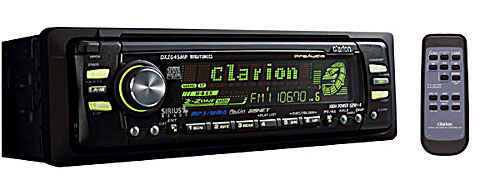
It has a relatively simple faceplate and is flat black. The great
part about this head unit is that you can change the colors of both
the LCD display and the control buttons to be between 80 different
colors. It also satisfies my CD/MP3 capability with the ability to
play CD-RWs.
I bought it from Audio Warehouse
Express. I saw it for less money on Ebay but there were several
reasons why I got it from AWE. First, the Ebay sellers were playing
games with the numbers. There were charging $25 for shipping and then
$5 for insurance. They also were adding 7% to 9% state sales tax and
they were all out of state. That sales tax was going right into their
pocket. With these extra fees, the Ebay price came within the $20
of the AWE price. The Ebay sellers supposedly would replace defective
equipment but it had to be within 3 days of receiving the product
and a certified stereo repair shop had to take the defective radio
and prove that it was defective when you received it. Can you see
where this is going? The Ebay seller's warranty is crap. I don't want
to be rushed to installing the unit to see if it works and I don't
want to have to take it to a stereo repair shop and pay for them to
troubleshoot it. The Clarion comes with a 1 year factory warranty,
but only if you buy it from a certified dealer. The certified dealers
sell the unit for a good amount more than a non-certified dealer.
AWE isn't a certified dealer but they give a replacement warranty
that isn't absurd like that of the Ebay seller's. I ended up paying
about $10 for shipping and got it the very next day.
BMW Parts:
Antenna Grommet- 65 21 1 376 008
Click on the thumbnails for larger pictures.
 |
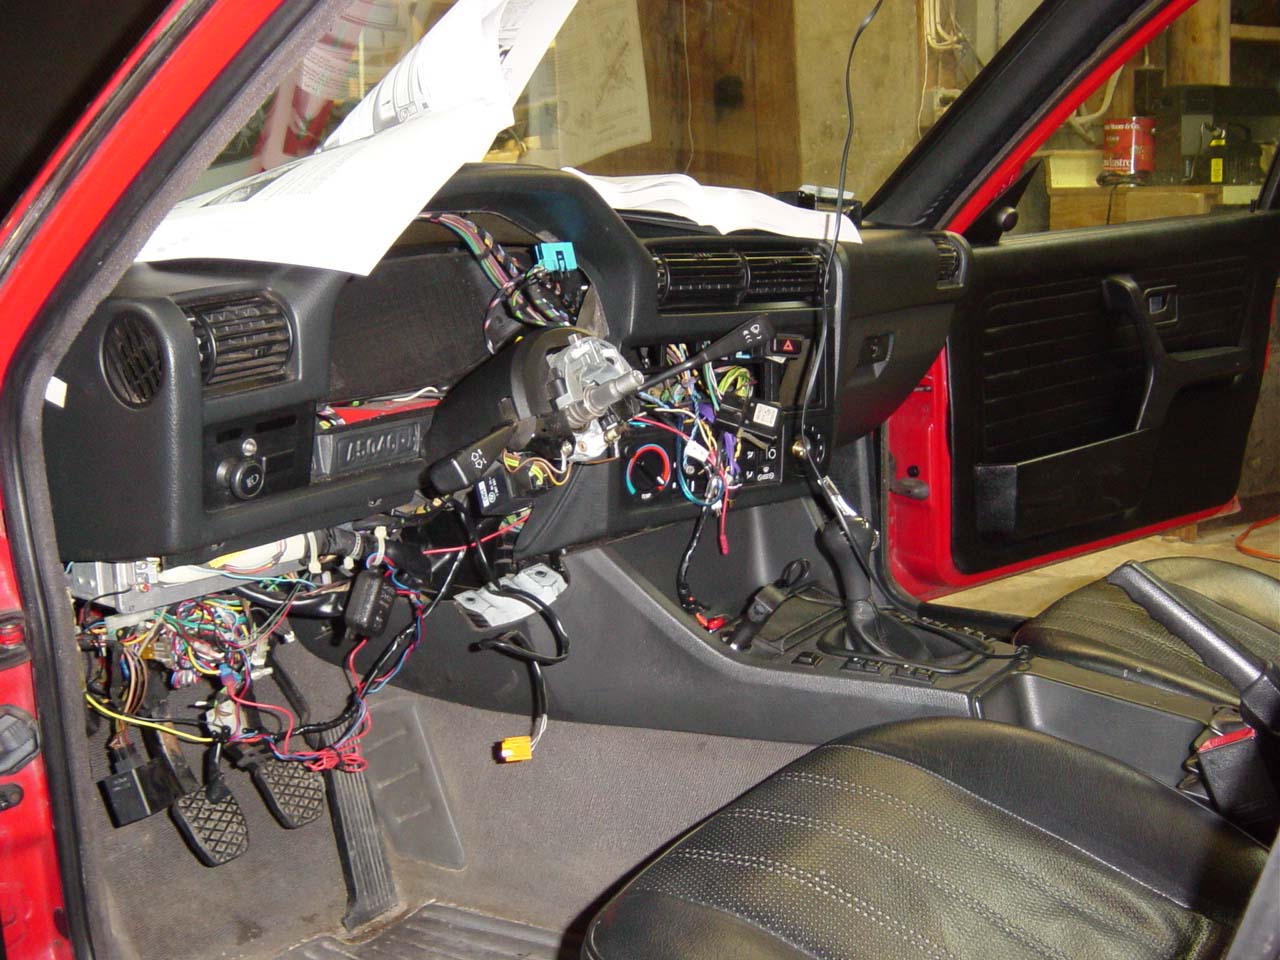
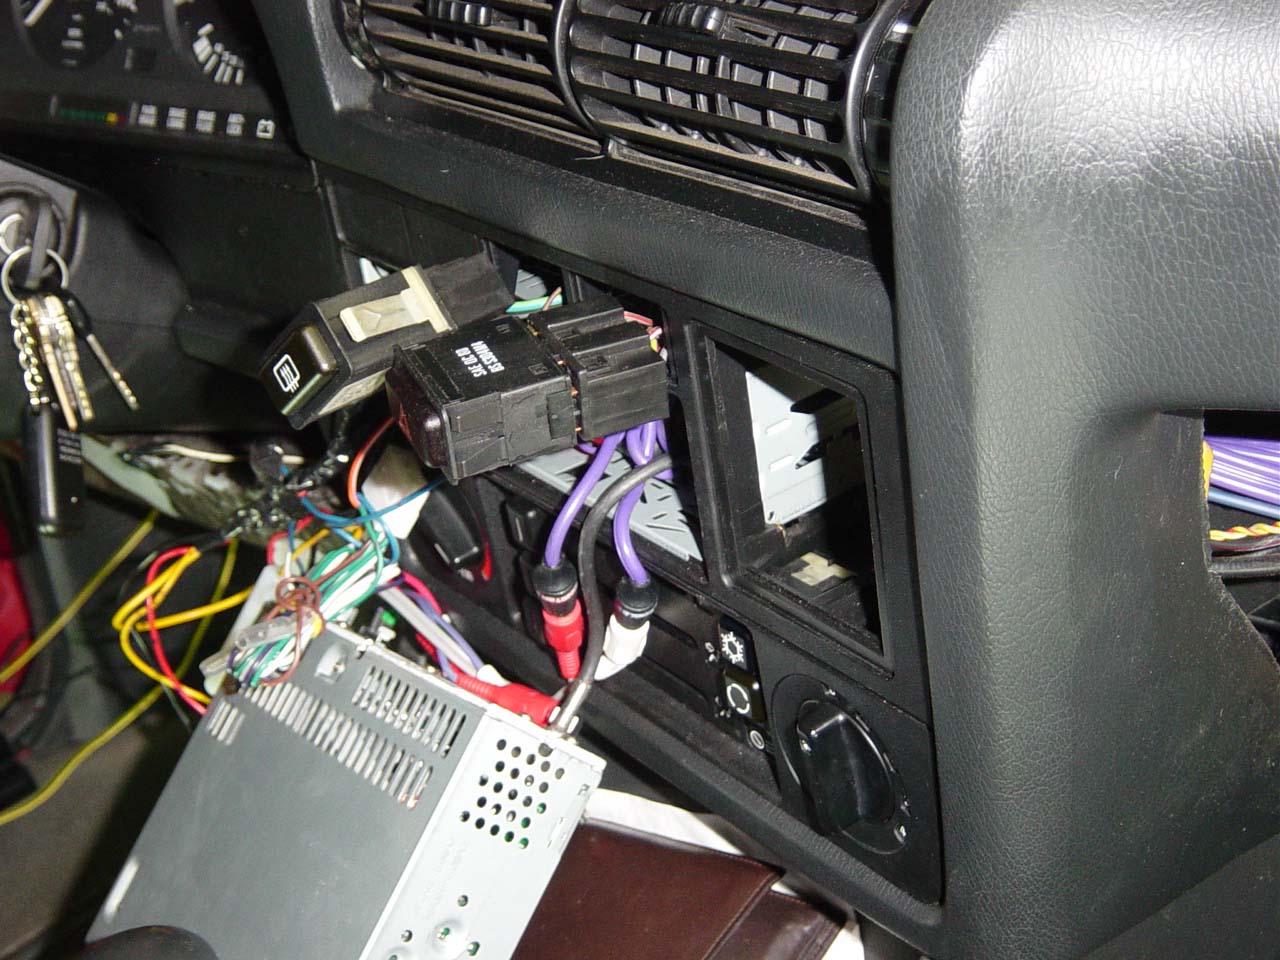
Here is a picture of my car when I was removing
the dash cluster to replace some dash console lights. When I
removed the lower knee bolster below the steering wheel, a pile
of wires fell out. The wiring was a mess. The previous owner
had added a mile of wiring. I suspect there is the remnants
of some stereo modifications and an alarm system (notice the
square shock sensor below the dash cluster?). There were wires
with metal exposed. He had a wire connected to a splice, connected
to another splice, connected to yet another splice. It took
a while, but this rats nest of wires was removed. |
 |
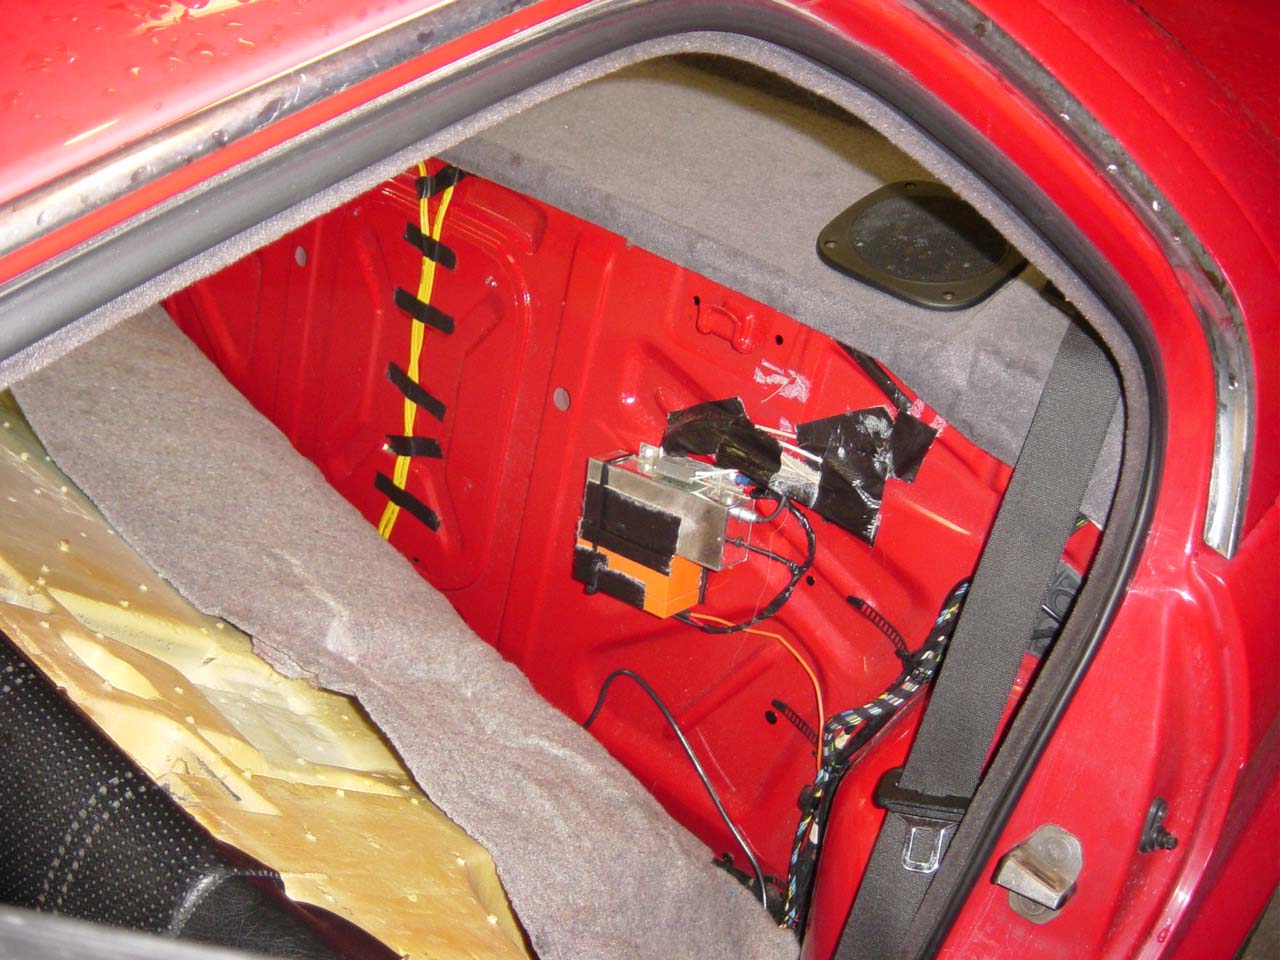
While digging behind the back seat, I found this device. I posted
a picture on Roadfly.Org (bimmer.org) asking what it is. The friendly
forum members told me that it had to be a bomb or a weapon of
mass destruction. After taking it out, it is my best guess that
it was an old Lo-Jack system. The orange part on the bottom is
a battery and the metal box near the top had coax coming out to
it going to an antenna. Perhaps it was one of the first Lo-Jack
systems because it is so big and so poorly hidden. |
 |
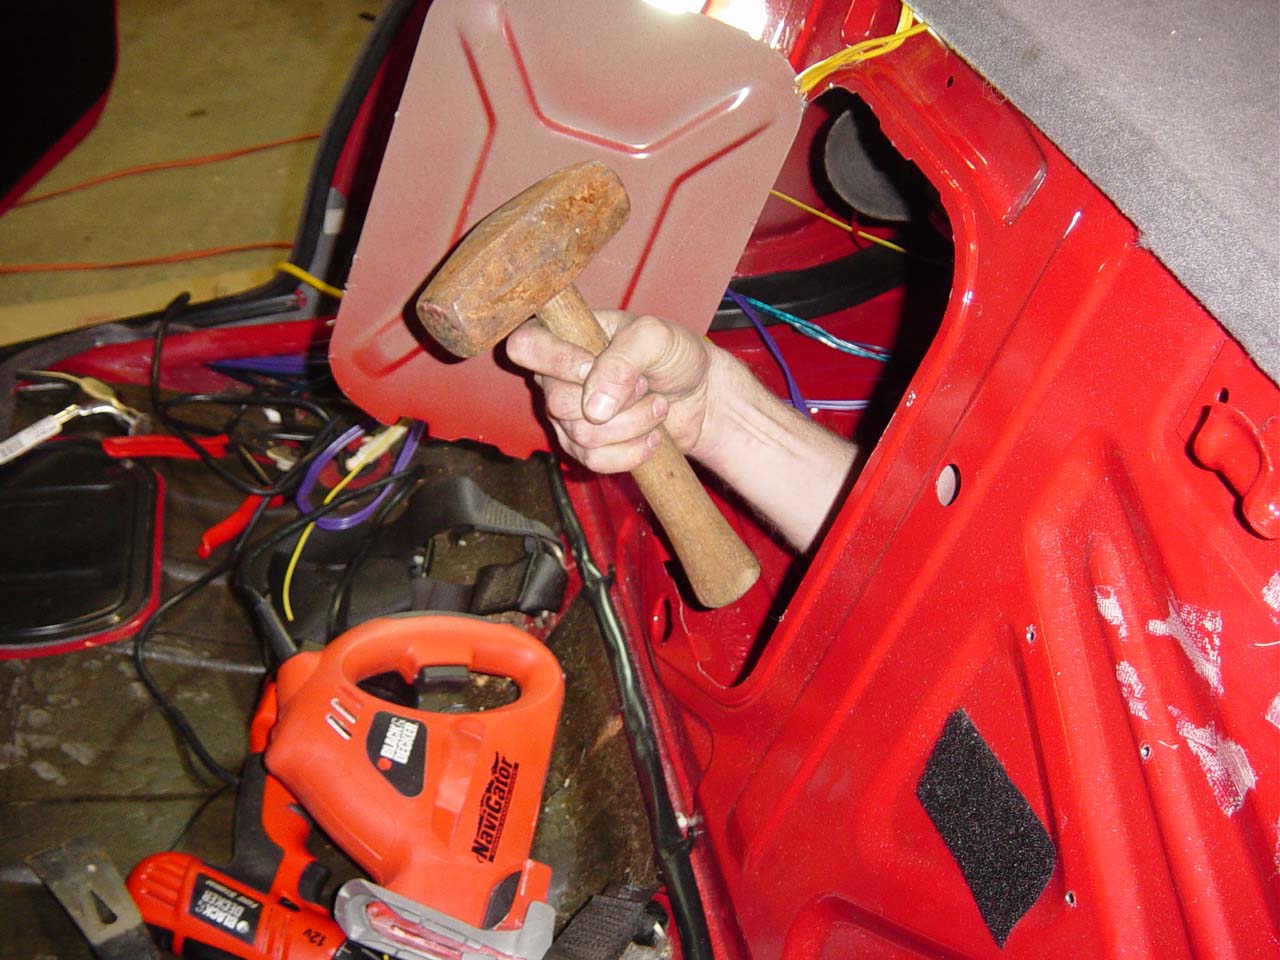
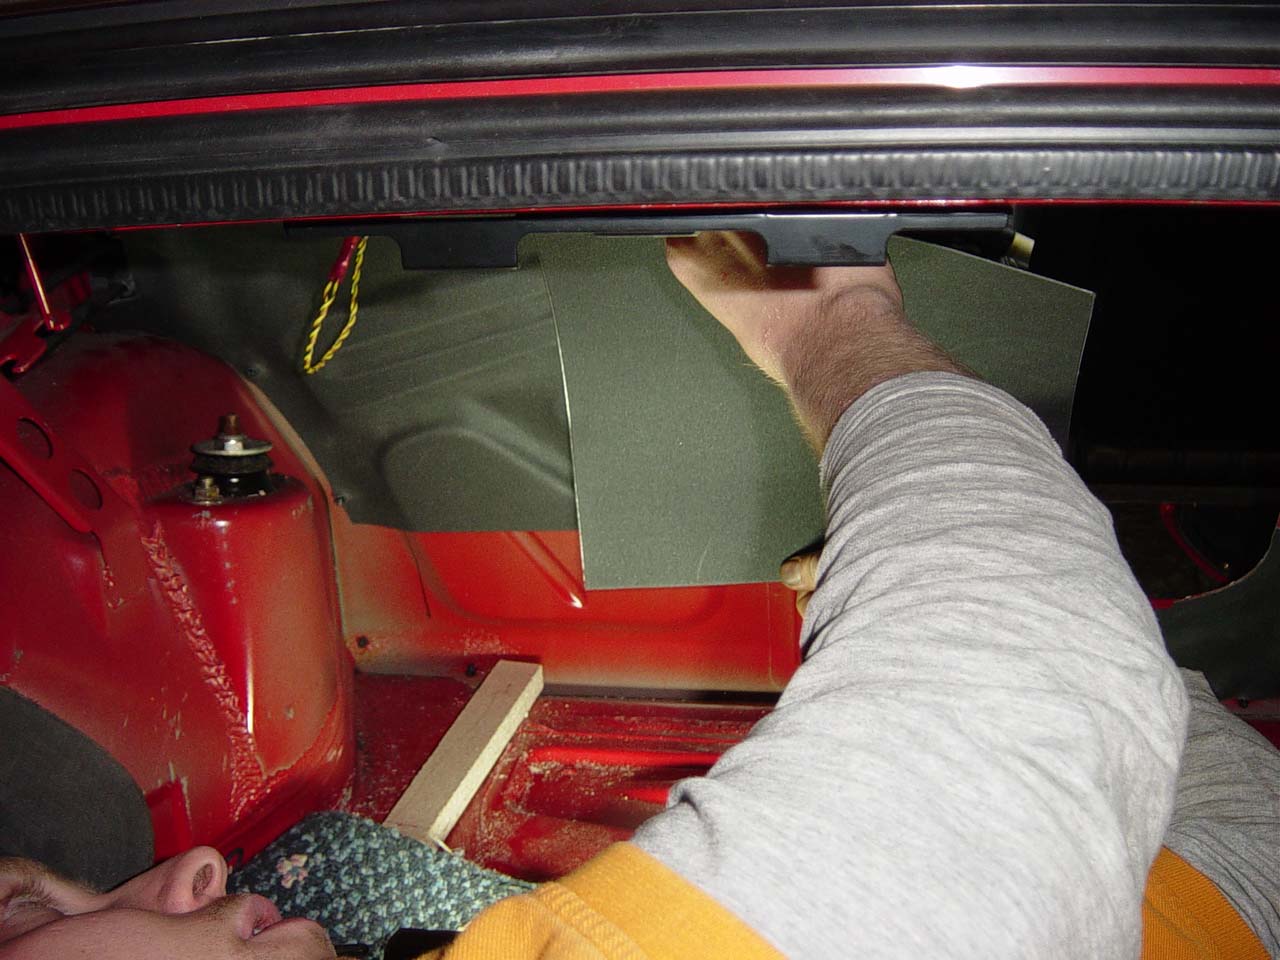
Some E30s were equipped with a hole going to the trunk for a
ski-bag. My 318i wasn't equipped with the hole, but the metal
is easily popped out. One tap with a large hammer cohersed the
metal out. |
 |
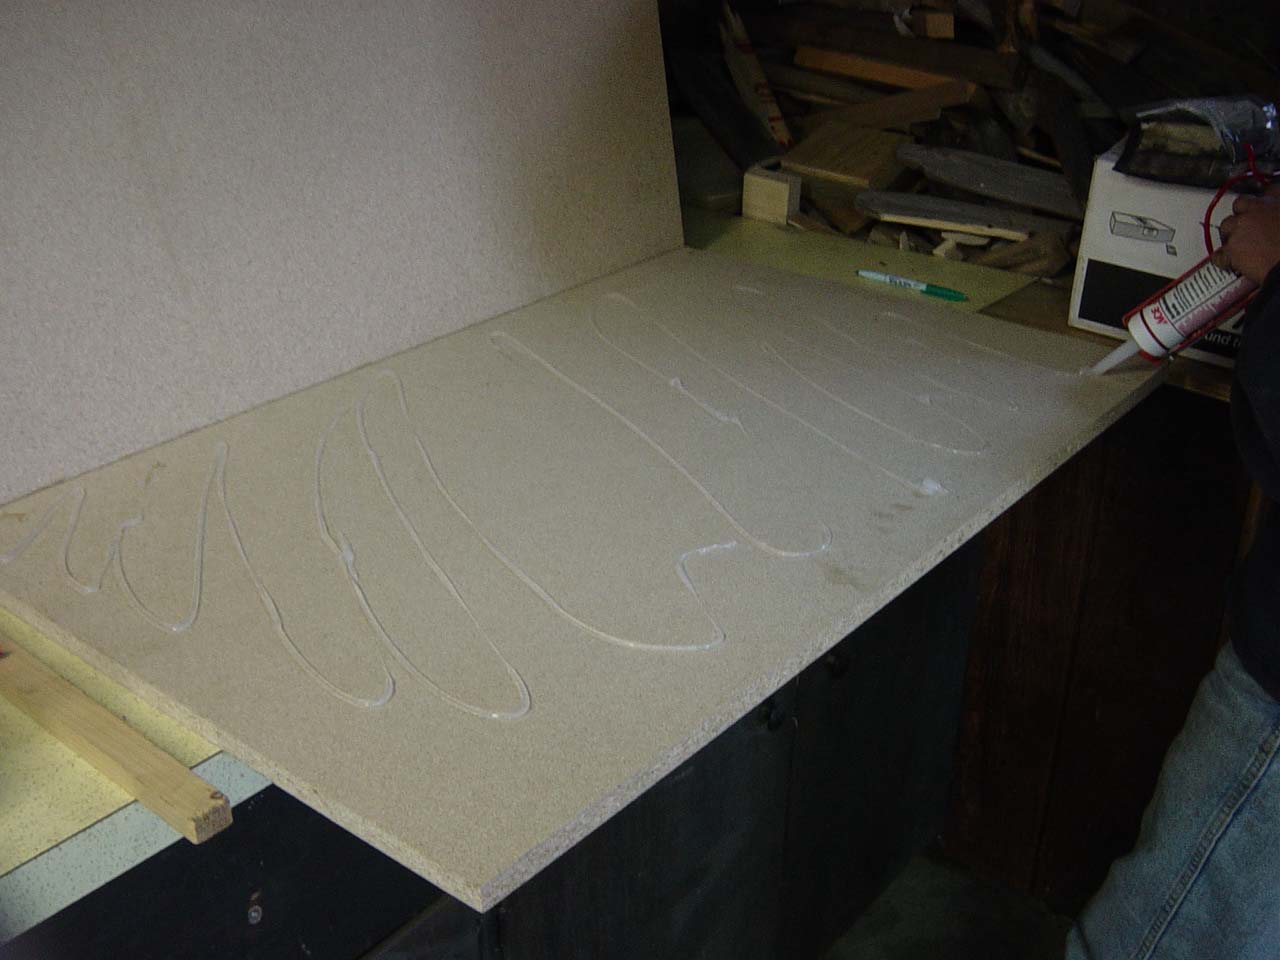
The plan is to mount my 12" Kicker Subwoofer to a plank
of wood and attach it to the inside of the trunk so the sub points
toward the hole behind the rear seat. Start with two thick pieces
of MDF. Attach some glue. |
 |
Glue and screw the second piece of MDF to the first. |
 |
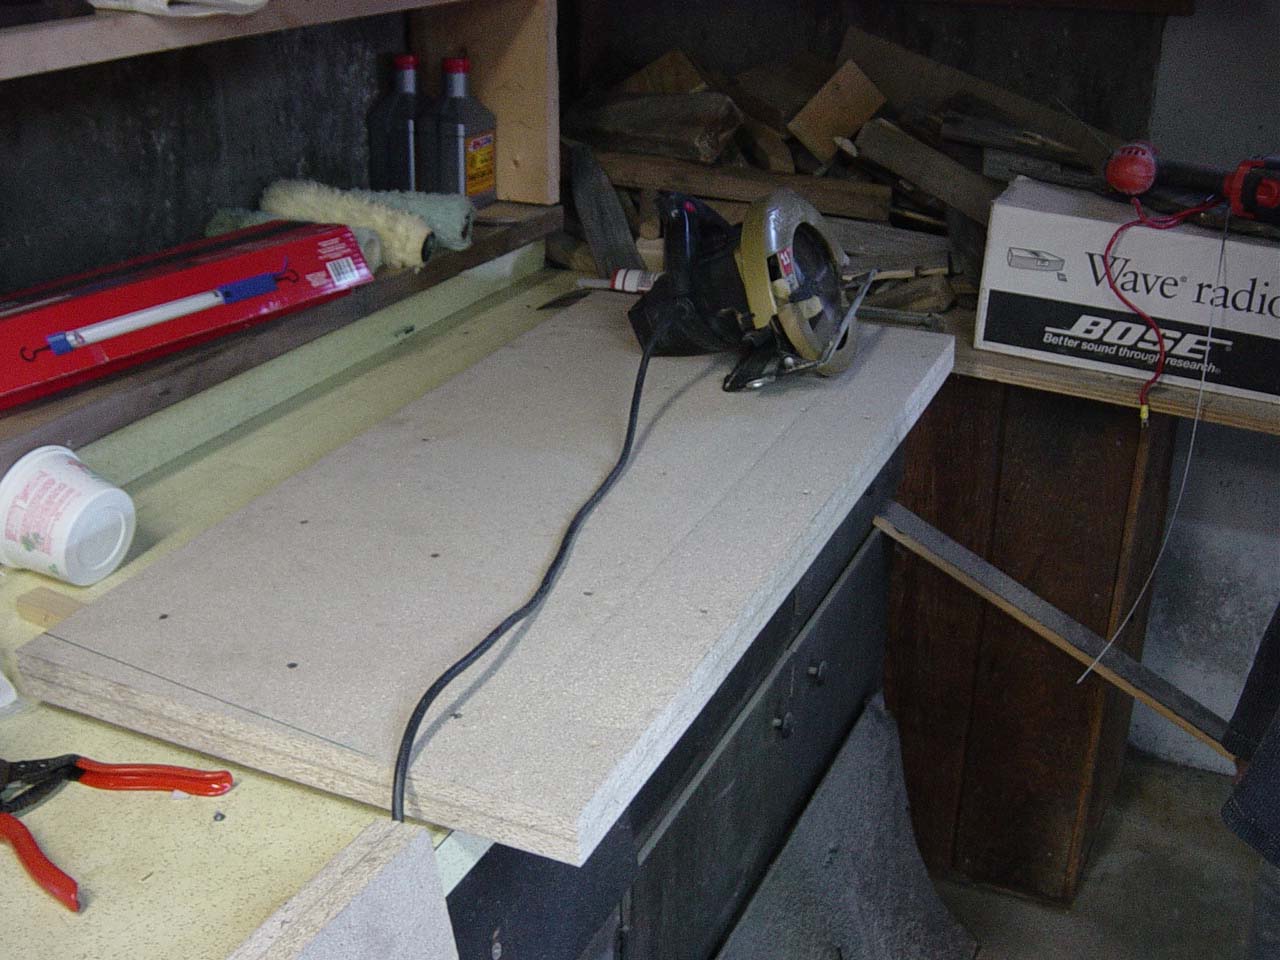
After the glue dries, measure the trunk and begin to trim the
wood. |
 |
Cut out a hole for the sub. |
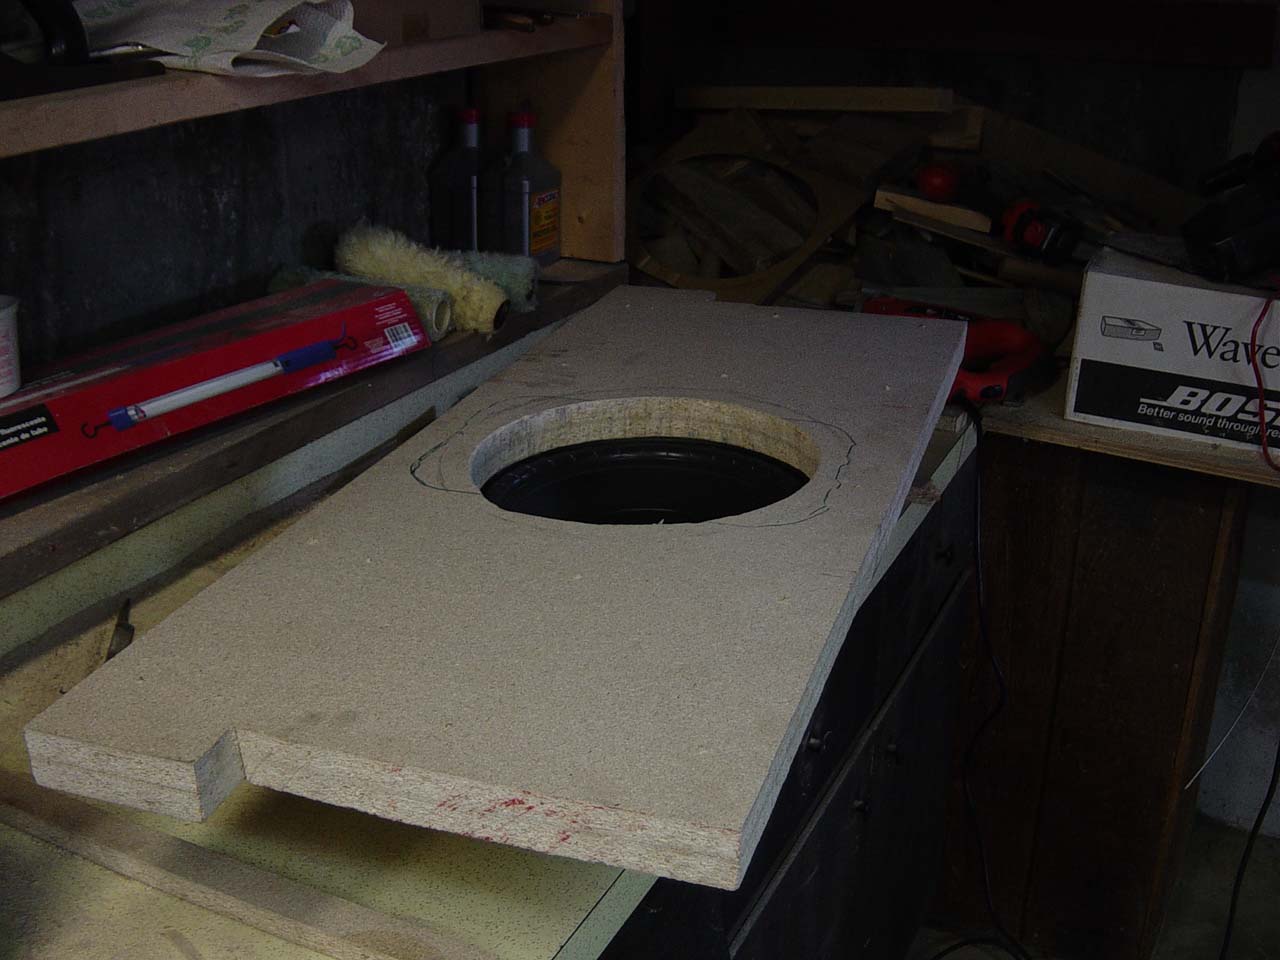
 |
The trace is where the ski-hole is. |
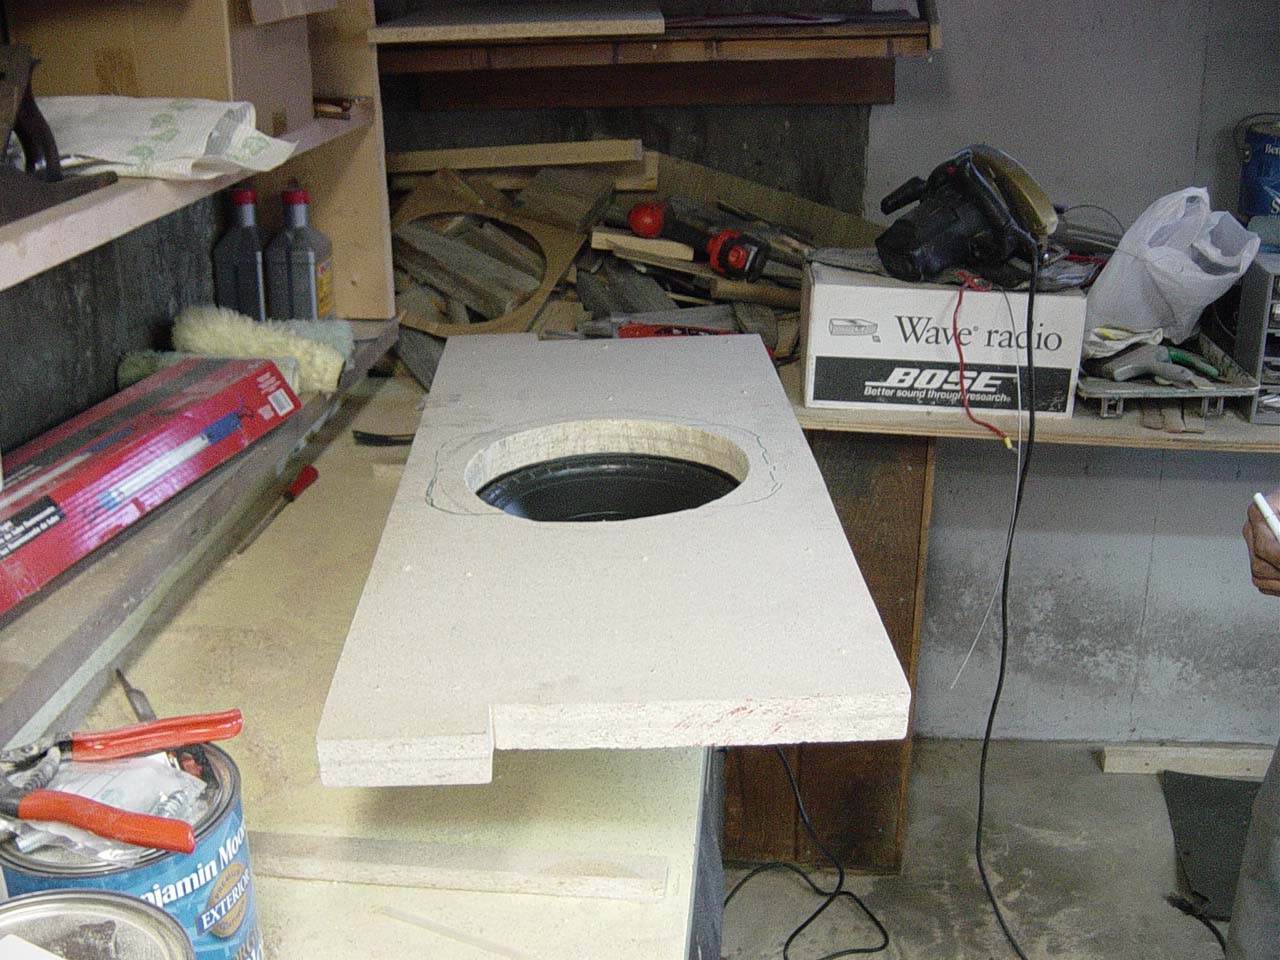
 |
This is the finished shape. Spray paint the MDF or cover it
with carpet. |
 |
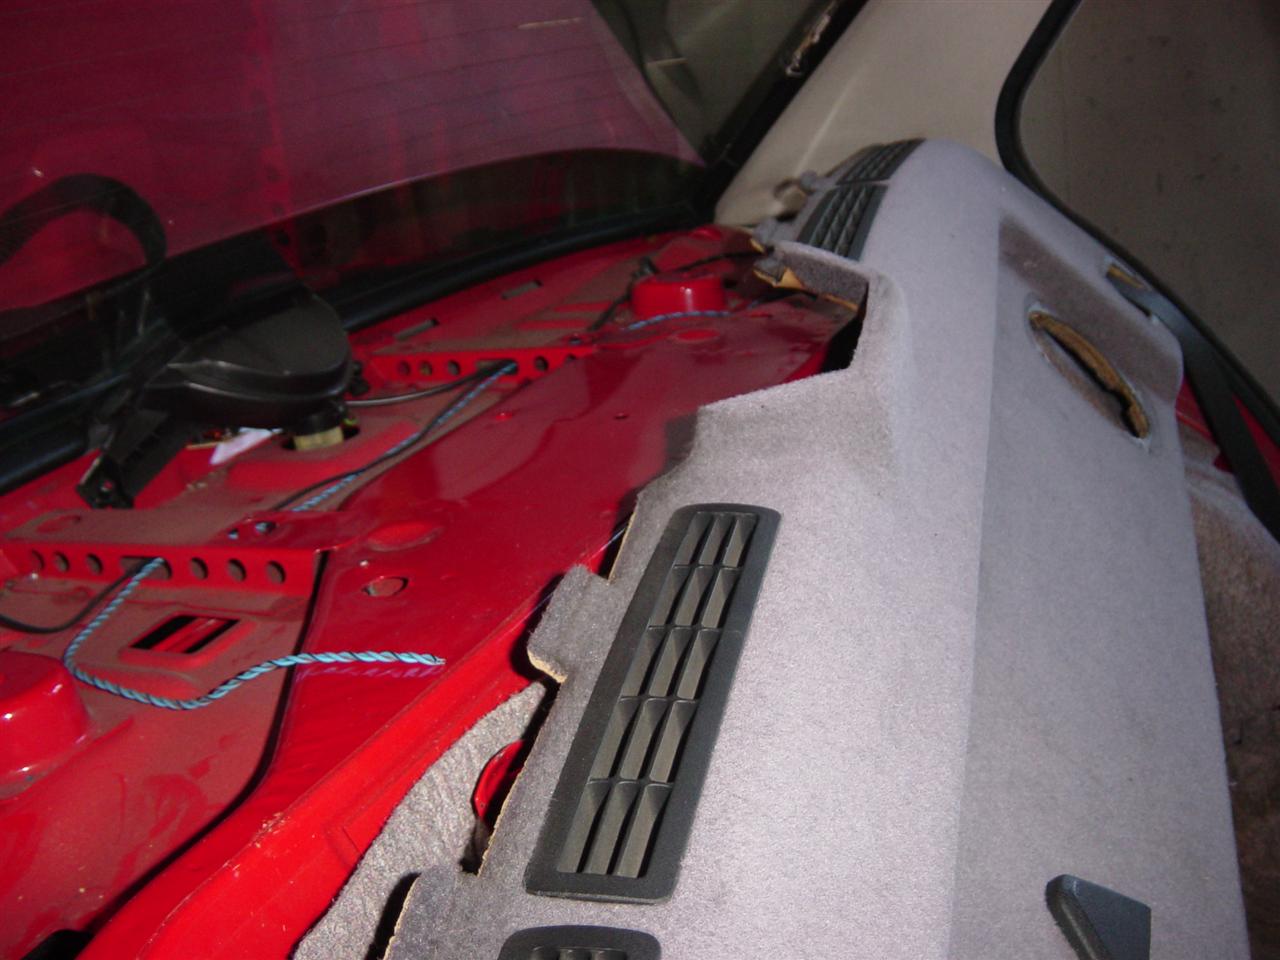
Run some RCA wires from the stereo to the trunk. From what I
have seen and read, there seems to be less crosstalk problems
if you run the wires down the driver's side of the car. |
 |
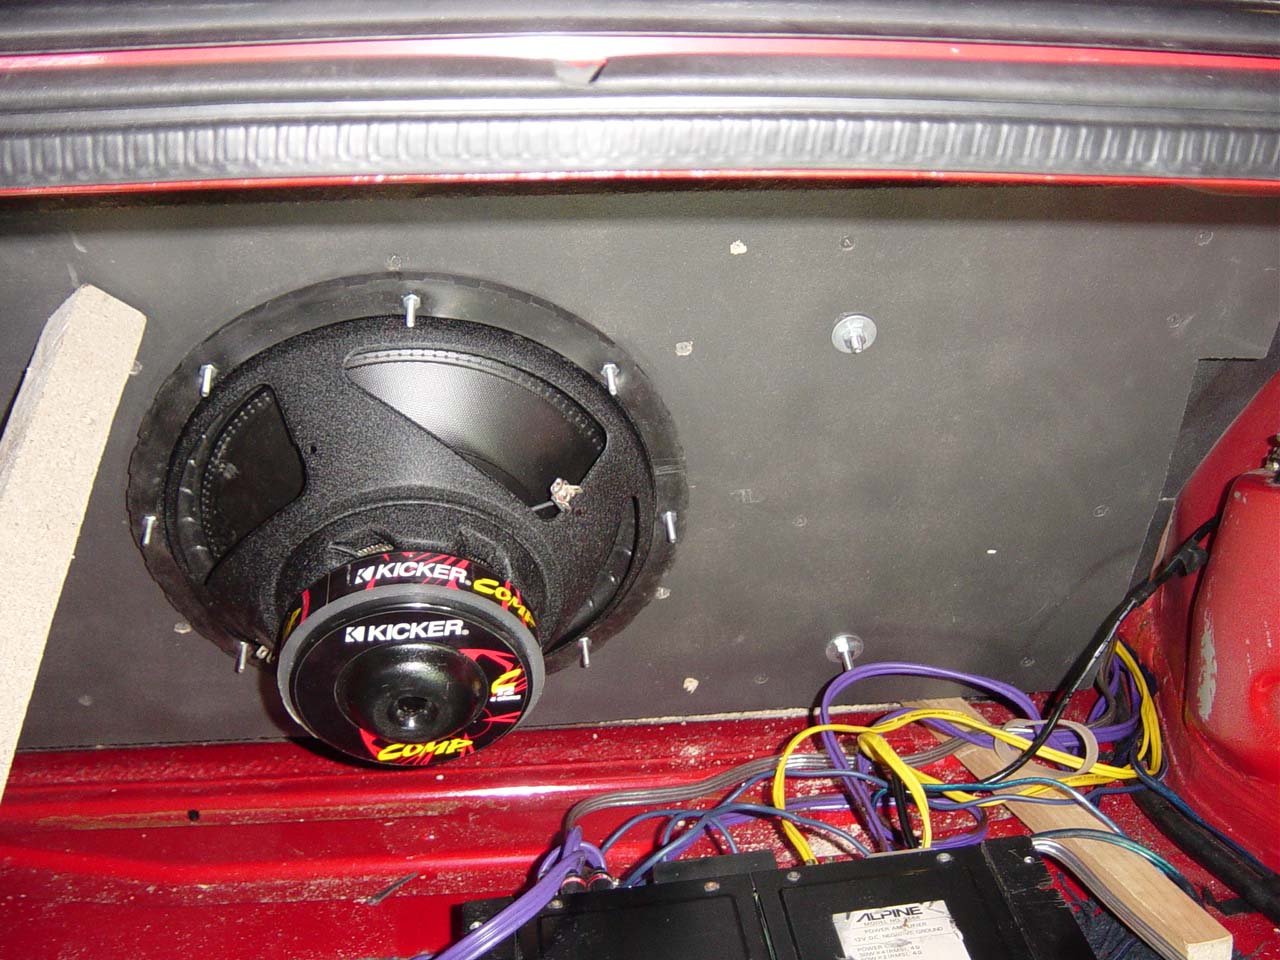
The rear trunk metal was lined with Accumat. |
 |
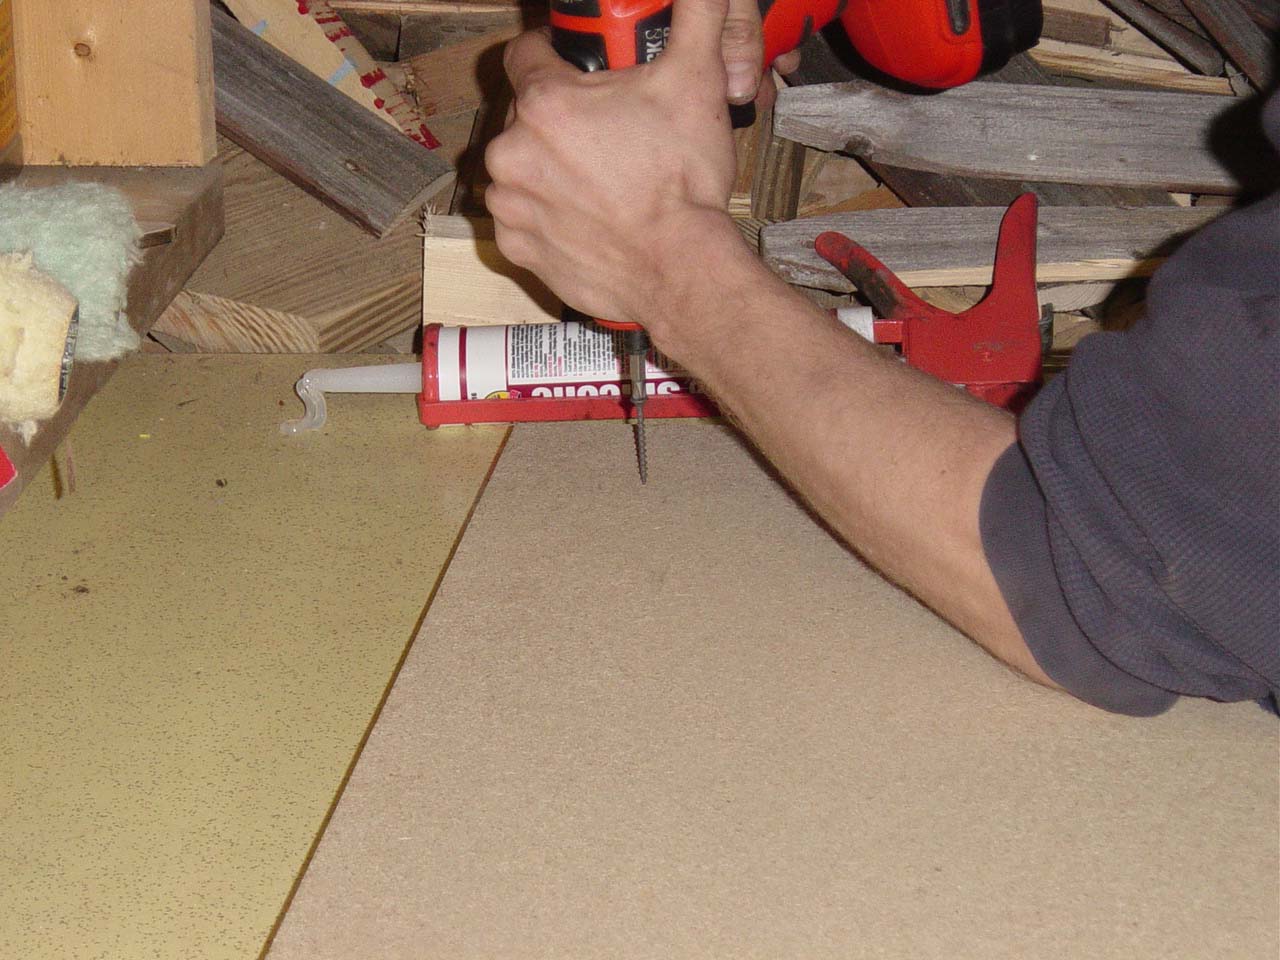
The new sub deck is mounted to the metal in the trunk by drilling
holes through the metal and wood and using screws, washers, and
bolts. |
 |
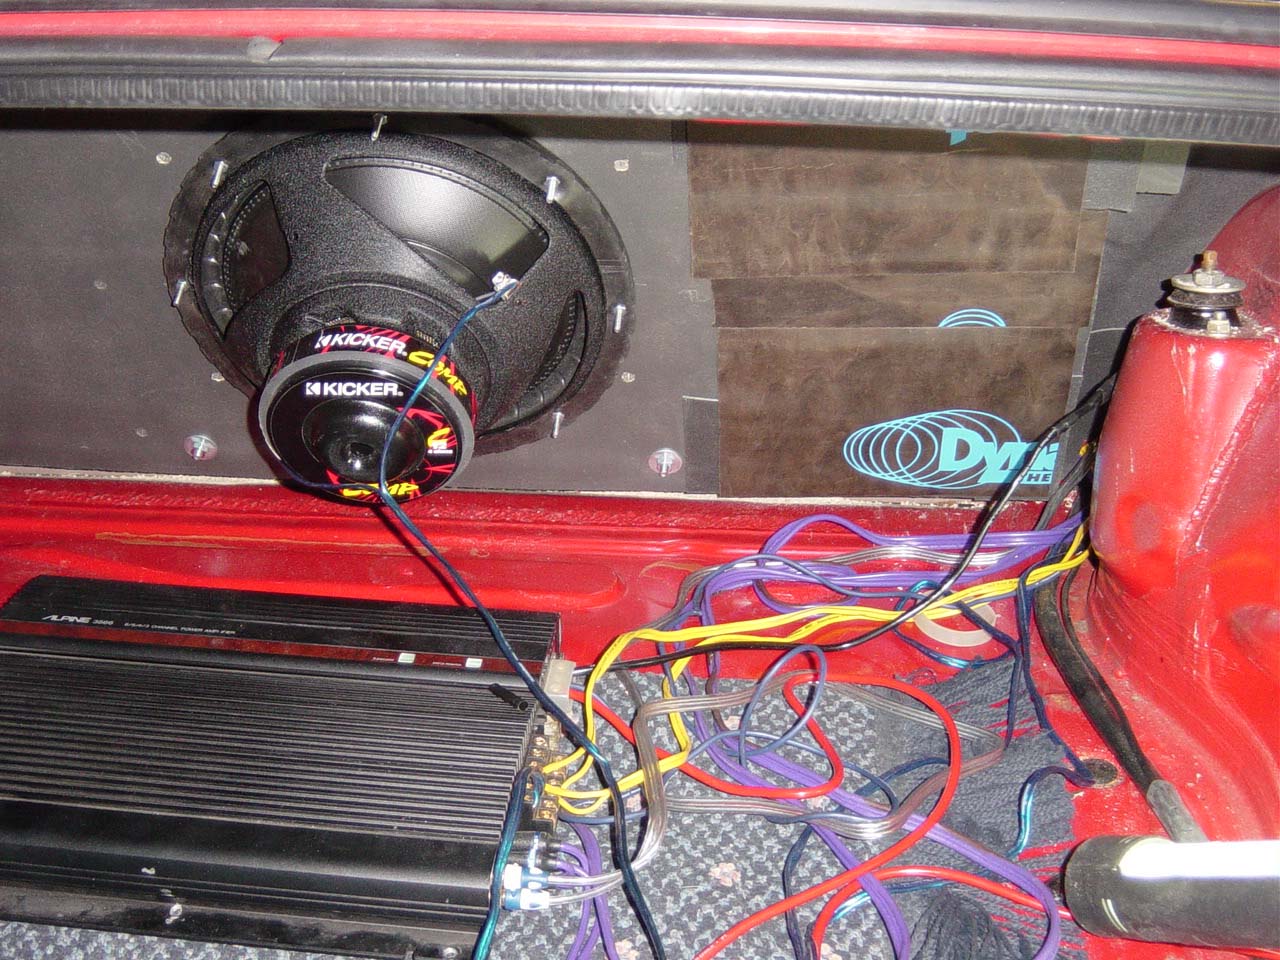
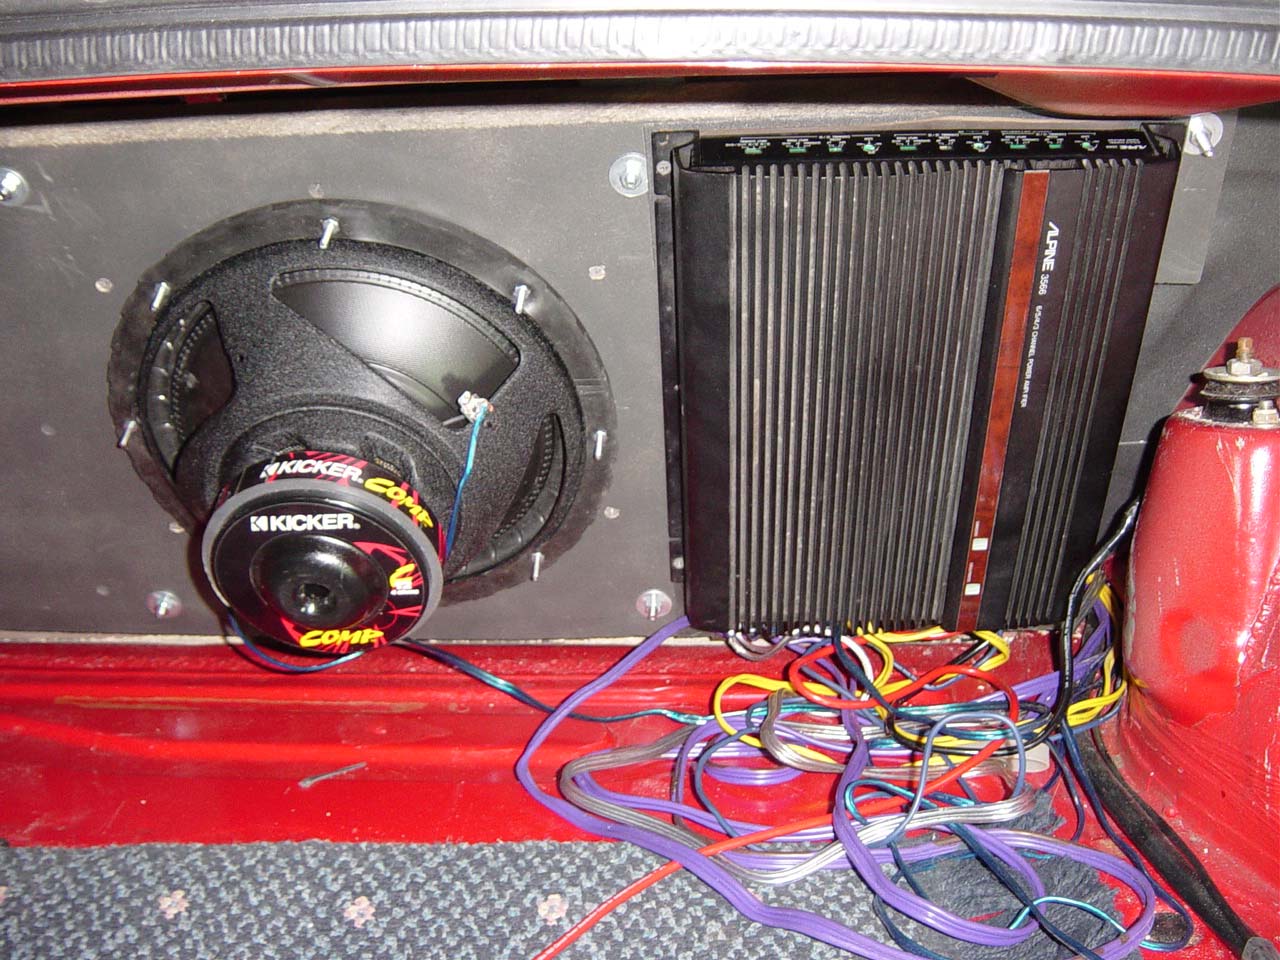
I purchased a 3/4/5/6 channel Alpine 3566 amplifier from eBay.
A bit more Dynamat is used under where the amp will sit to help
with vibrations. |
 |
Here is a picture of the amp attached. |
 |
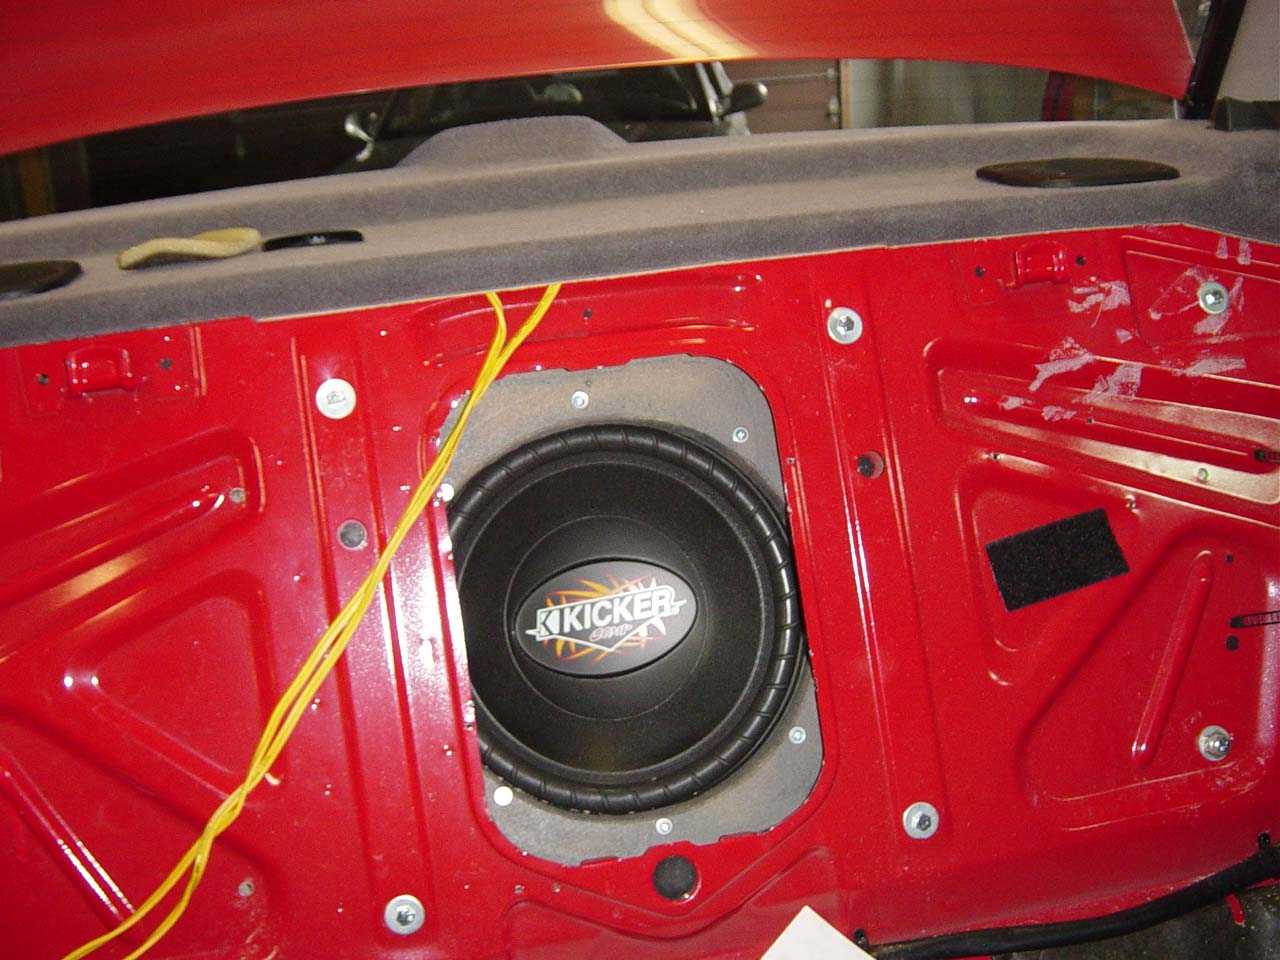
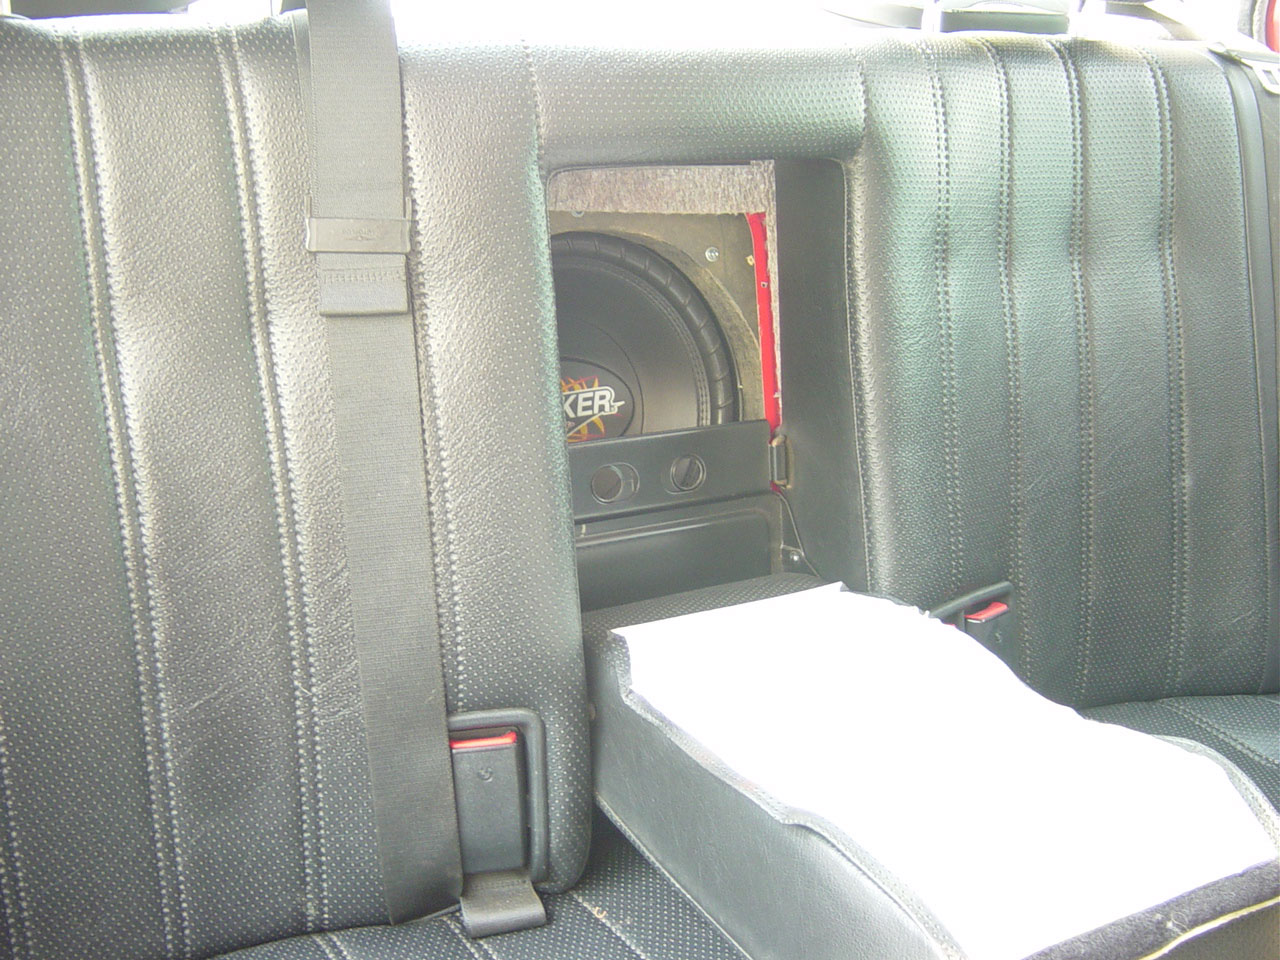
From inside the car, here is the sub peeking through the ski-hole. |
 |
Same picture with the padding back in place. |
 |
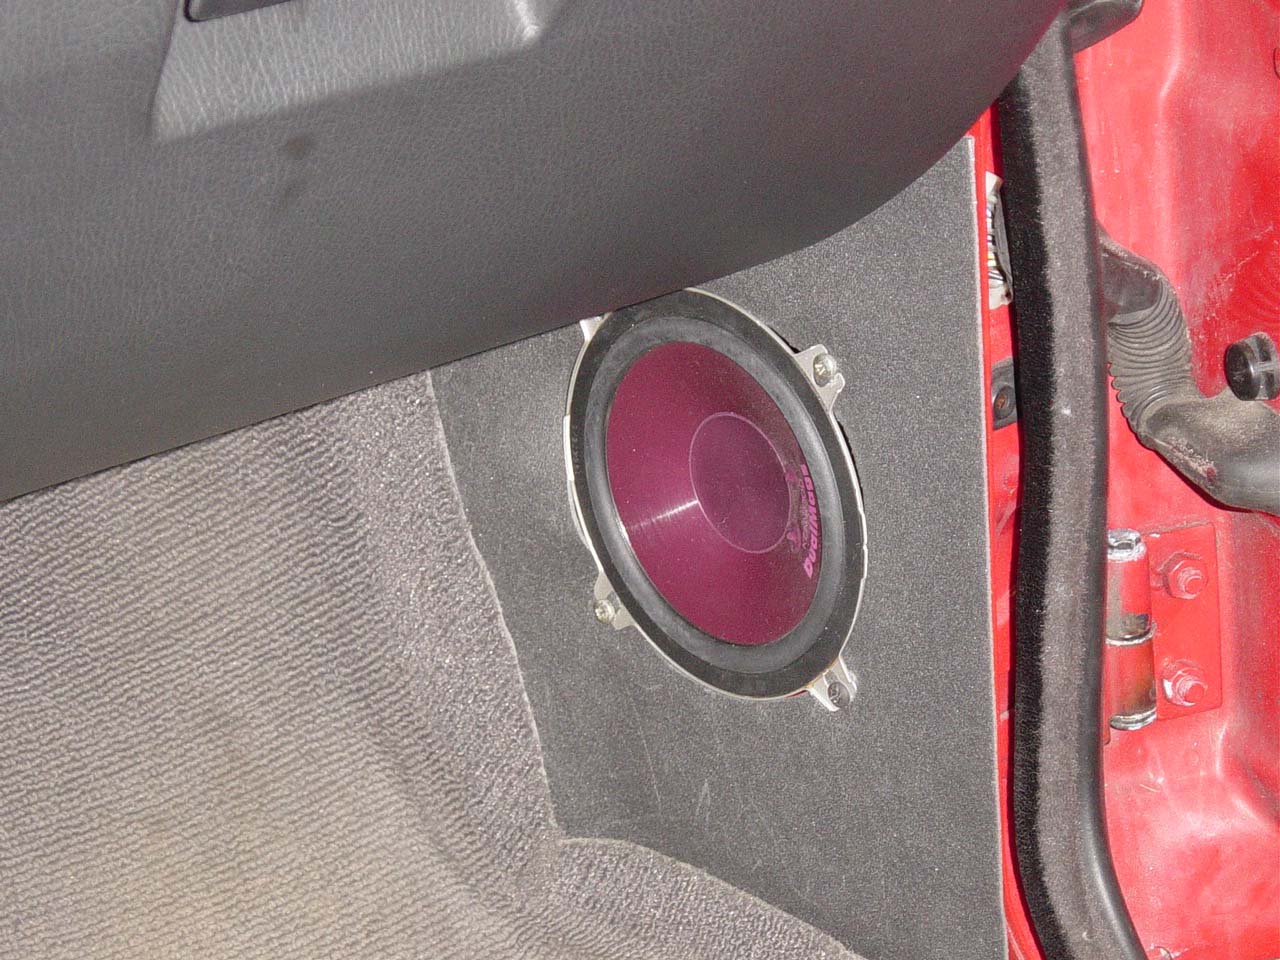
The left over Accumat was used around the front speakers. |
 |
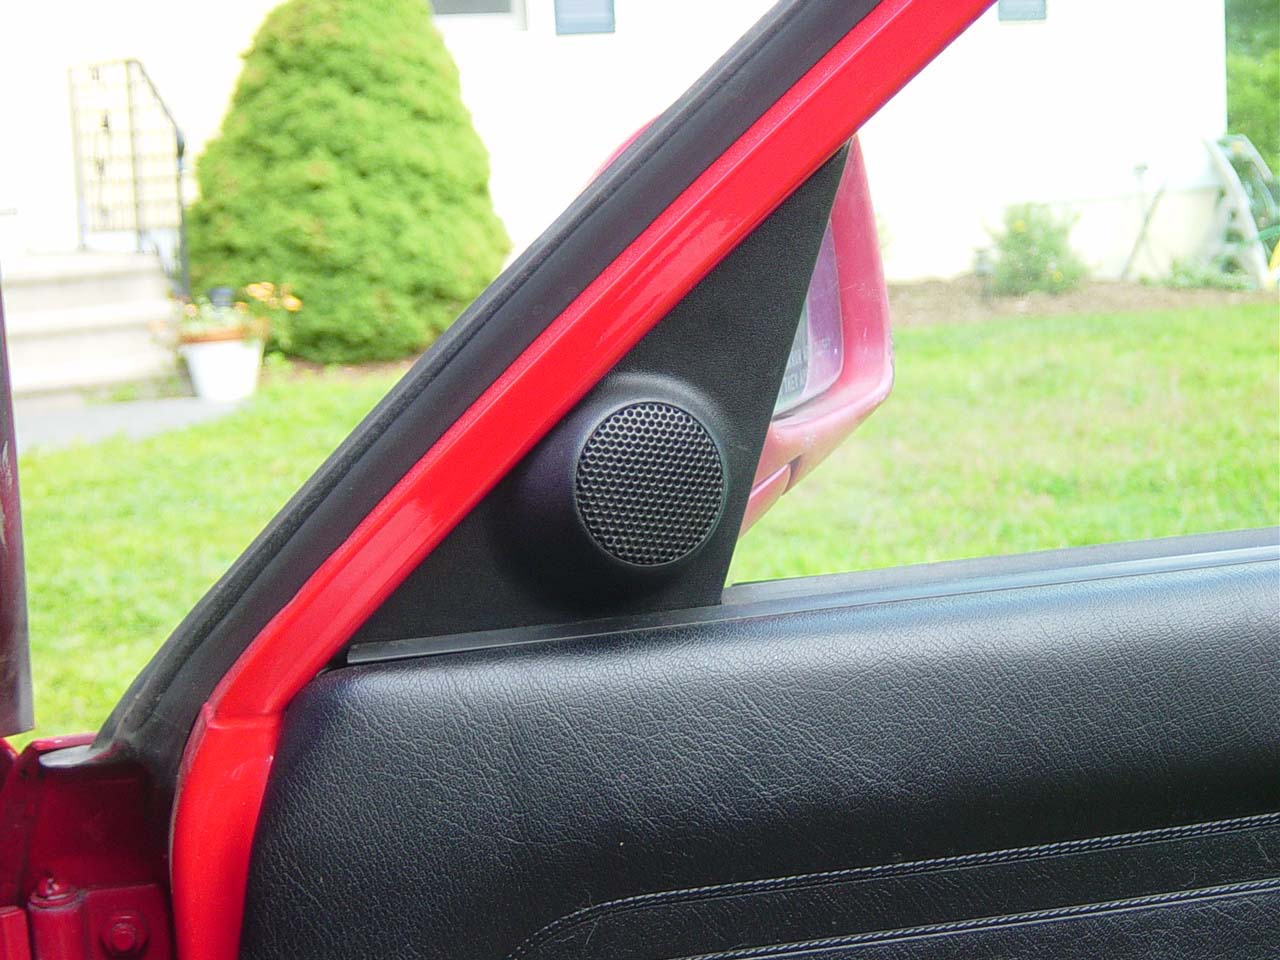
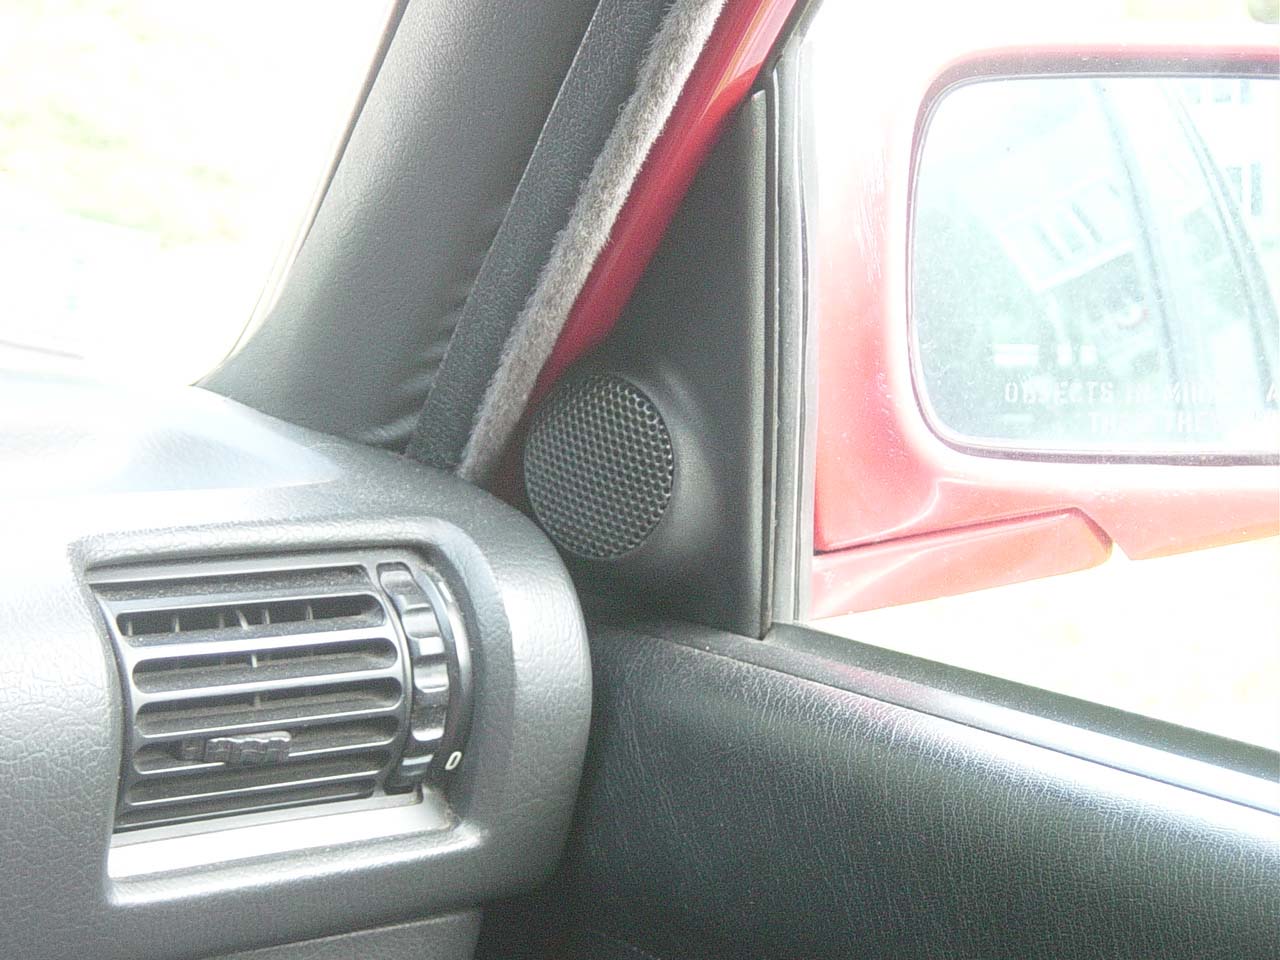
I added the factory premium sound system tweeter pods. They
look great. |
 |
Another picture of the tweeter pods. |
 |
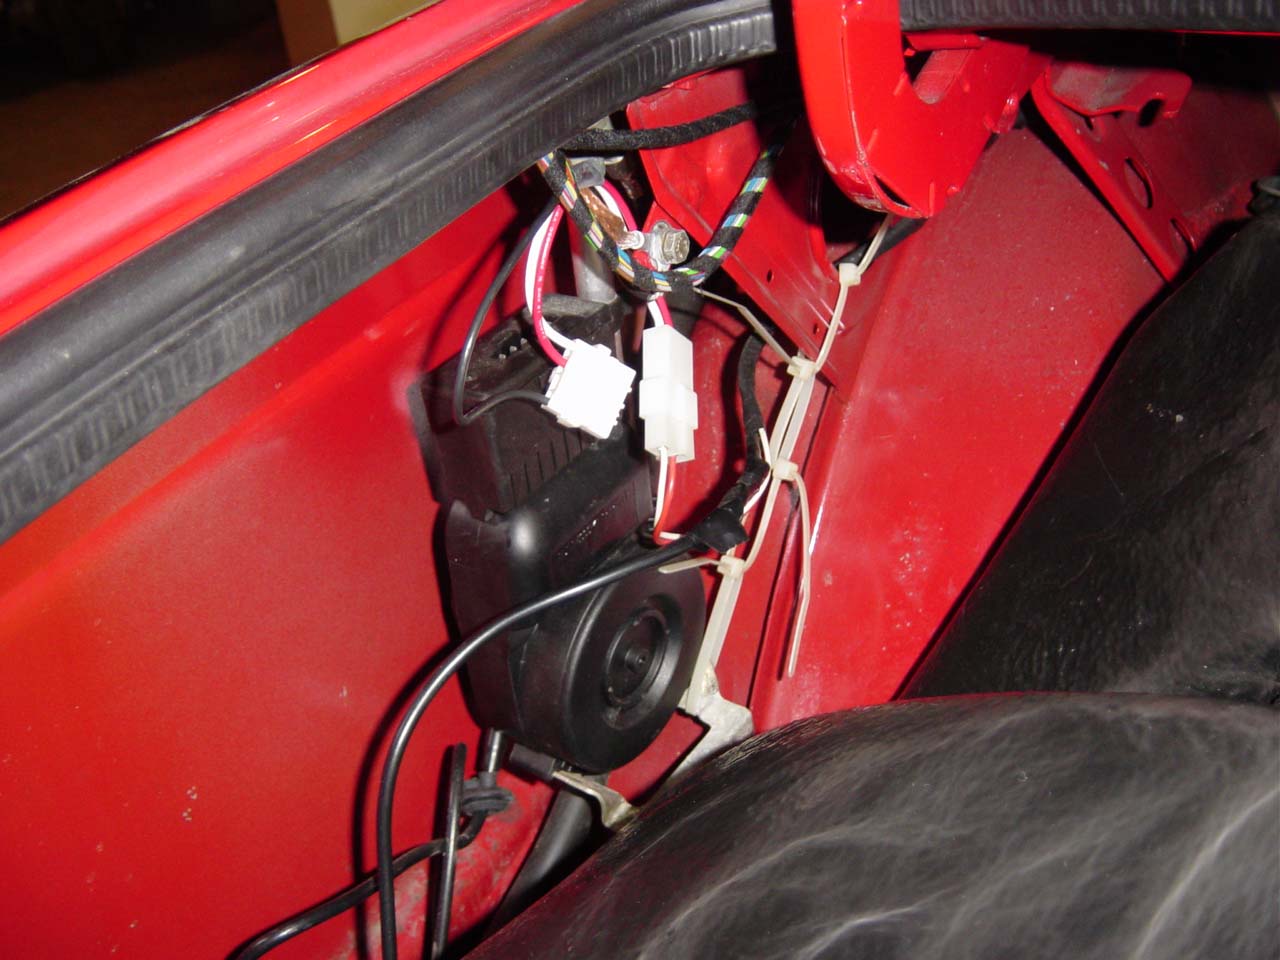
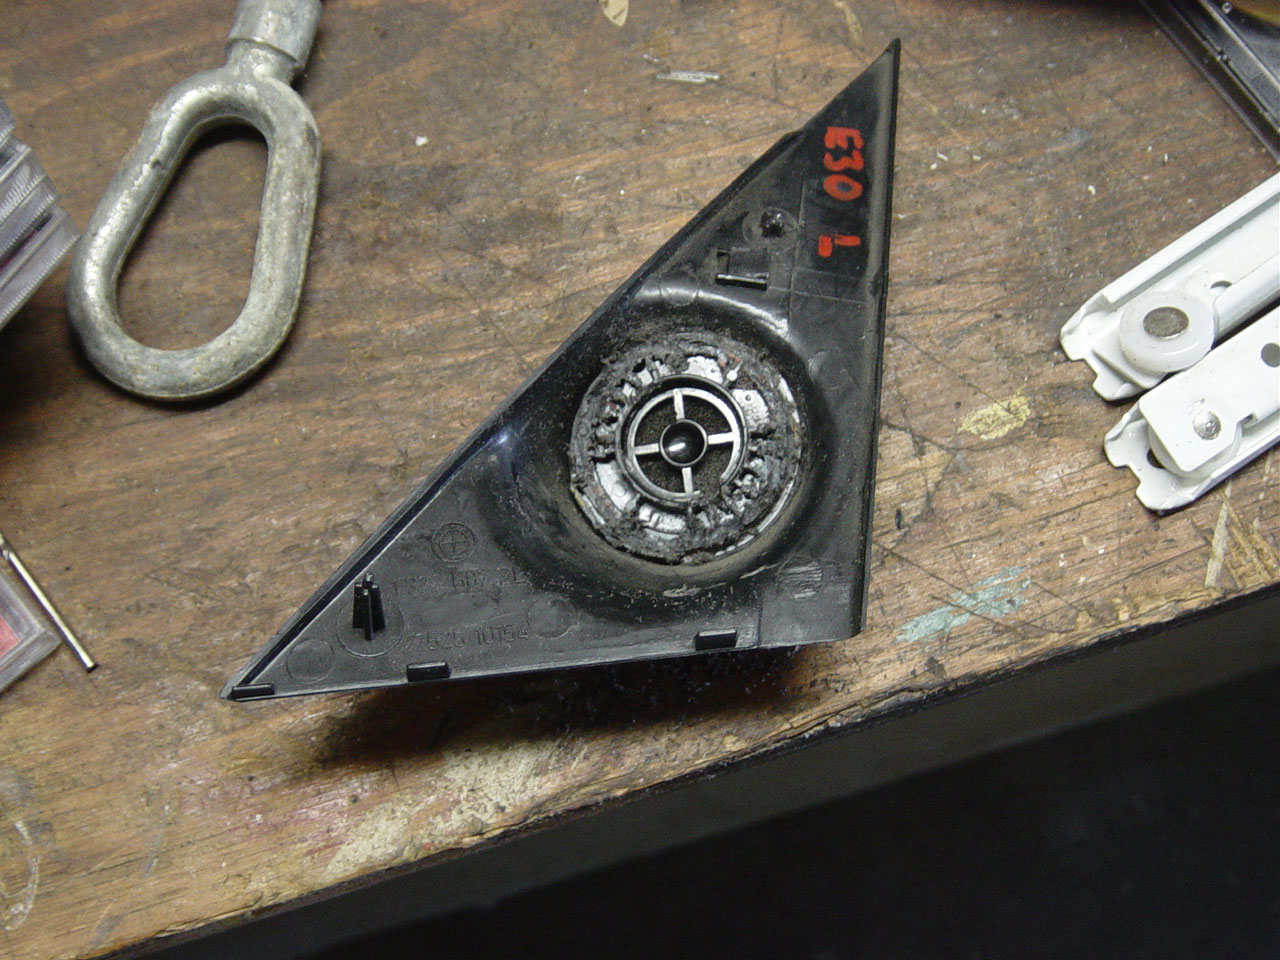
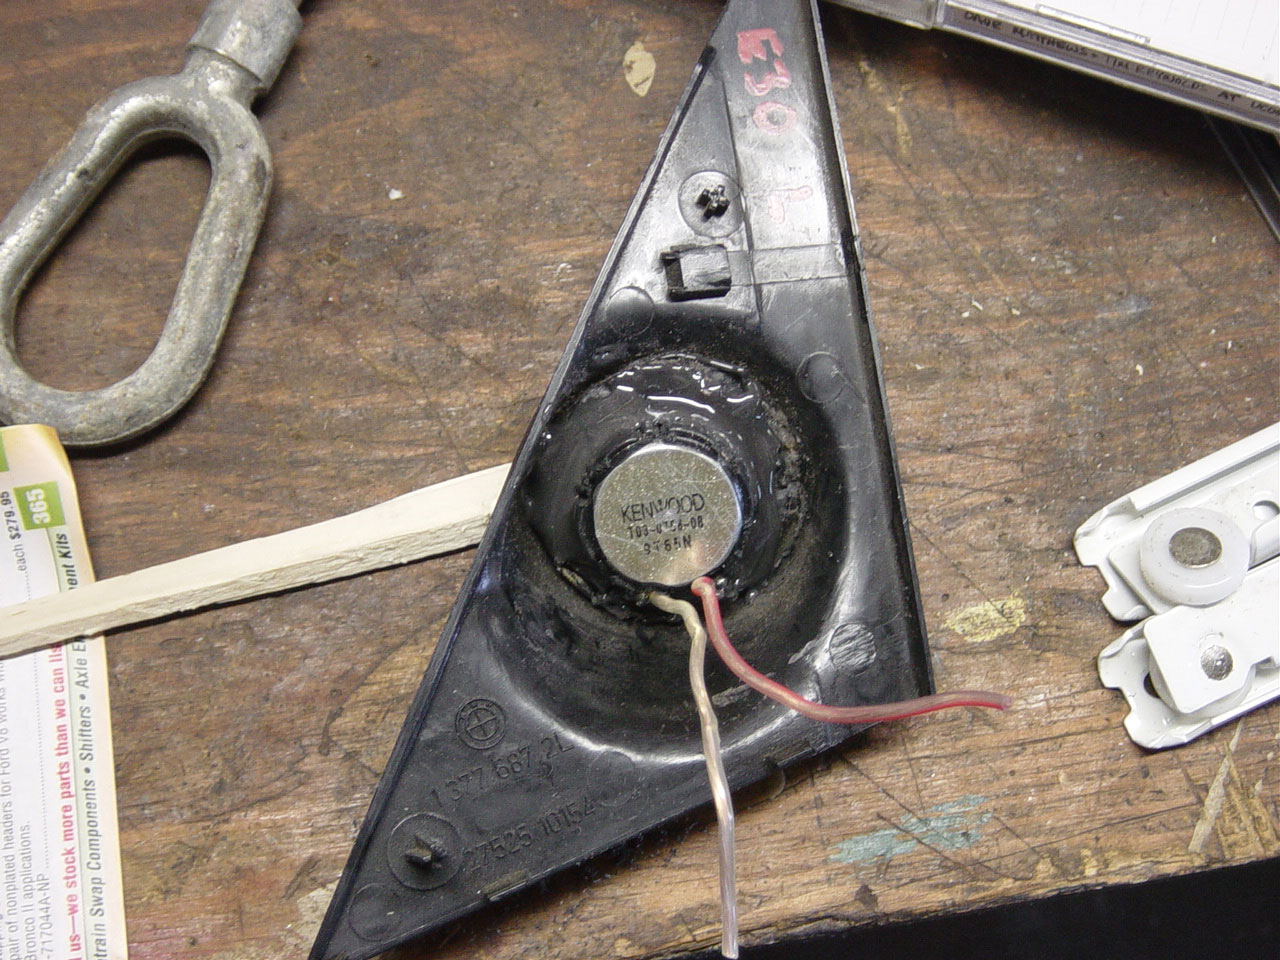
Here is a picture of my antenna motor and mast. I like how the
previous owner supported it with a chain of zip-ties.
The connector has three wires going to it. Red - 12V, Black -
GND, White - On/Off. I couldn't find the stock on/off wire near
the dash so I simply cut the wire and attached it to the amplifier
turn on from the radio. Works perfectly. While you are back there,
replace your antenna grommet so water doesn't get into your trunk.
I used a little black gasket sealant between the grommet and the
antenna mast hold to make a better seal. |
 |
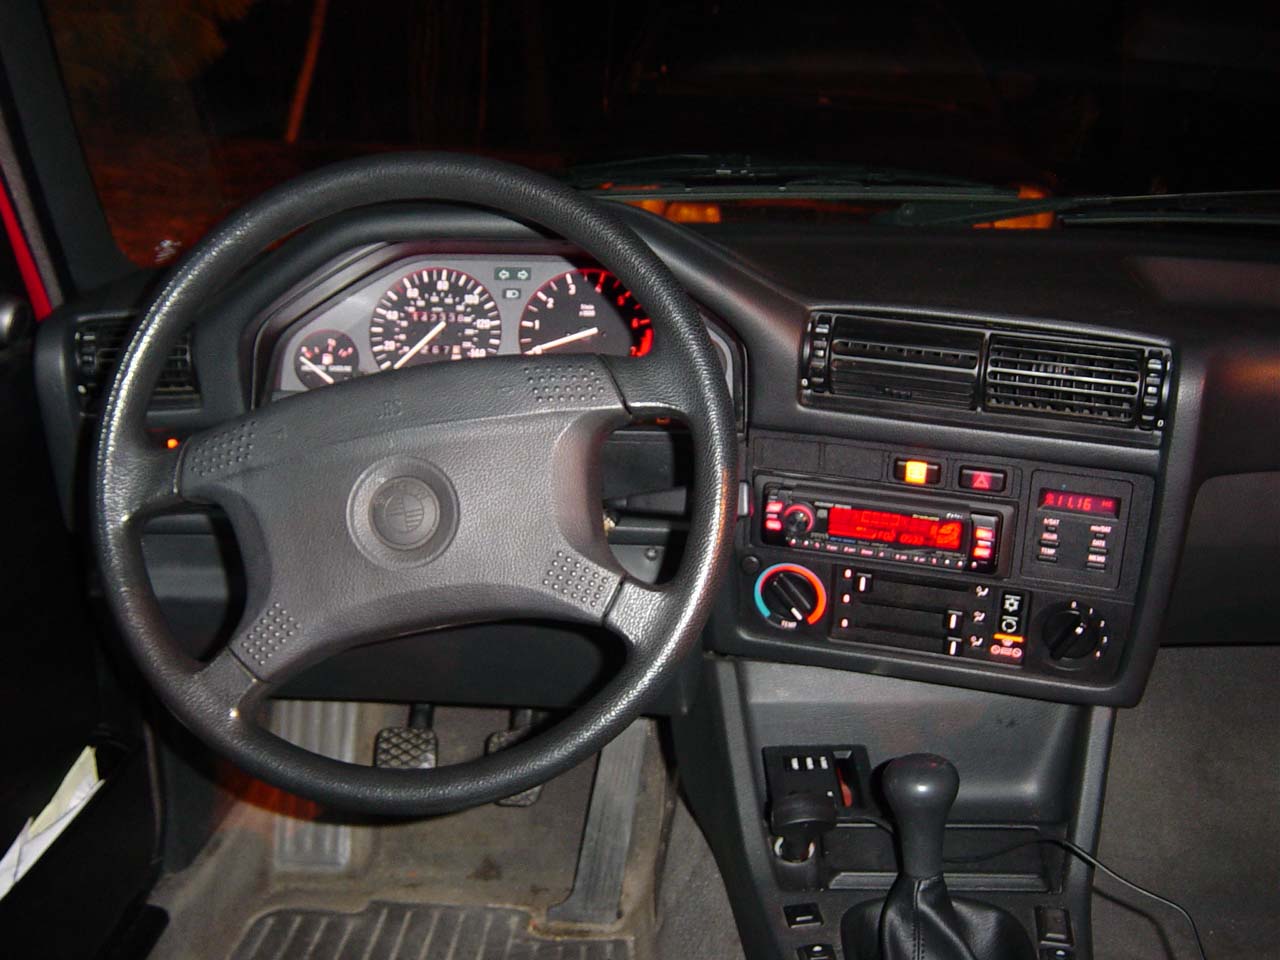
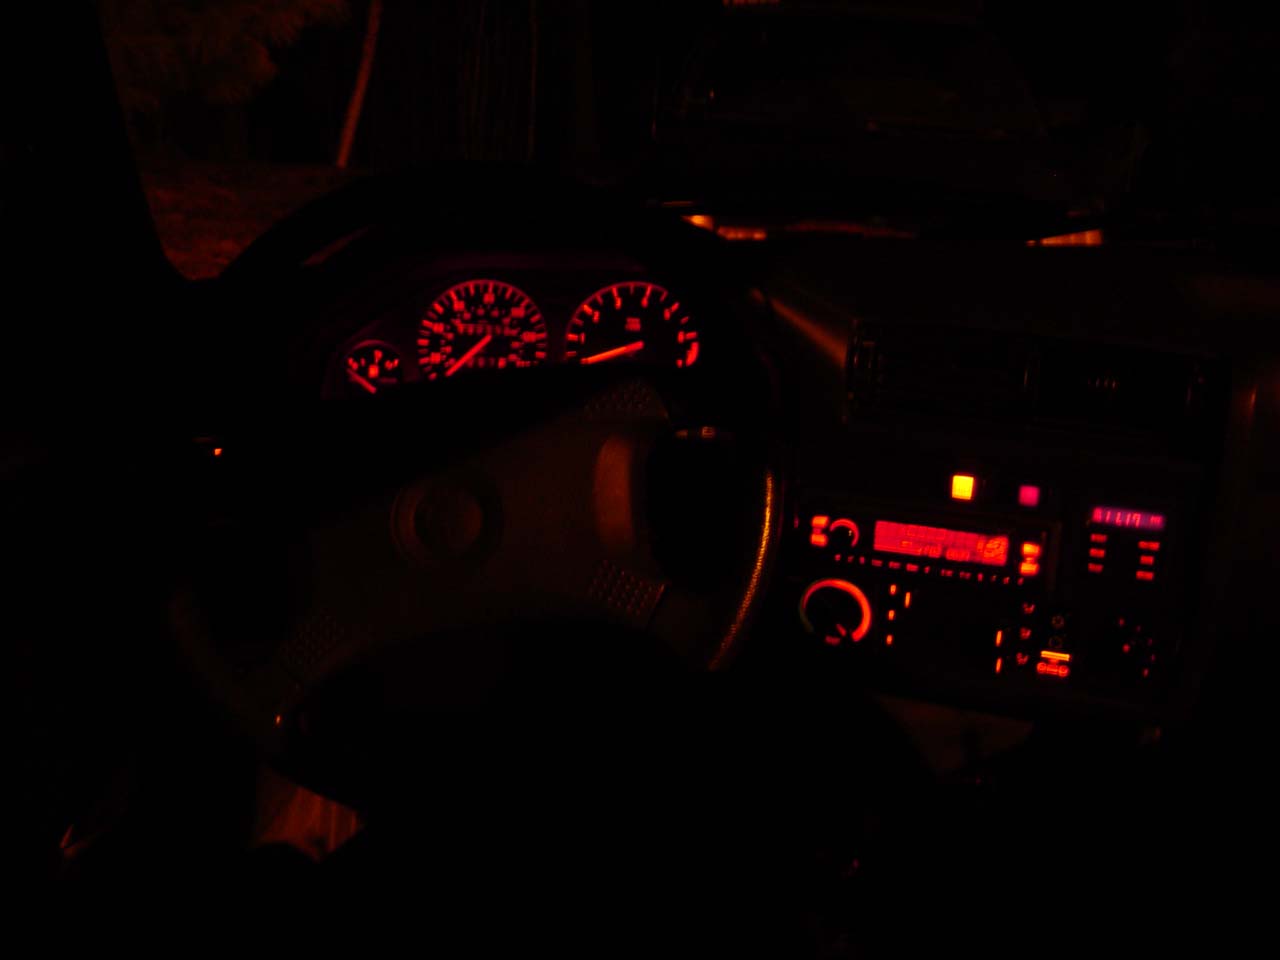
Here is the finished picture. I think it matches the car quite
well for an aftermarket radio. My camera picked up too much light.
The screen is really black with red text. For proof, look at the
OBC. You know how your OBC look at night, right? |
 |
This is an attempt to take a picture of how well the radio matches
at night when the dash lights are on. |
 |
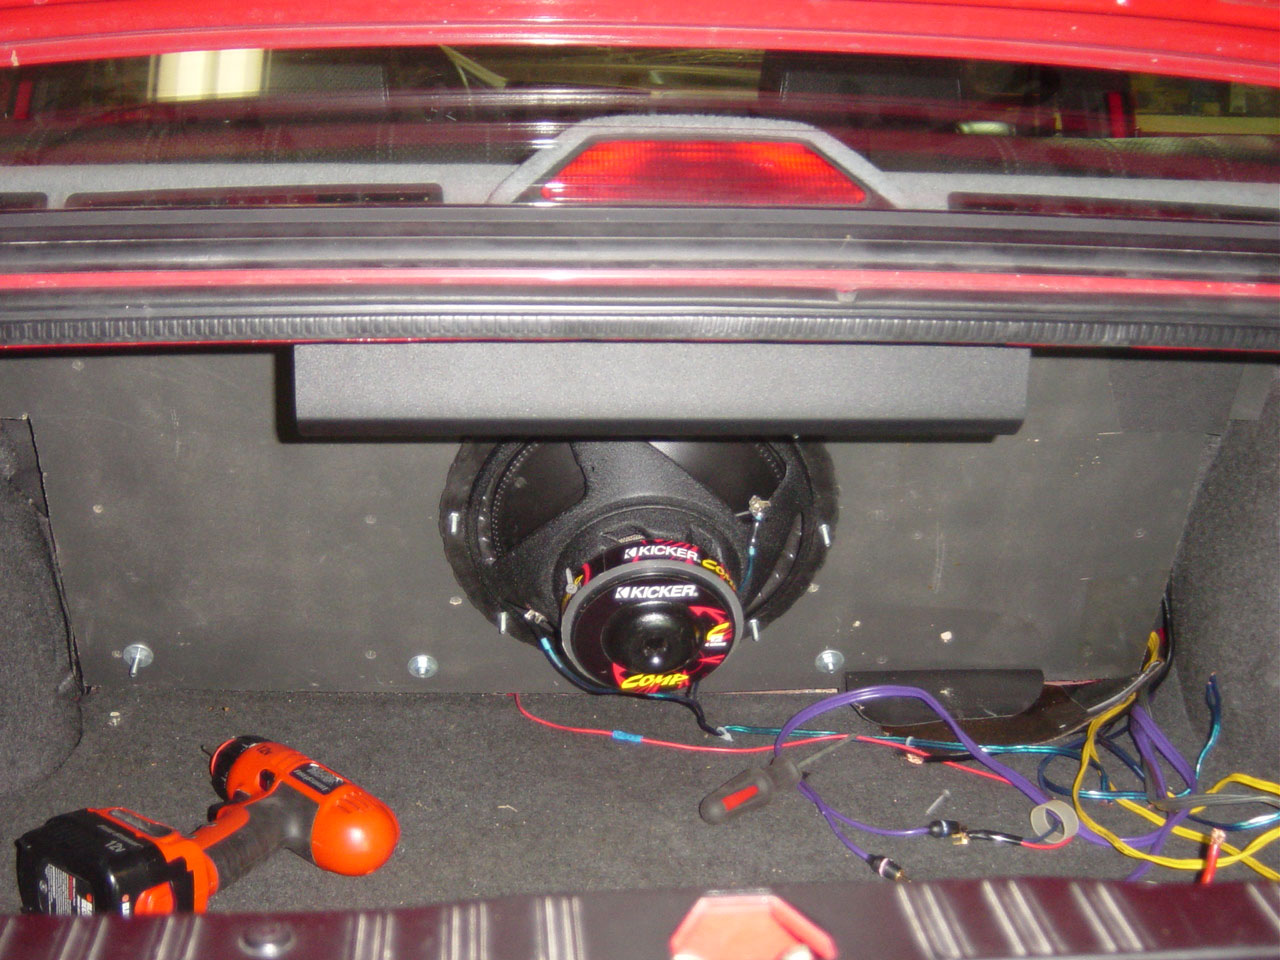
Here is a picture of the finished product in the trunk. |
| Performed April 2004 |
| |
Update 1:
I've had some issues with the stereo. First, I was getting an alternator noise out of the front left channel. Before I realized it was just the front left, I tried adding capacitors to the power supplies of the headunit and I re-routed the RCA cables away from the passenger side of the car where the power wire to the battery is located. Each fix helped a minute amount. As it turns out, my Alpine amp I bought from eBay had a fried channel. I will never again buy an amplifier from eBay nor would I suggest it to anyone else.
My second problem was that the Nokia tweeter that come with the premium sound system E30 tweeter pods were fried. I'm not surprised because they are at least 12 years old and probably much older.
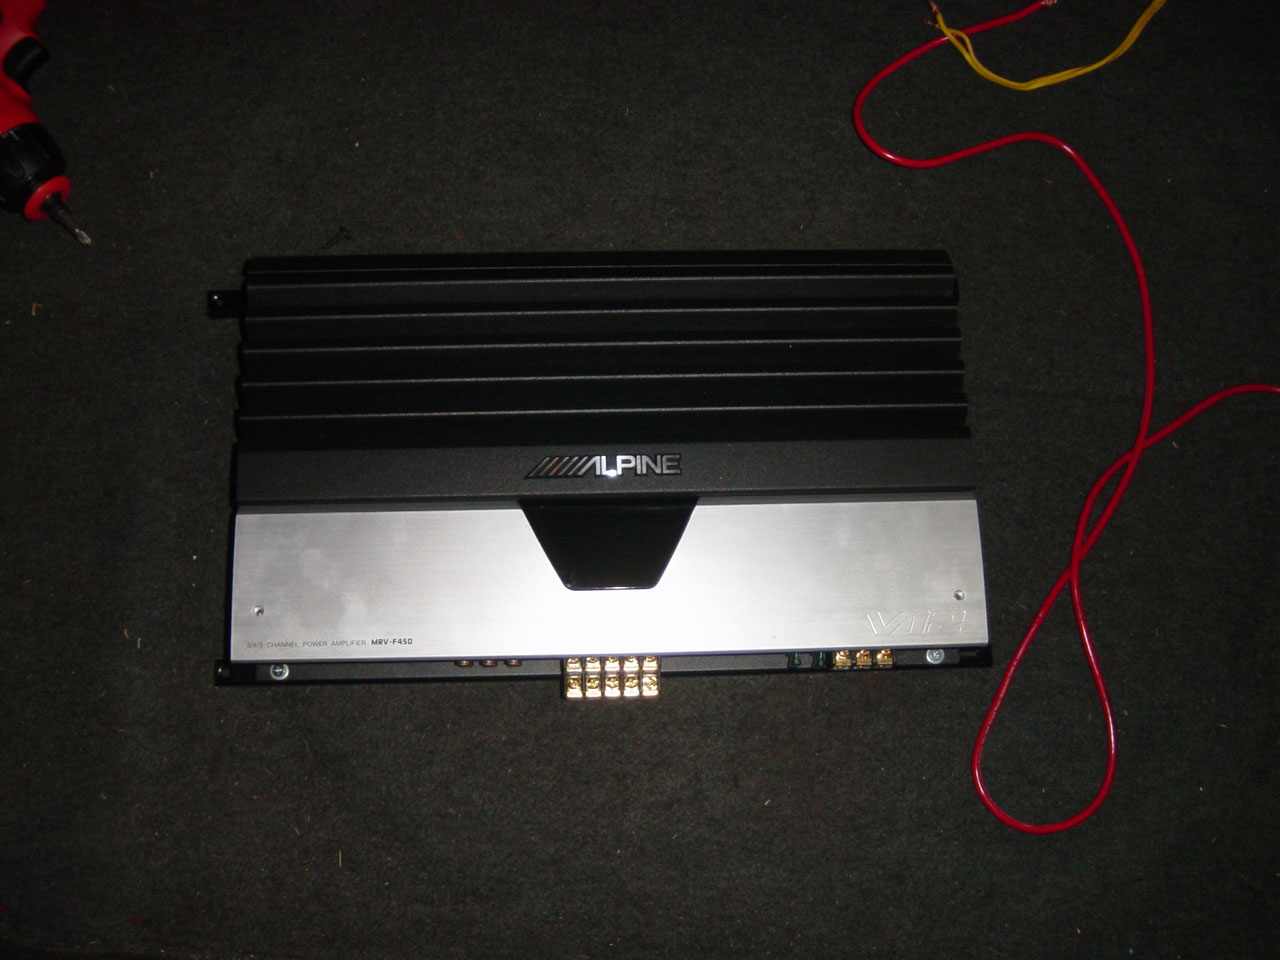
I decided to purchase a nice amplifier. I bought the Alpine MRV-F450 3/4/5 channel amplifier. Some amplifiers put out 21 jigo-watts of power, but I believe that Alpine is better than most at posting real numbers. What good is a ton of power that isn't clean? What good is a ton of power if the power listed in the specs is the power that the device explodes at? Don't get caught up in "specmanship" when buying an amplifier. |
 |
Here is a picture of the Alpine MRV-F450 amplifier. |
 |
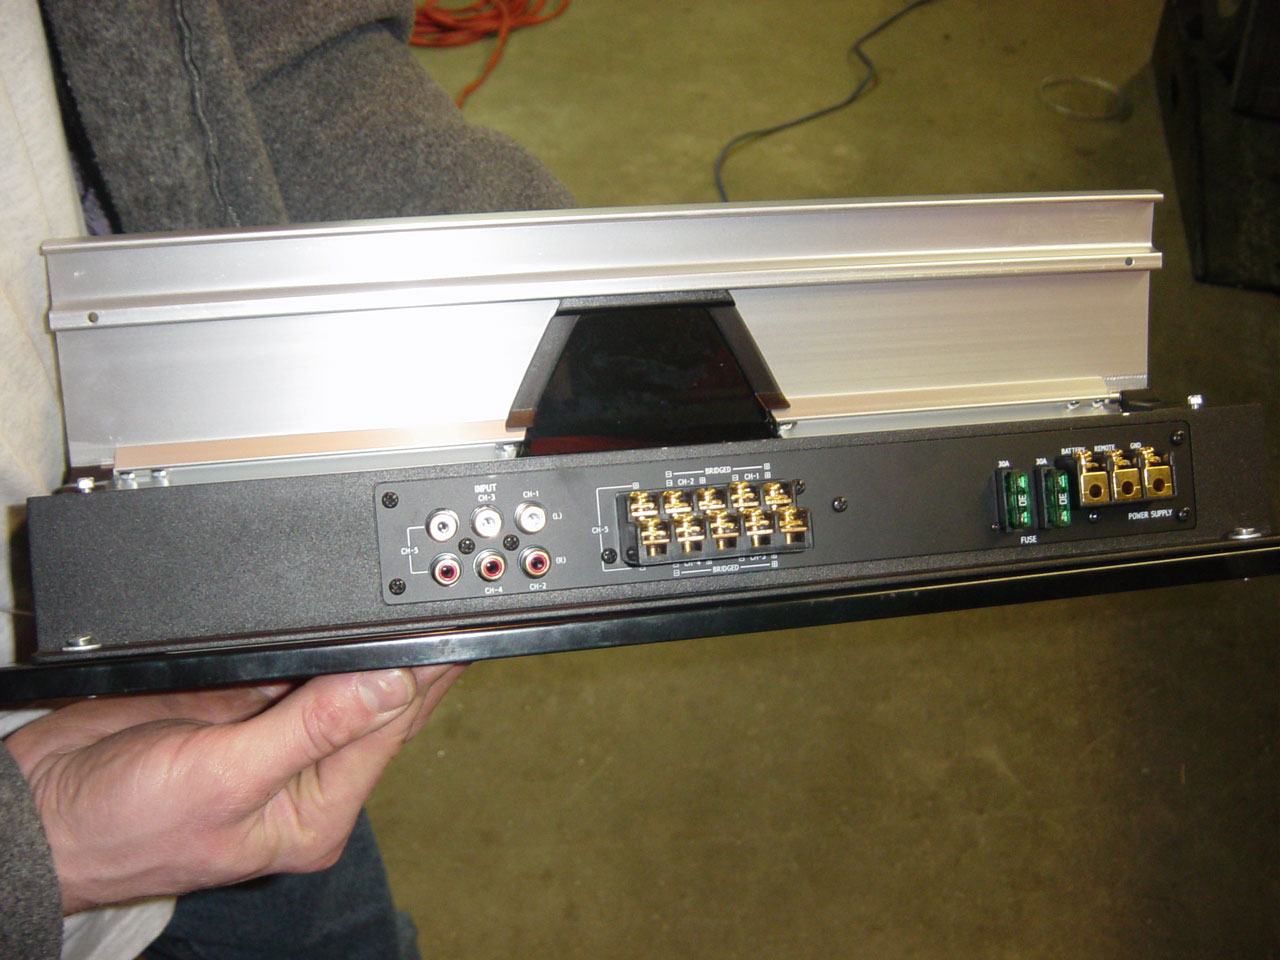
Here is the business end of the amplifier. |
 |
Unfortunately, this amplifier is larger than my previous amplifier. I believe this is not because of the physical space needed by the electronic components or the heatsinks, but I think amplifier vendors are going for more and more "bling" appeal. This amplifier is larger and has more LEDs and other styling. I want my amp to be as small as possible and hidden. I don't want my whole trunk used up by audio equipment and I don't want it visable for the thieves to find.
After toying around with a few ideas of shelf building, I decided I wanted it mounted to the top side of the trunk. I wanted it to go in the trunk underneath the rear parcel shelf. The problem with that idea is that the trunk lid springs/rods are down there. The solution was some inexpensive shelving brackets found at my local hardware store. They would give me the small clearance I need. I secured the amplifier to the brackets with some nuts and bolts and secured the amplfiers with bracket to the trunk lid with some self tapping metal screws. |
 |
Here is a picture of the amplifier mounted. All the wires tuck away neatly. |
 |
As for my second problem with the Premium Sound System tweeter pods containing blown tweeters, I used my dremel tool and I drilled out the old tweeter and put in this aftermarket tweeter I had on hand. |
 |
I used JB Quick-Weld to secure it. The adhesive cures enough to be usable in minutes.
The work was worth it because I now have the nice, molded tweeter pods with aftermarket (non-fried) tweeters that can take the power from the amplifier. |
| Performed February 13, 2005 |
| |
Update 2:
With the proper tuning of the new amplifier, it became obvious that the rear 5.25" speakers were fried. They crackled and hissed and sounded awful. Changing the bandpass filters on the amplifier helped some, but they were still not good.
I decided to install 6x9 speakers in the rear for several reasons. Firstly, 6x9s have a better dynamic range than 5.25" speakers and would help bridge the gap between the subwoofer, and the relatively high frequencies the 5.25" speakers and tweeters in the front. Secondly, I happened to have a set of Infinity Kappa 6x9s that I removed from my old Neon. |
 |
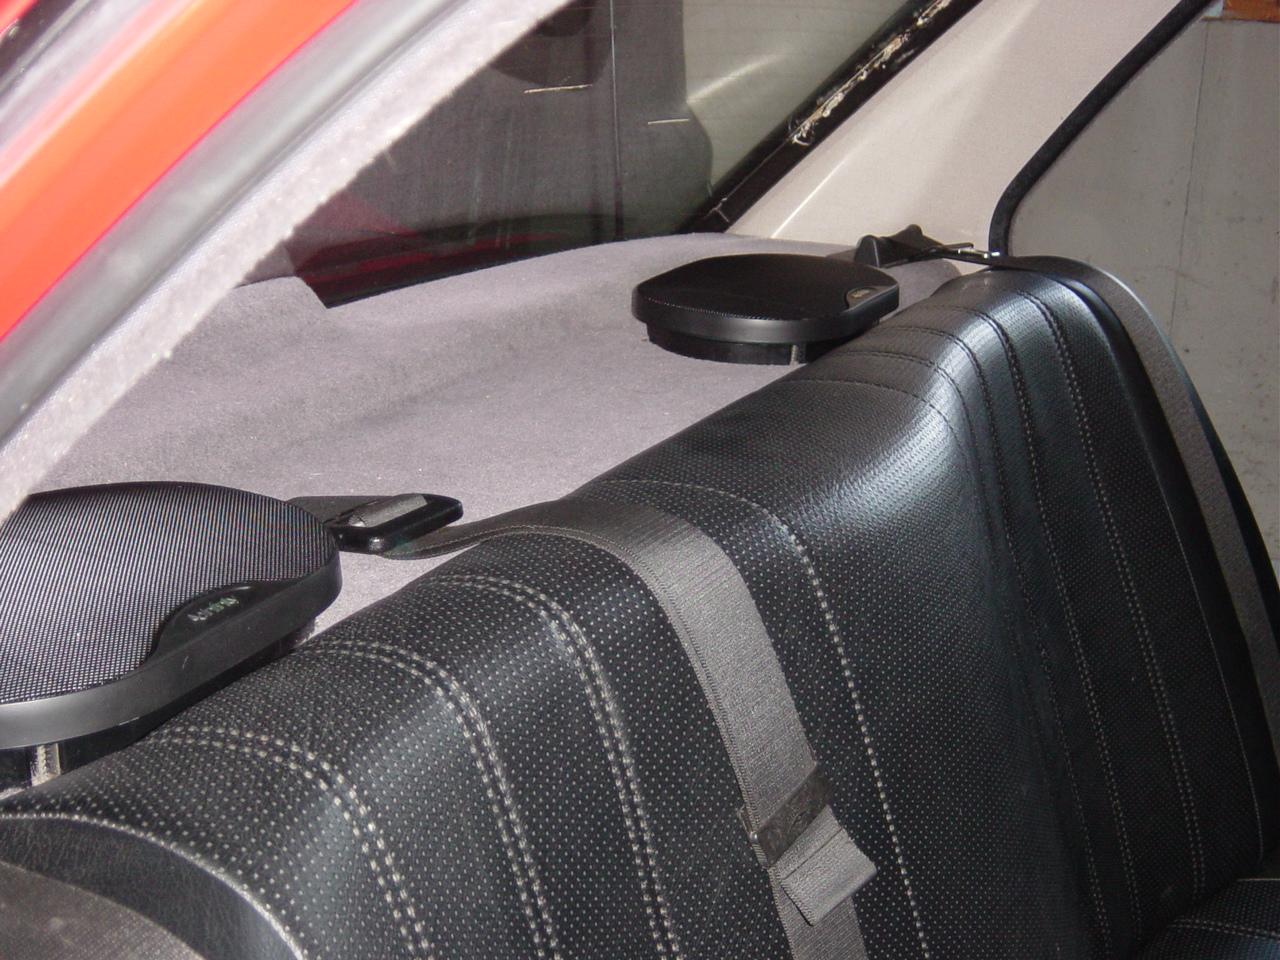
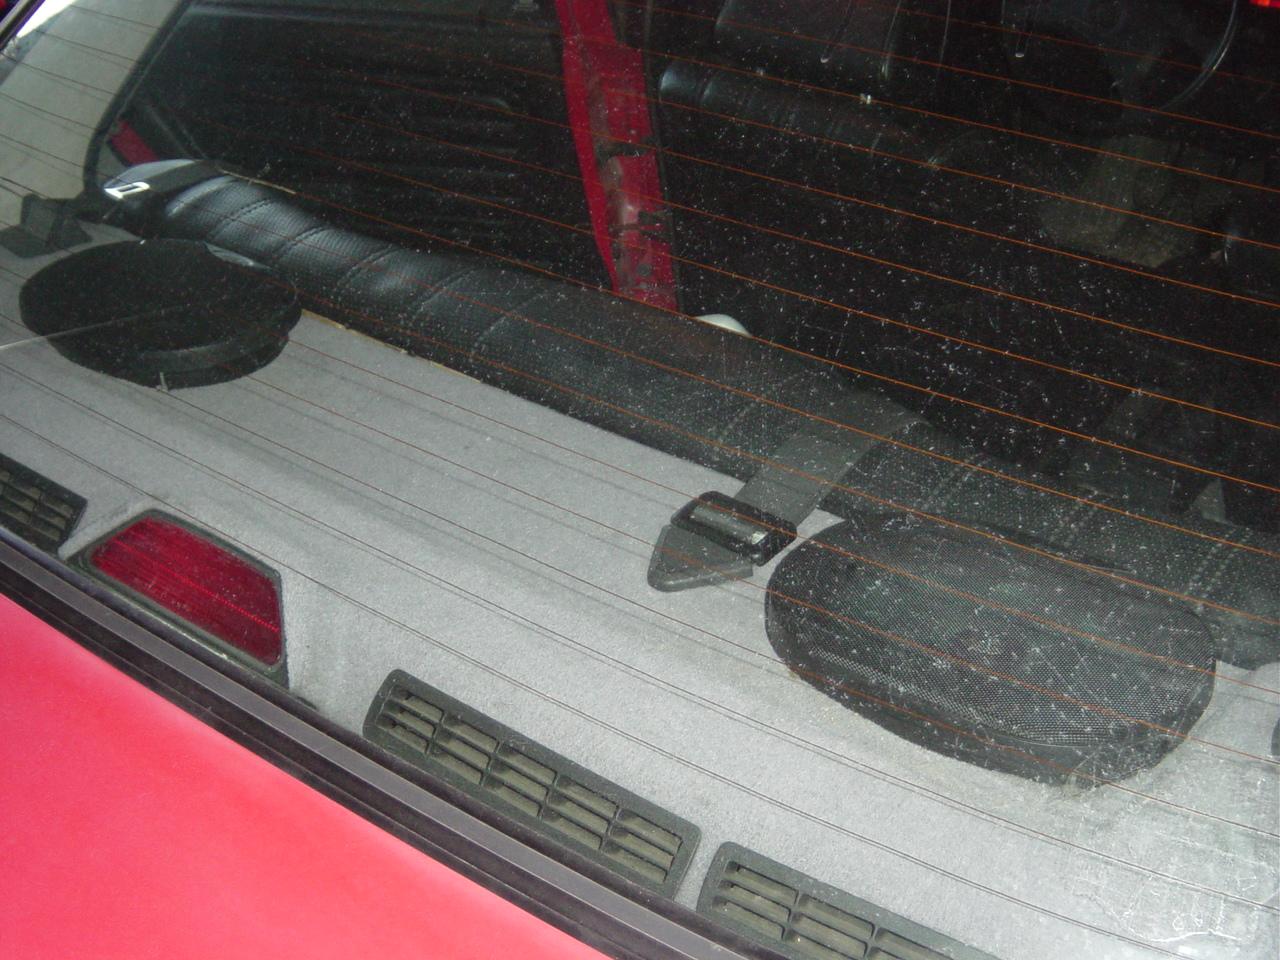
Remove the rear seats and remove the rear parcel shelf. |
 |
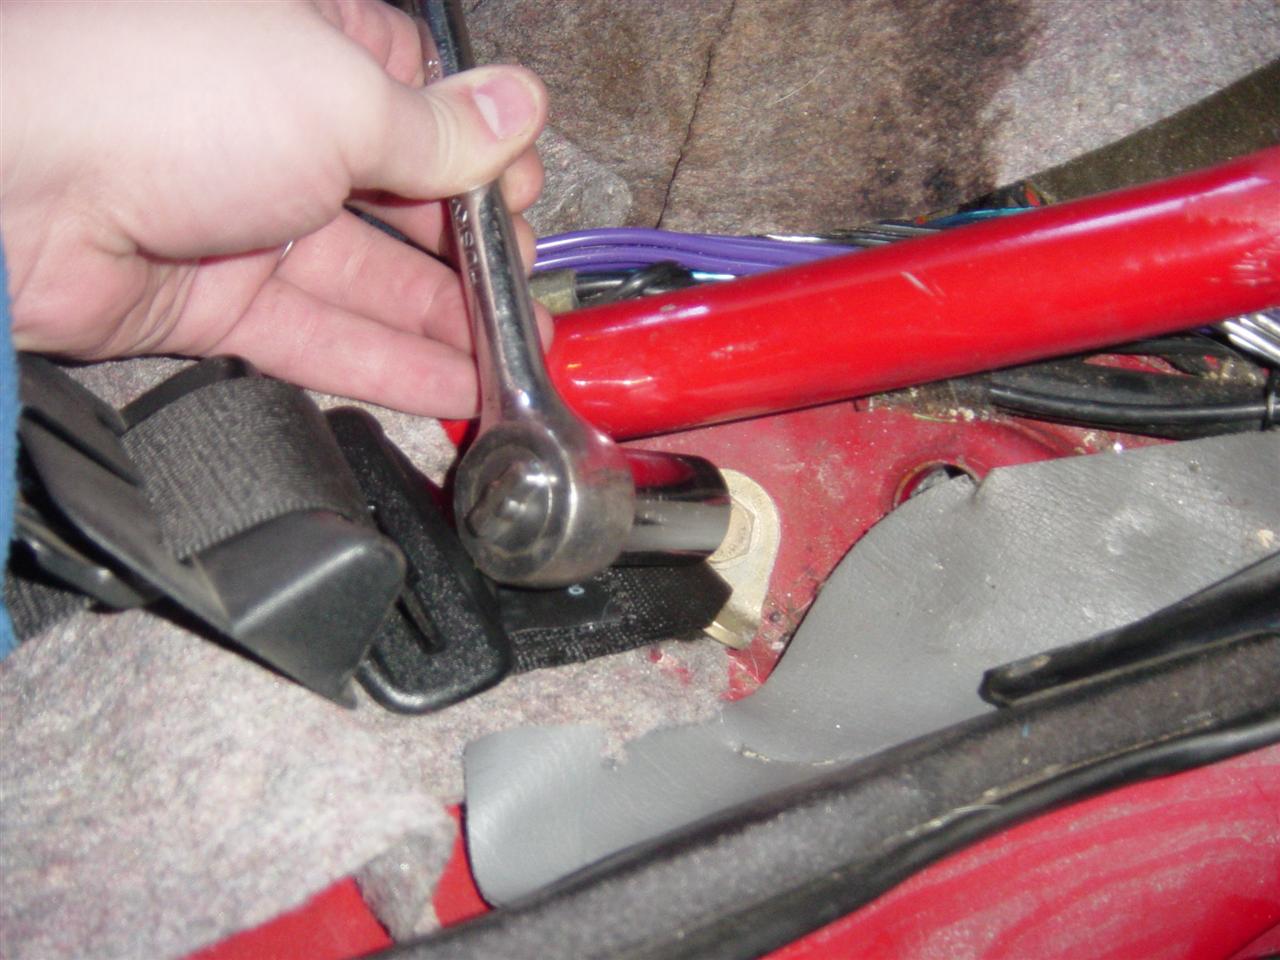
Use a 17mm socket and take the seat belts bolts off. This will allow the rear parcel shelf to come completely out of the car. Taking the shelf out makes the modifications easier to perform. |
 |
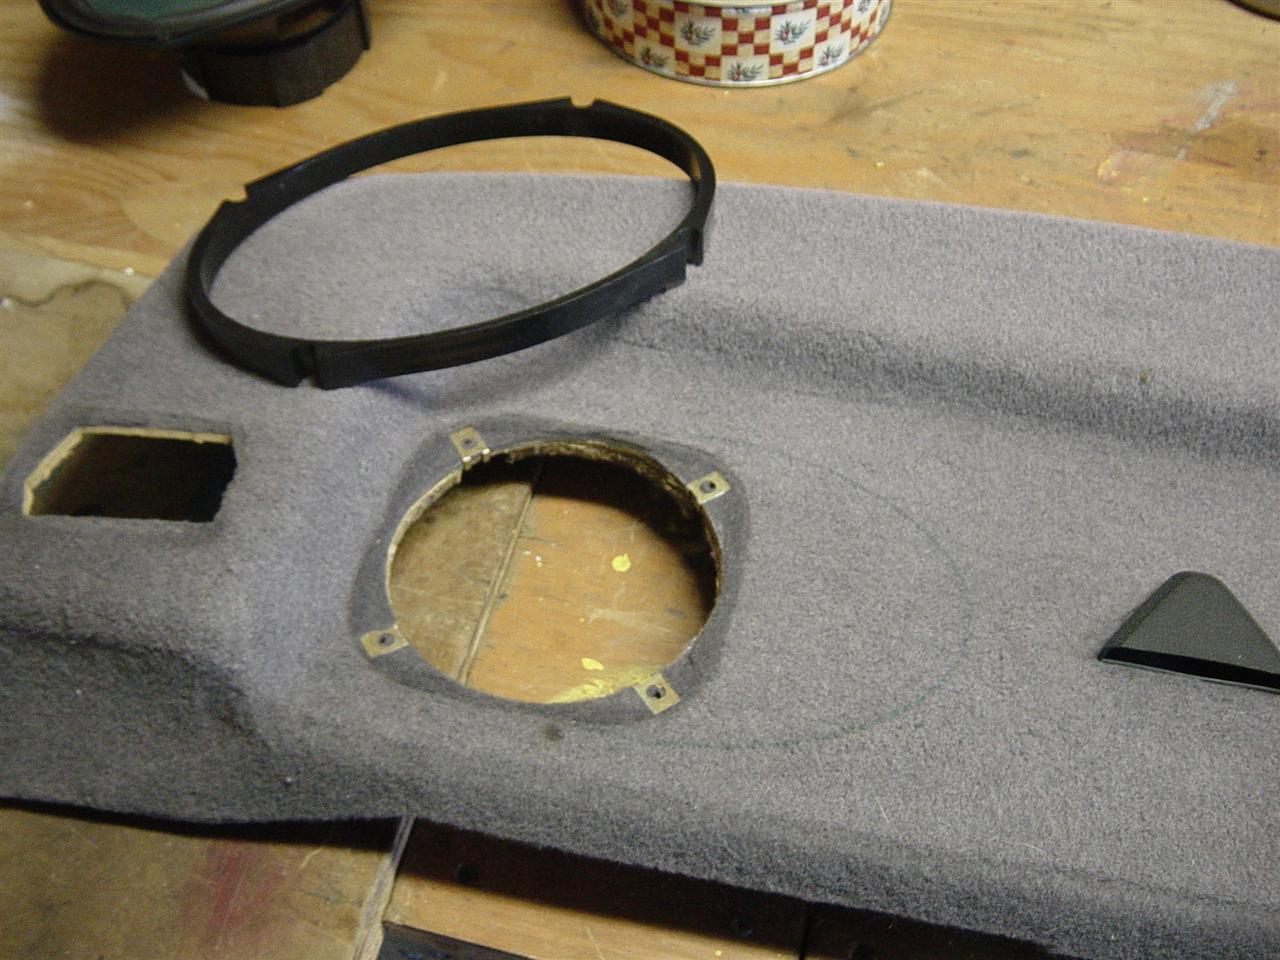
The Infinity's came with some spacers. I used them to create templates on the rear parcel shelf. |
 |
Take a drywall saw and remove the excess material. The saw made a nice cut and was much easier than trying to do it with a utility knife. |
 |
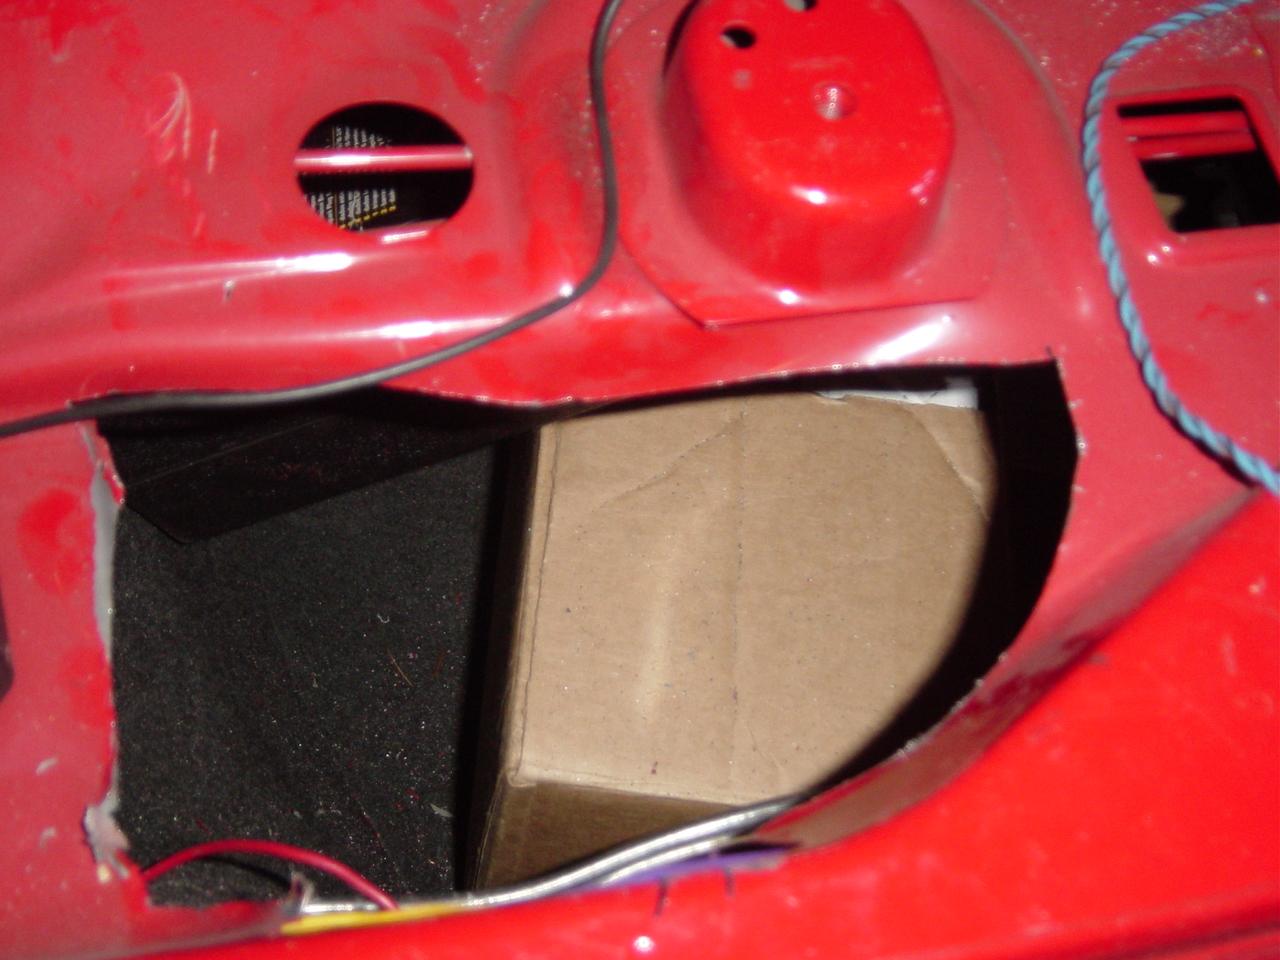
I used a jigsaw with a metal blade to cut metal out of the rear deck. The metal blade cut through the metal very easily. The angles can make the cutting difficult at times, but it really isn't that difficult with the right tools.
Be careful when cutting to not cut anything important like the trunk lid springs. |
 |
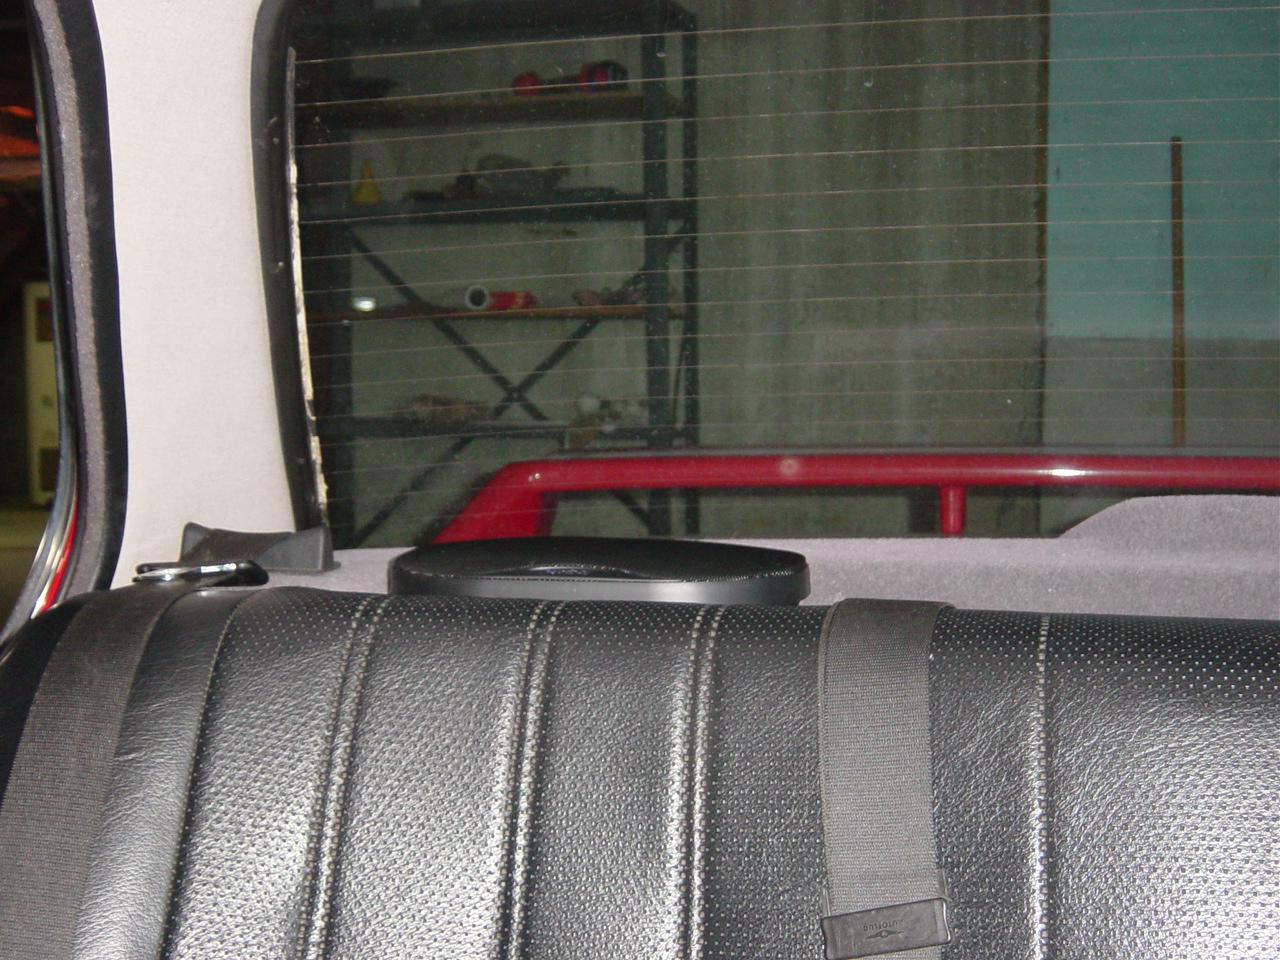
Cut, test fit, trim more, test fit. Keep trying until the 6x9s fit properly. |
 |
The 6x9s stick up a bit, but they look good with the rear seat in place. |
 |
The sound difference is dramatic. I now have more mid range and bass. I was concerned with the prospect of cutting the metal, but the hour it took was well worth the sound benefits. |
| Performed February 20, 2005 |
| |
Update 3:
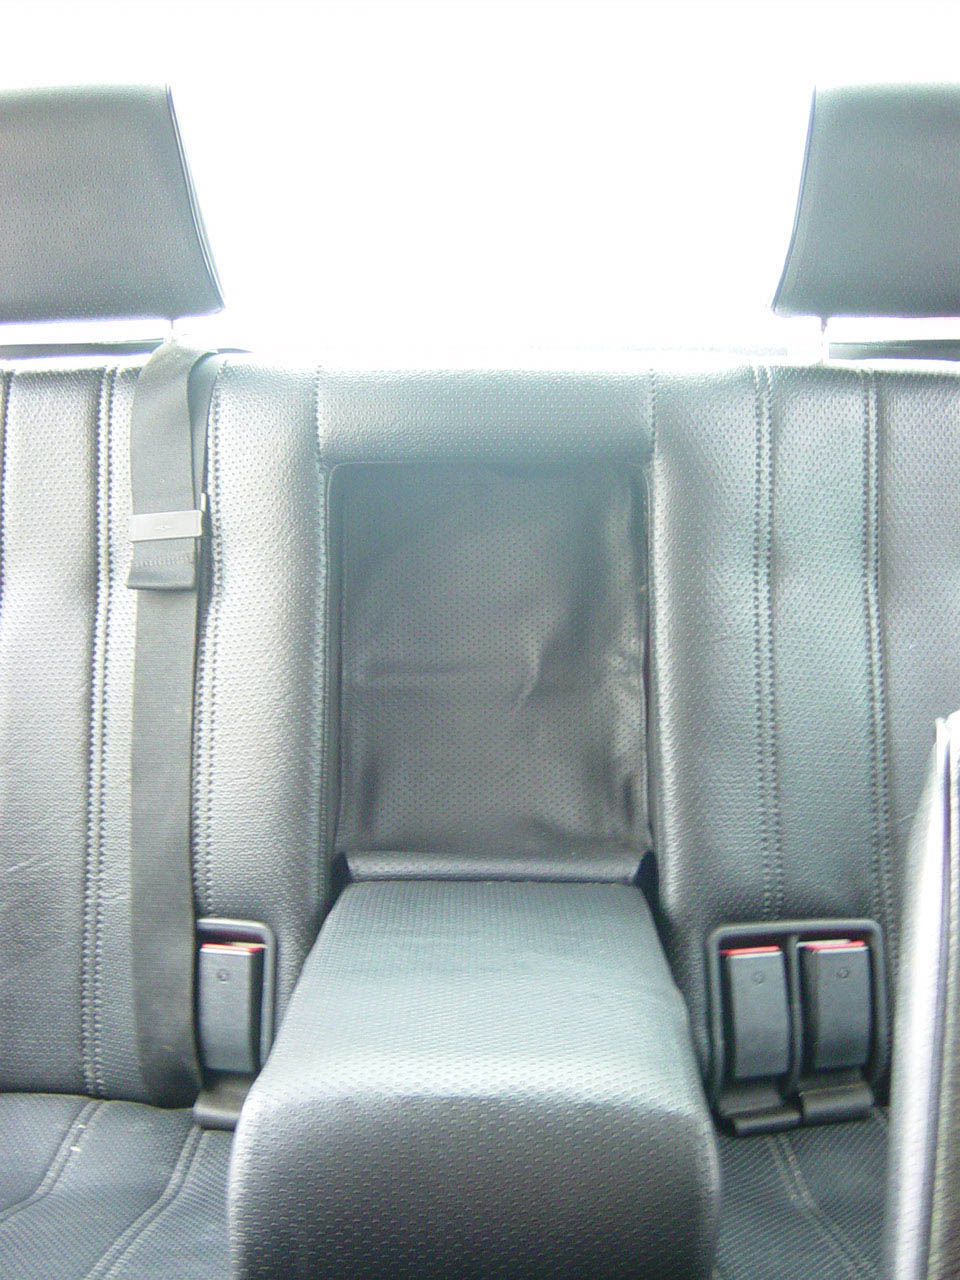
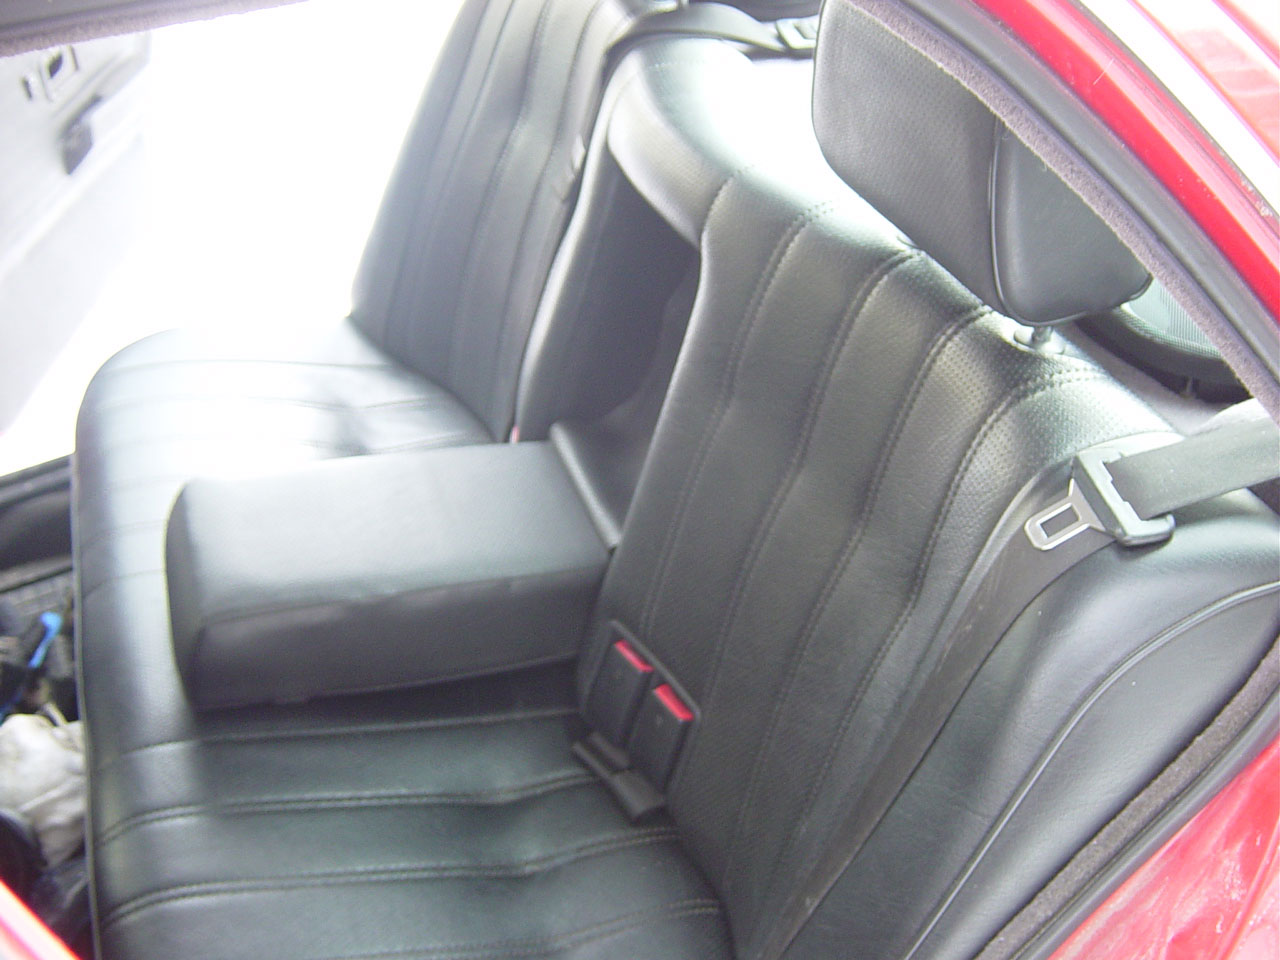
I purchased a black vinyl rear seat with the ski hole and arm rest to allow the bass to enter cabin more easily.
|
 |
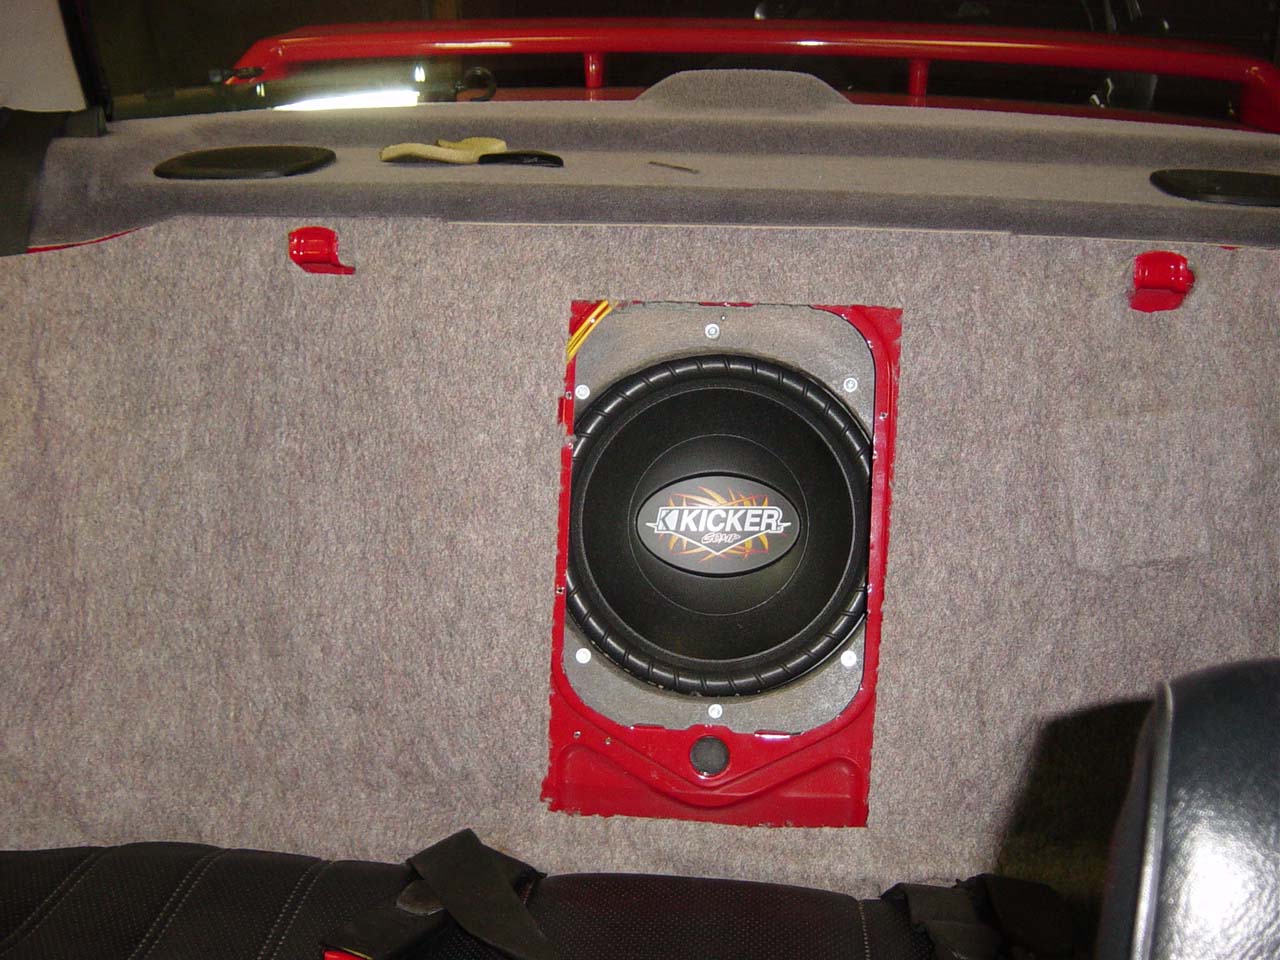
Here is a picture with the new rear seat installed. A vinyl flap is held up by a strap of velcro. The vinyl flap nicely hides the sub woofer and doesn't create any noise when vibrating. |
 |
Look in the the "Interior" section of my 318i web page for information on how to install the rear seat and the rear headrests. |
 |
Here is a picture of the rear seat with the flap pulled down. I plan on adding a protective screen so the sub woofer can not be accidentally damaged. The additional bass with the new rear seat is very noticeable. The old rear seat without the arm rest is solid foam and attenuated the bass. |
| Performed February 26. 2005 |
Impressions:
I love the capability of this unit and how well it looks in the car.
The MP3 functionality is great. I had a problem with alternator noise,
but I solved this problem by adding a large value capacitor between
the power and ground as close to the head unit as possible.
When I first turned the Clarion on and changed the screen color to
red, I was disappointed by how poor the display looked at an angle.
From the driver's seat, the entire screen looked red and I could barely
make out any text. After reading the manual, I discovered the contrast
adjust feature and I adjusted the contrast down to 1 and it now looks
much better. It is still a bit tough to read in direct sunlight but
I'm not going to complain about it.
As far as sound quality, I'm happy. Between the tweeters, the mid
range front speaker, the mid-low range in the rear, and the sub, I
have a good dynamic range.
The new rear seat with the arm rest allows much more bass to enter the cabin. The audible difference is dramatic.
Equipment:
Clarion DZX645MP
Alpine MRV-F450 3/4/5 Channel Amplifier
Kenwood front 5.25" speakers
Infinity 6x9's rear speakers
Kicker 12" sub woofer
Kenwood 1" tweeters
Kenwood Crossovers from the front channels
Clarion DZX645MP Features:
Flip-Down Detachable Faceplate
Plays CD-R and CD-RWs
Plays MP3- and WMA-Encoded CDs
Sirius Satellite Radio Ready
CeNET Controls Optional TV Tuner, Optional Sirius Satellite Radio
Receiver, Optional DVD Changer and 6-Disc CD Changer
CD Text, CD Titling, Station Titling
2-Band Parametric EQ (Z-Enhancer Plus)
Subwoofer Volume Control
Built-In Low-Pass Crossovers (off/50Hz/80Hz/120Hz)
6-Channel RCA Line Level Output
2 Zone Control With Dedicated RCA Line Level Outputs
Magna Bass EX
2-Channel Aux. Input
IR Remote Control
208-Watt (52W x 4)
Radio Tuner With 18FM/6AM Presets
80 Variable Color LCD and Control Buttons (9 presets and 1 user)
5 x 7 Dot Matrix by 10 Digit LCD Monitor
Retractable Rotary Volume Control
Screen Saver With User-Programmable Message Information
Aluminum Faceplate
Credits: I have to thank my friend Brendan for his
expertise on this project. It was his idea to create the trunk sub
deck and he was the one that did all the work. I also had him approve
of all the stereo equipment I purchased for this project.
Disclaimer: I am not a professional mechanic. Information
this page should be used at your own risk and discretion. Different
models and model years may be different than my 1991 318i. Read: If
you screw your car up following my instructions, sorry. Isn't it sad
that in this sue crazy world you have to put a disclaimer on your
web page?