I've been searching for a rear seat with the armrest for nearly a year. They are somewhat difficult to find because it was a factory option. To make my search more difficult, most BMW's have leather seats. My E30 has black vinyl seats so finding a seat that would match my interior added to the difficulty of this search. I tried calling EuroDepot in Concord, NH but they didn't have one. I searched eBay on a weekly basis and when I saw one, I jumped on it. Luckily, no one else bid on it and I won it for $100.
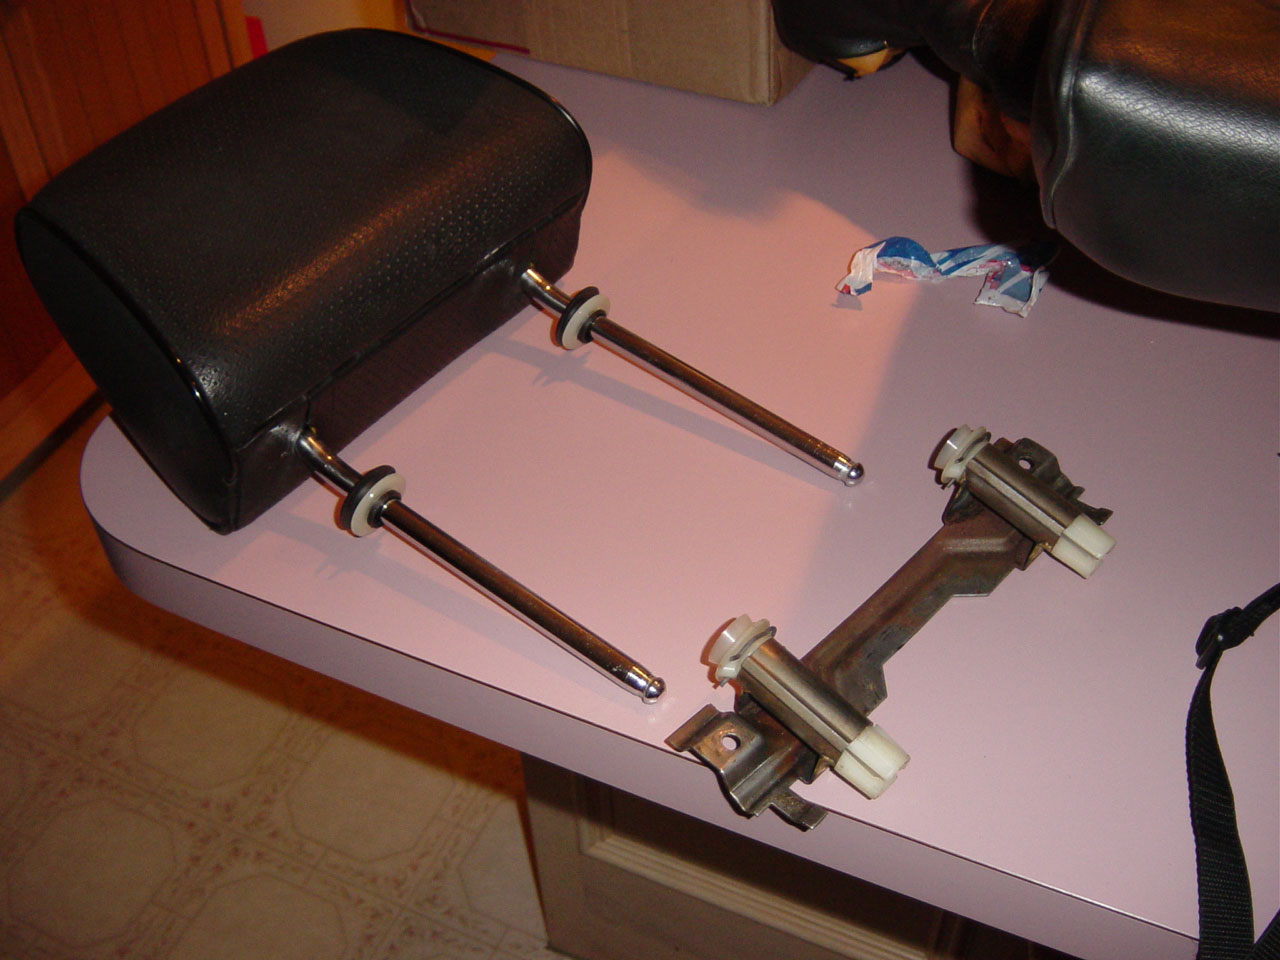
I also decided to add rear headrests because they look great and add to the comfort of rear passengers. Since I was going to have the rear seat apart, I figured this would be a good time to add them. I also purchased the rear headrest from eBay and they came with all the necessary mounting hardware.
Click on the thumbnails for larger pictures.
 |
The rear headrests slide into a mounting bracket that attaches to the rear seat. As far as I know, all rear seats have the mounting holes. The rear headrest should come with the mounting brackets, 10mm bolts with washers, and the plastic tabs that dress the hole in the top of the rear seat where the headrest legs escape. |
 |
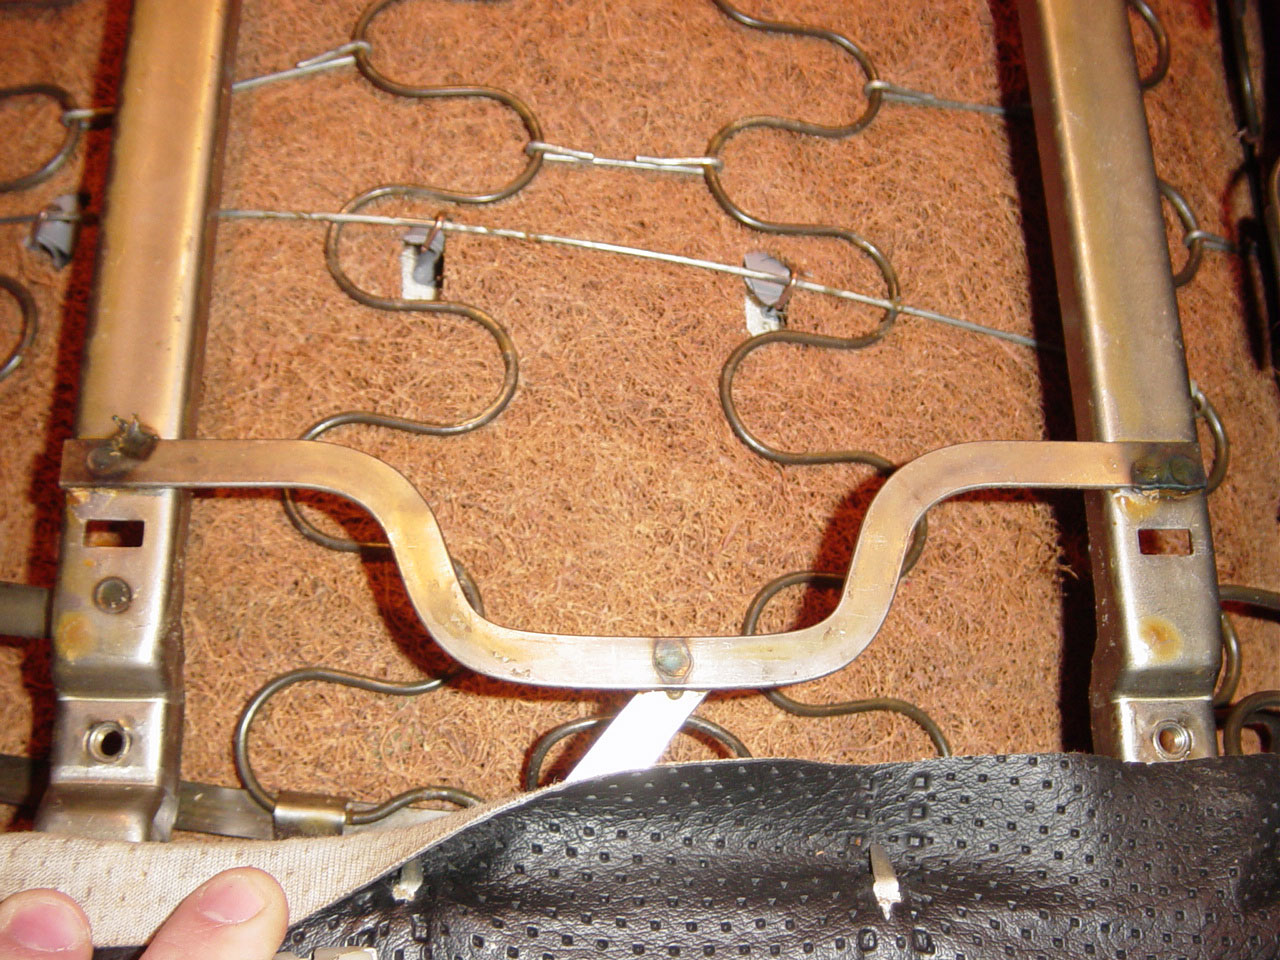
The mounting brackets mount to the rear seat frame through these holes. |
 |
The mounting area on the rear seat with the arm rest is different that the normal rear seat. This is a picture of the rear headrest mounting holes on a regular (non arm rest) rear seat. |
 |
As you can see, there are holes in the top of the seat where the head rest legs escape from the top of the rear seats. |
 |
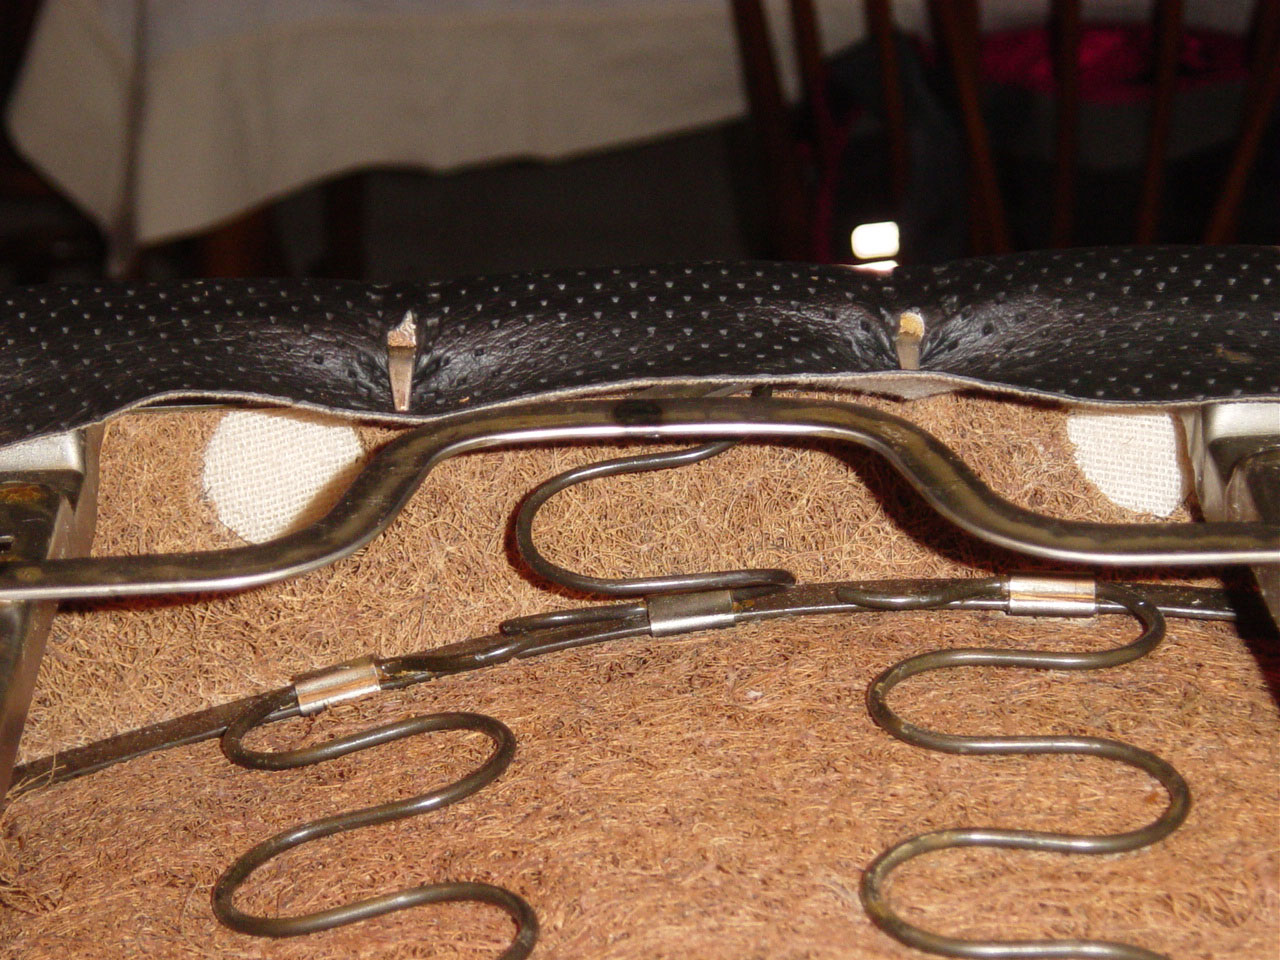
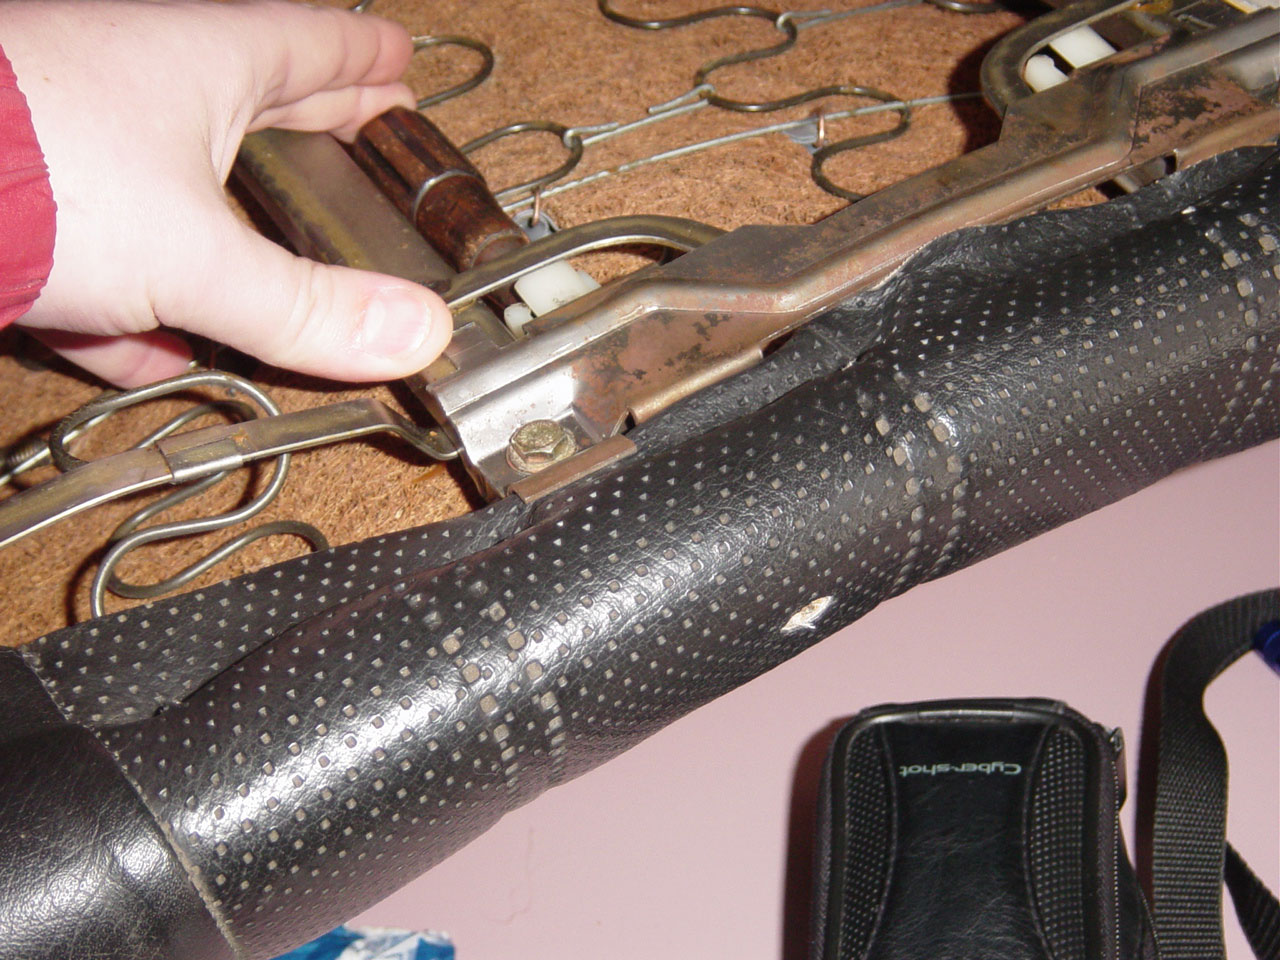
Bolt the mounting bracket to the rear seat. You will need to pierce the vinyl where the legs escape. |
 |
With the mounting brackets in place, run a screwdriver through the headrest mount holes to where they hole should be in the top of the rear seat and carefully cut out some small holes. |
 |
Some people have just cut out the holes, eyeballing where the legs will go. Cutting a hole in the rear seat is something you want to do right the first time, so this is why I used the screwdriver with the mounting brackets in place so the holes are aligned for the mounting brackets. Do it right and do it once! |
 |
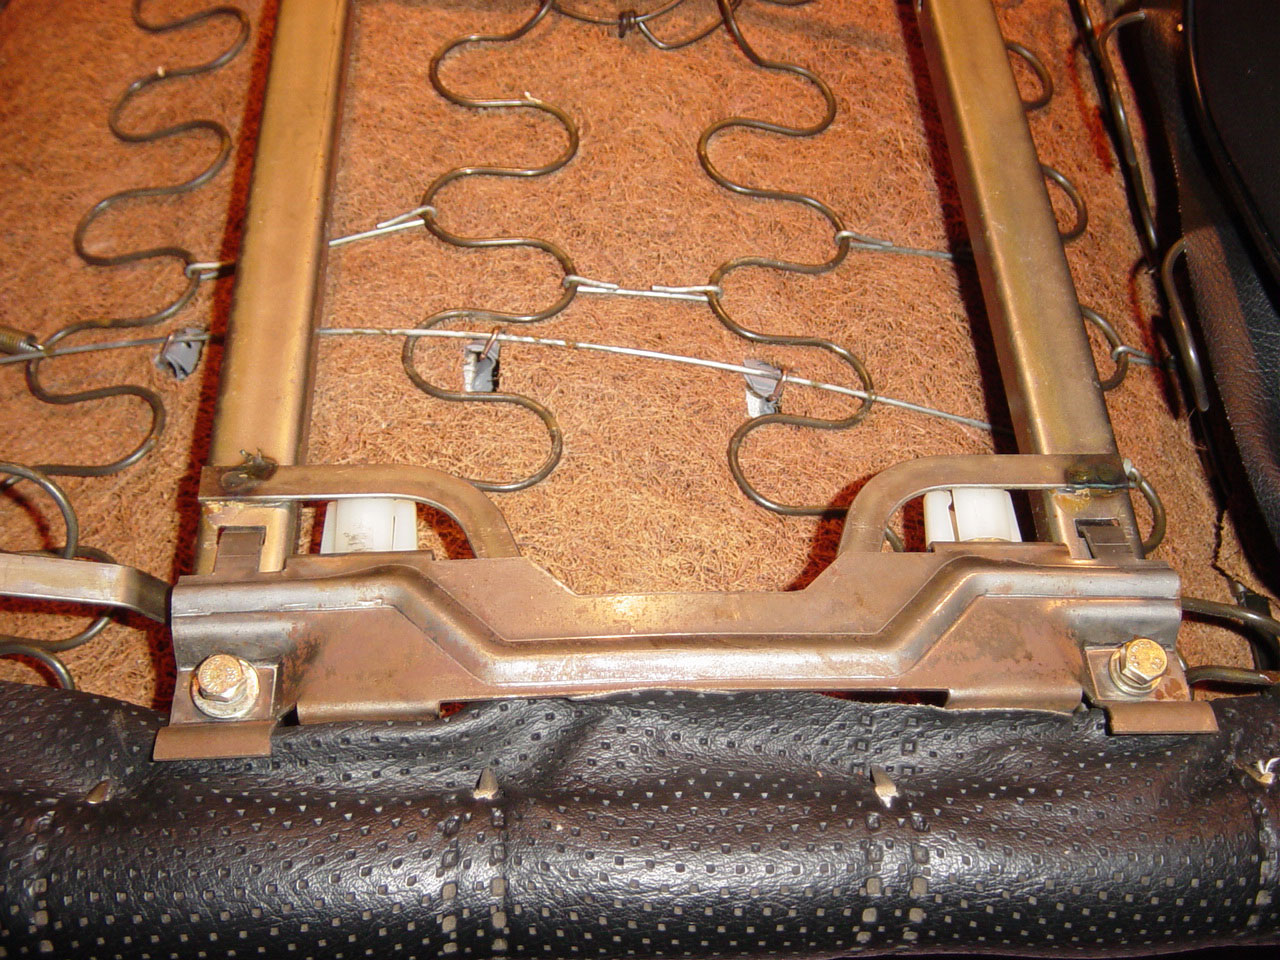
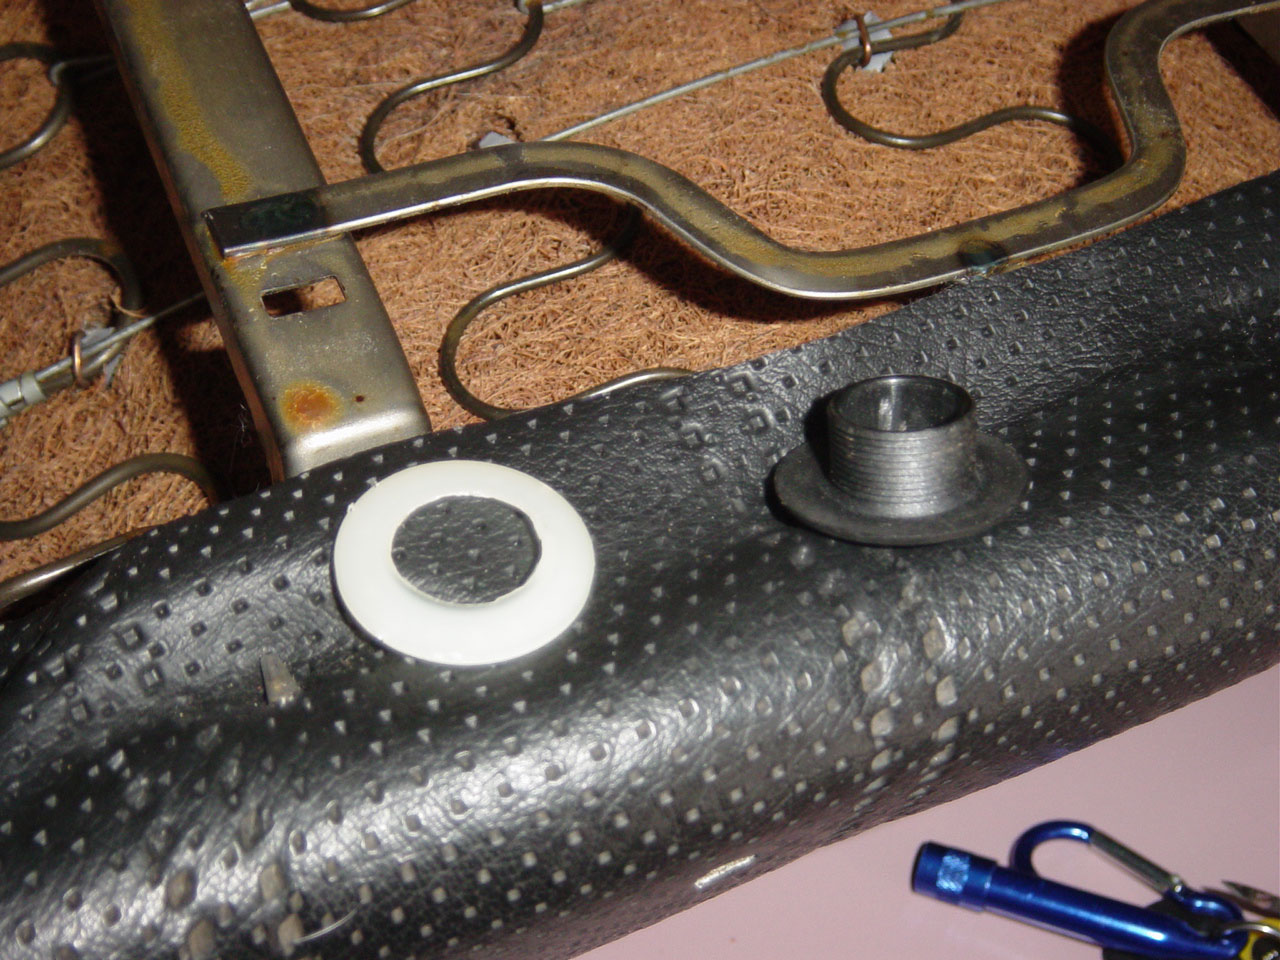
Take the hole dressing and place it in the hole you created. You may have to cut a bit more material away. The black hole dressing part has ridges in it and the white nylon washer clicks on holding the black pieces in place. Use a screwdriver to really push the washers in place. |
 |
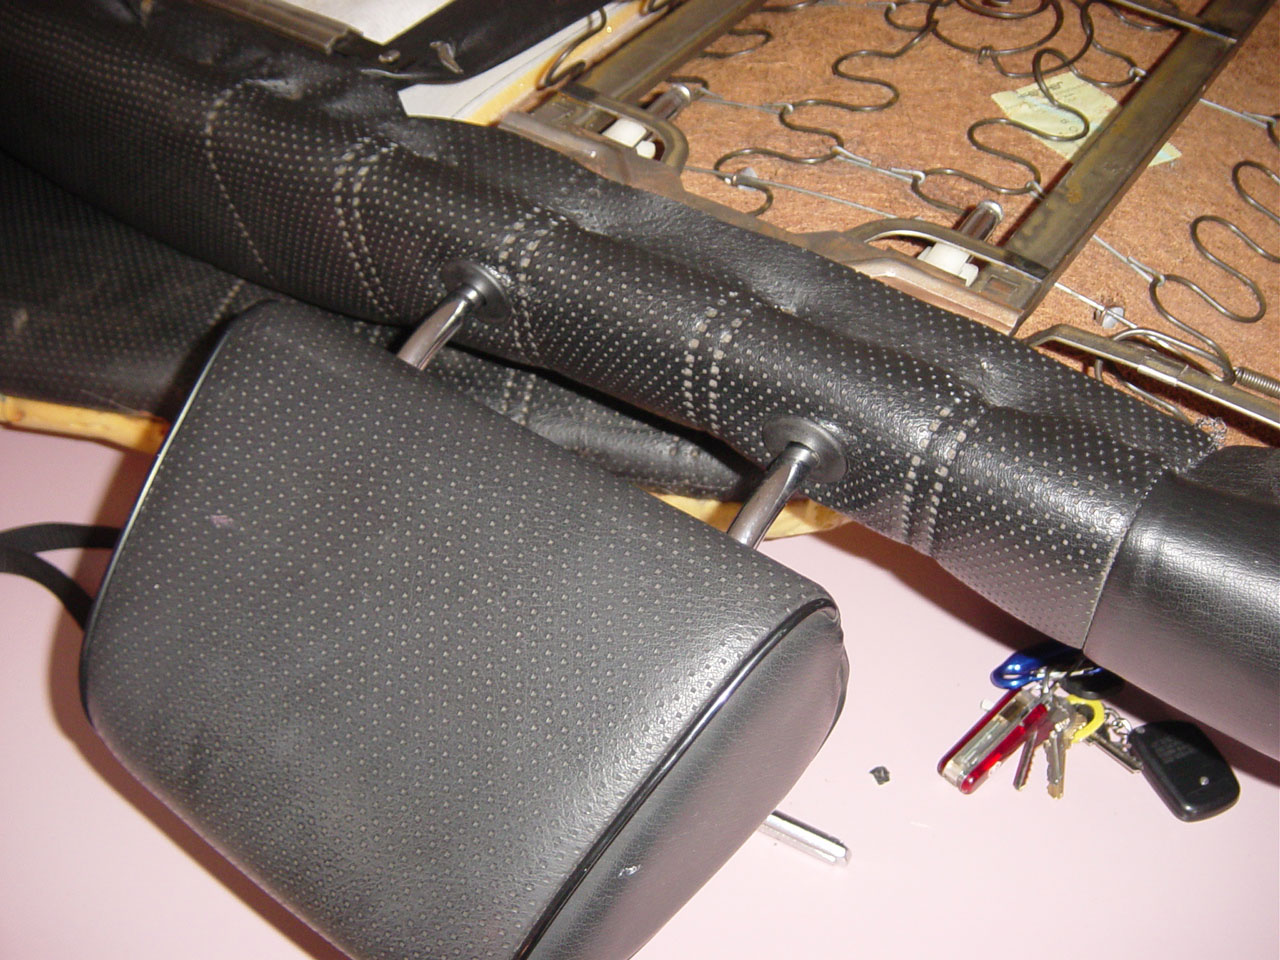
Here is a picture with one side done. Do the other now. Do your hands hurt yet? You may notice that the holes made in the top material of the rear seat don't exactly line up with the holes you cut through the vinyl. Aren't you glad you just didn't cut holes in the vinyl right in the middle of the pre-cut out holes (see picture 4)! |
 |
The rear seat is just held in by some bolts on the sides. Actually, the bolts are missing on mine. There are small metal hooks in the metal behind the rear seat that grab the rear seat when you are pushing it downwards in place. |
 |
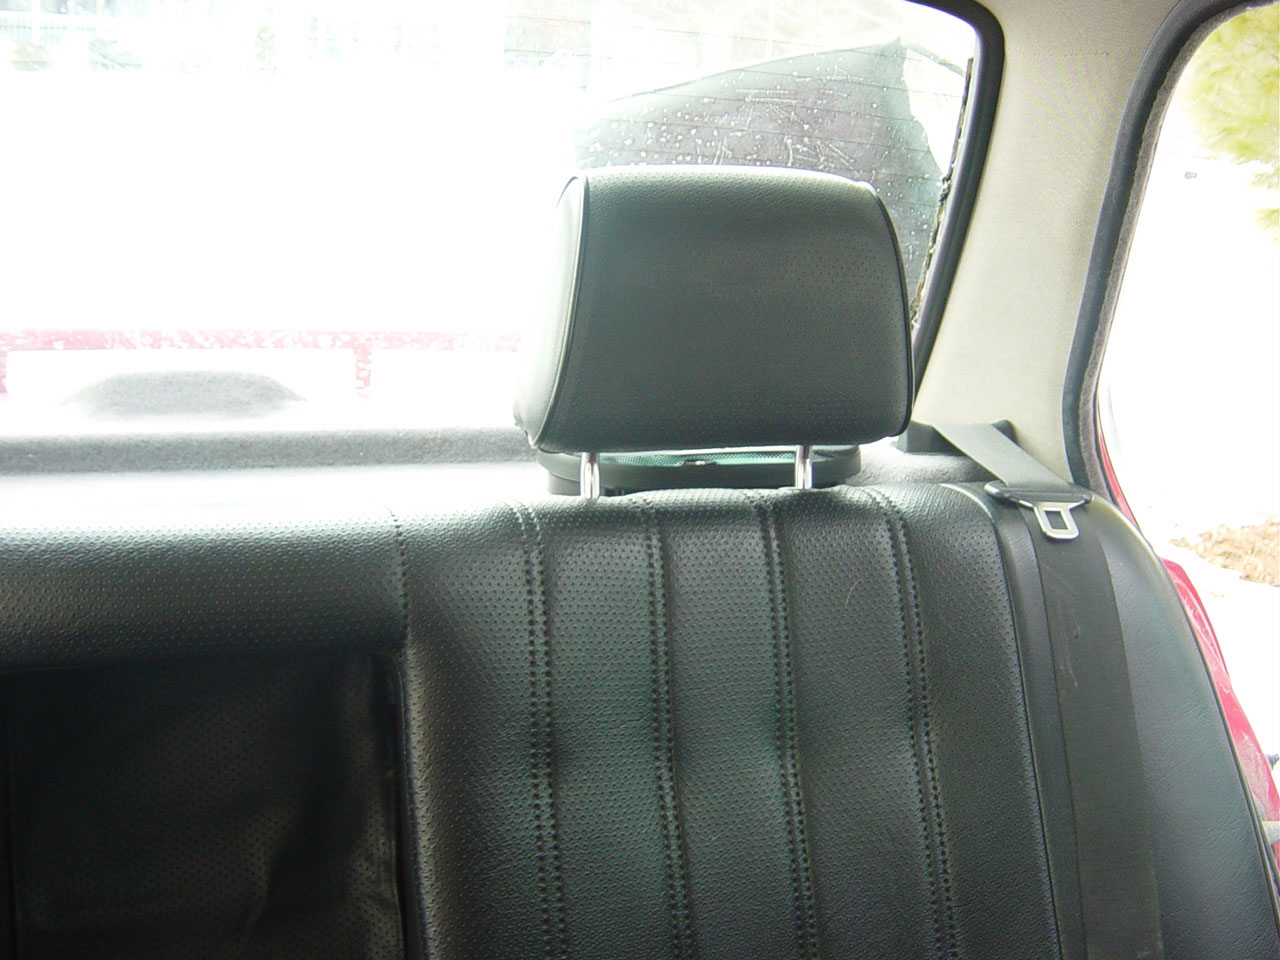
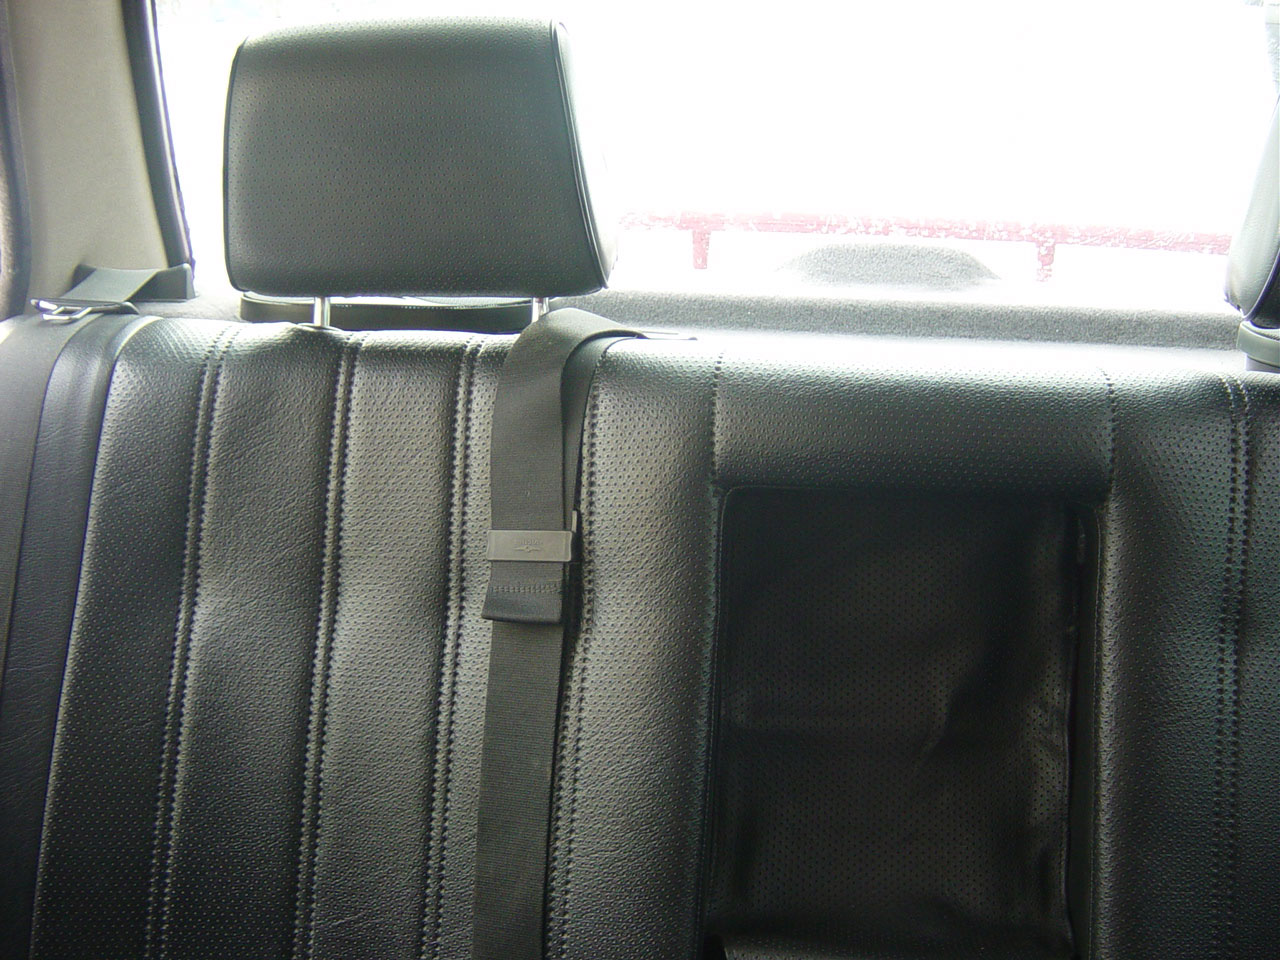
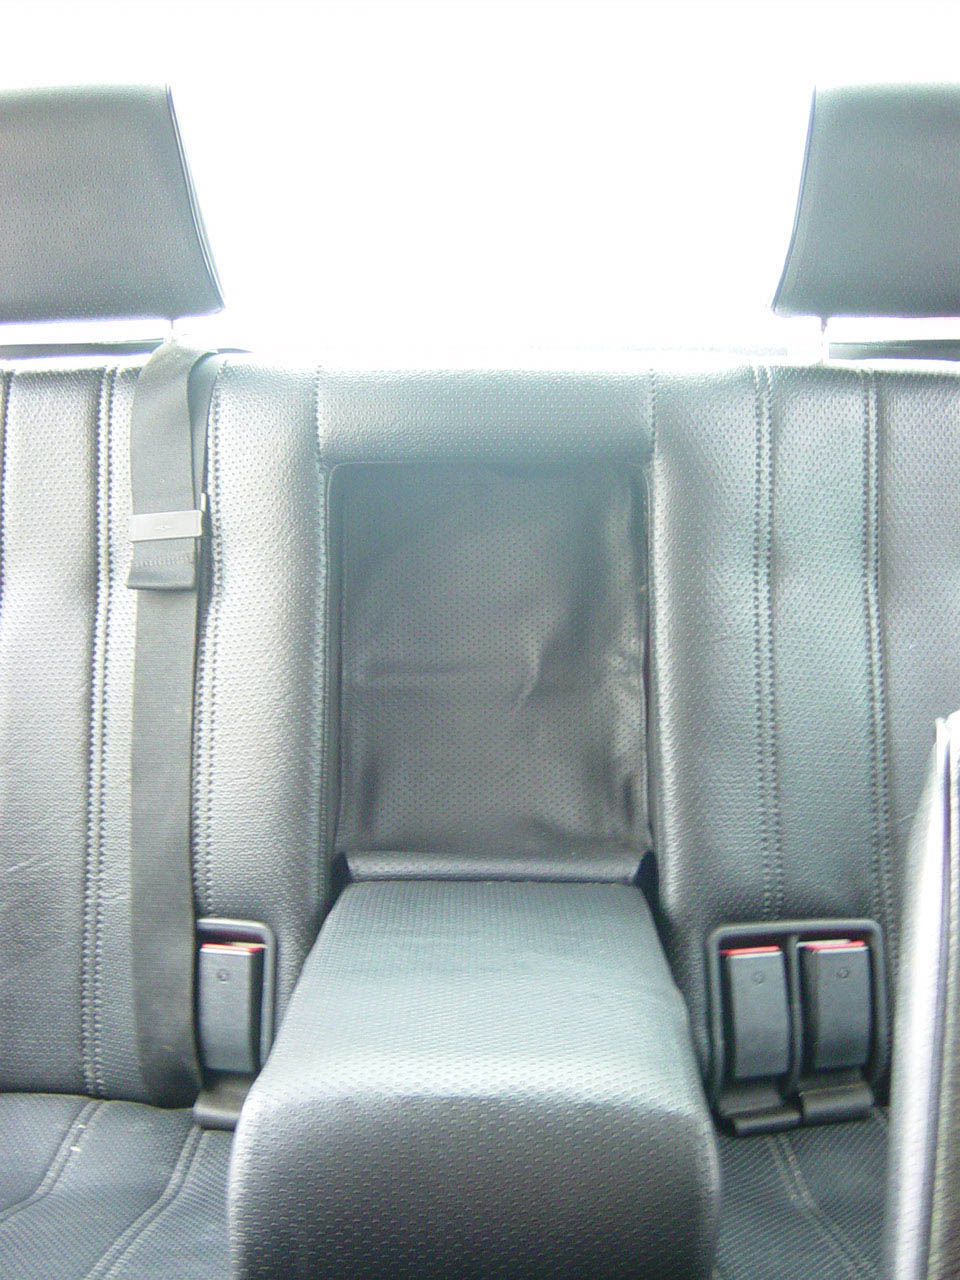
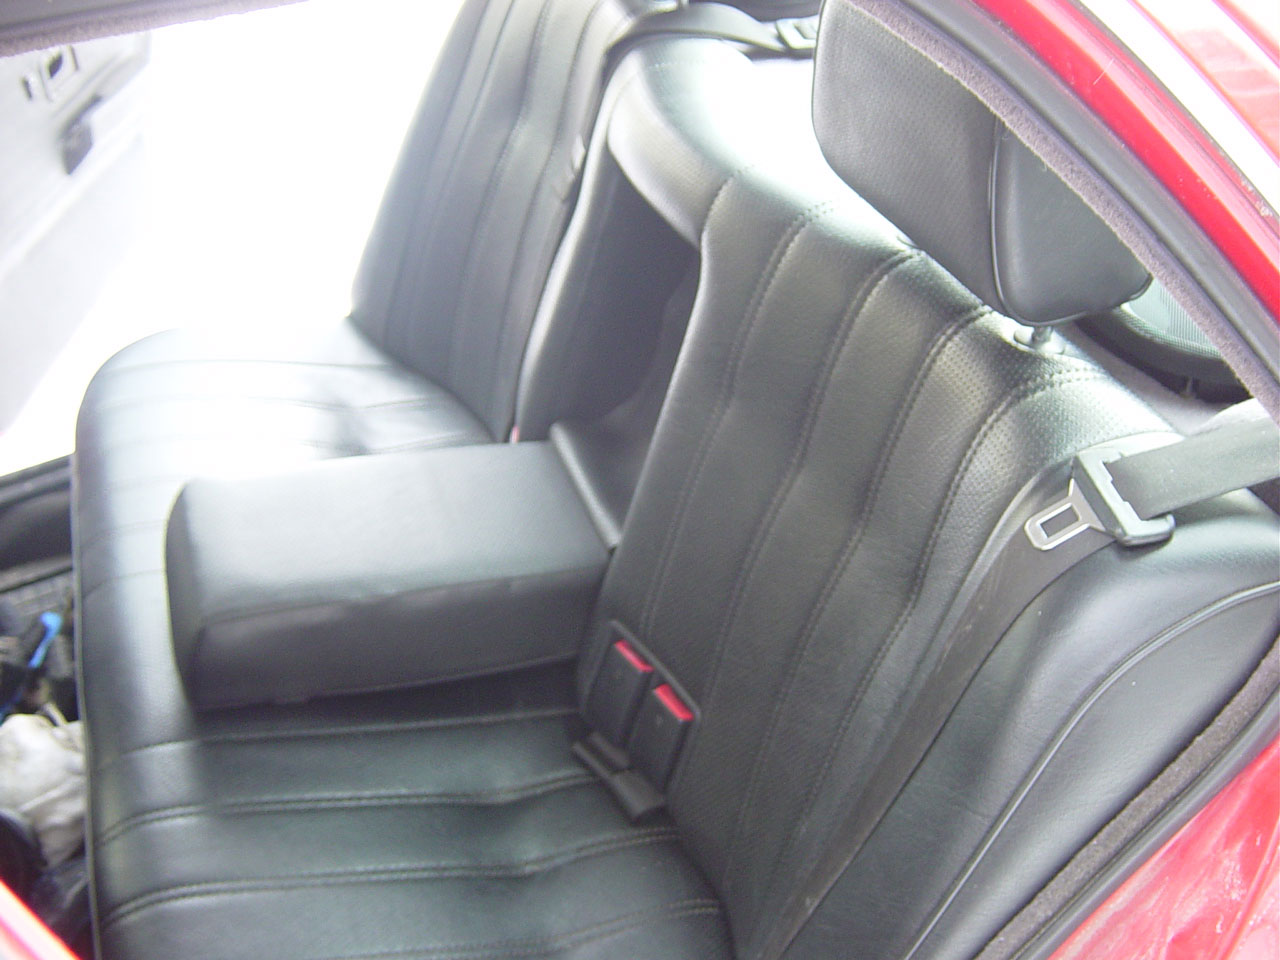
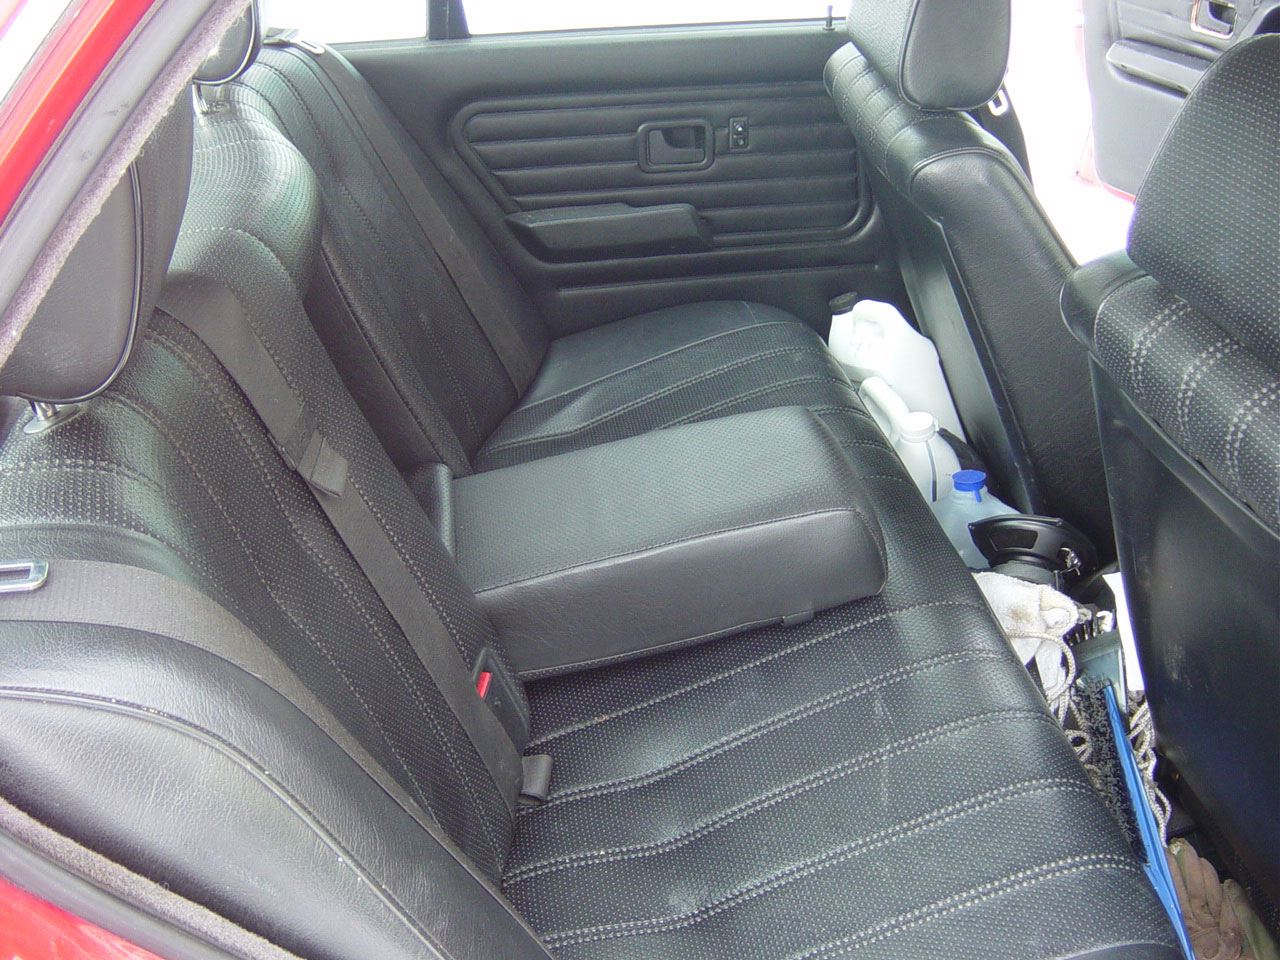
Here are some picture of the rear arm rest and rear headrests installed. |
 |
The hole in the arm rest has a vinyl flap that is held up by velcro. |
 |
The arm rest looks great. |
 |
Much more comfortable back there. It'll probably be more comfortable once I remove all the antifreeze, water, and other clutter that I carry back there. |
 |
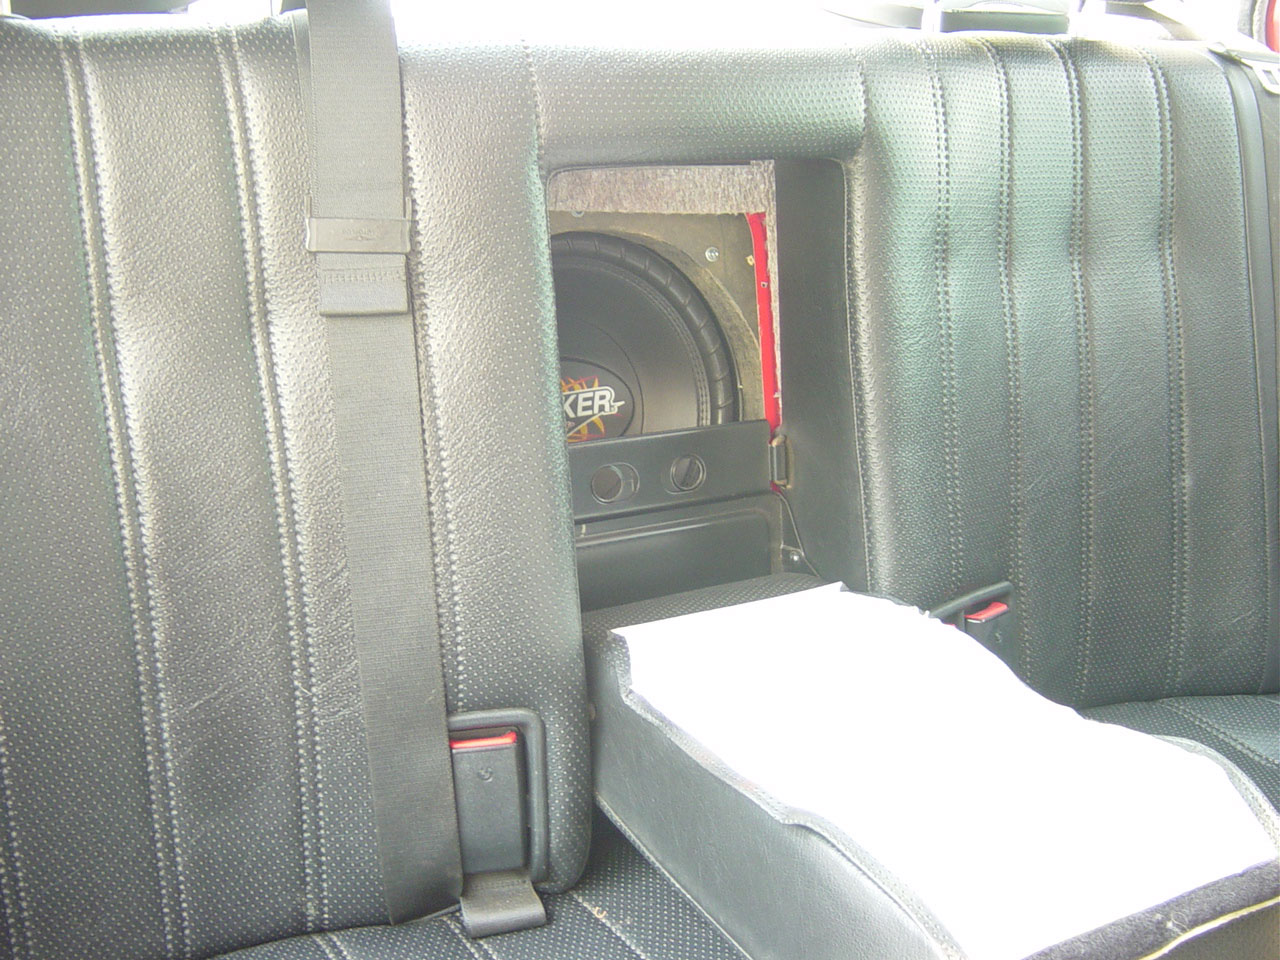
One of the major reasons I wanted the rear seat with the arm rest was to allow the bass from the 12" sub woofer I mounted in the ski hole pop out carry into the cabin. See my stereo install page for more information on how I mounted the sub woofer. The old, solid foam rear seat with no arm rest really attenuated the bass. The difference is dramatic! |
| |
| Performed: |
February 26, 2005 |