318i Tech Procedure
-
Thermostat Replacement &
Coolant Change
I've had issues with heat in my 318i since I purchased it. The temp needle on the instrument panel would barely leave the blue on cold days and would barely make it to the 1/4 mark on warm days. In the very cold, the cabin heat was not sufficient and my commute to work was miserable. The floor heat was also sub-standard. Furthermore, a car running cold is not running as efficiently as it could. Shortly after purchasing the car, I went through the papers in the glove compartment and found a repair record where a previous owner brought the car to a shop complaining of poor heat. They replaced the thermostat and the hoses.
My first step to repairing my heat was to change out the thermostat and coolant. If this doesn't work, my next plan is to test the heater control valve. Located in the passenger side foot well, the heater control valve opens to allow the hot coolant to flow into the heater core. Consider the E30 is closing in on "antique" status, if the coolant was not changed frequently enough and if the wrong type of coolant was used, the heater control valve may be corroded and not opening fully.
Luckily, my thermostat replacement did the trick in restoring my heat.
Before I get into the procedure on how to replace the thermostat and change the coolant, I want to talk a bit about coolant. The 1991 318i and all newer BMWs use aluminum components in the cooling system. When replacing the coolant, do not use regular coolant. You must use a coolant that has
no nitrites and no phosphates. Pony up and spend $20/gallon on the BMW coolant from the dealer. Why is it necessary to use this special coolant? BMW released a tech bulletin listing a problem that results in a green-gel that results from using normal coolant and water in a BMW. You can imagine that a green-gel doesn't cool properly. Regular green coolant with all the nitrites and phosphates are also more conducive to electrolysis and the aluminum components of our BMW cooling systems are more susceptible to damage from electrolysis than the cast iron components of other vehicles. Using distilled water instead of tap water also keep the amount of minerals in your cooling system lower. At the bottom of this page is a link to a tech article on Pelicanparts.com that discuses the problems of electrolysis and standard coolant in more depth.
Summary of the last paragraph: Use BMW coolant and distilled water.
BMW Parts:
1 Gallon BMW coolant
11537511580 88 Degree C Thermostat
11531721218 O-Ring
11531721172 Gasket
Click on the thumbnails for larger pictures.
 |
The first step is to remove the underbody panel. If you are going to radiator, give the fluid a direct shot to your catch bucket. There are two 10mm plastic nuts holding the edges up. |
 |
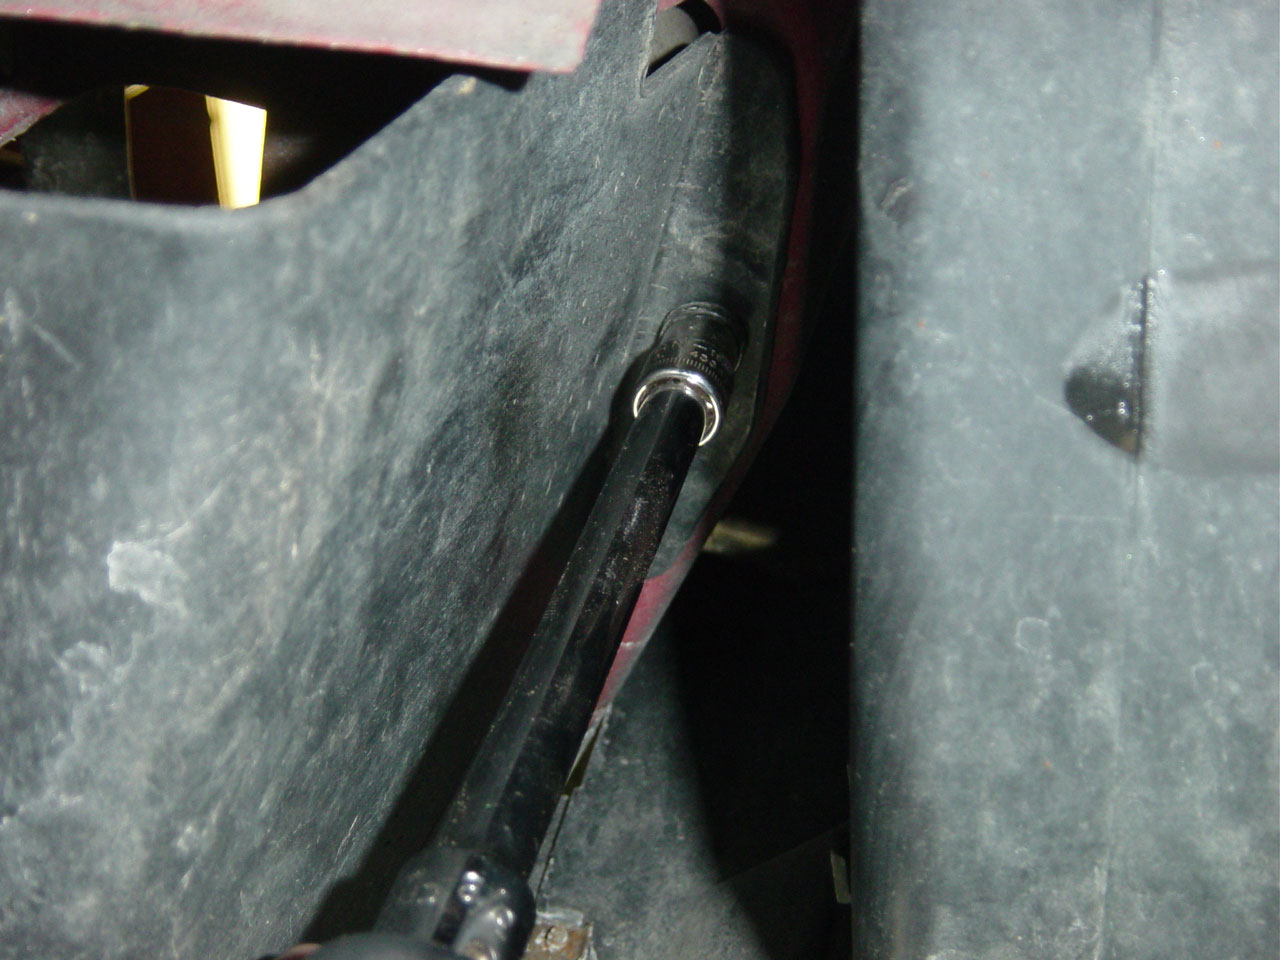
There are two more holding the sides on. There are some small screws that hold the edges of the panel to another panel. You can unscrew these with a 7mm socket in your hand. |
 |
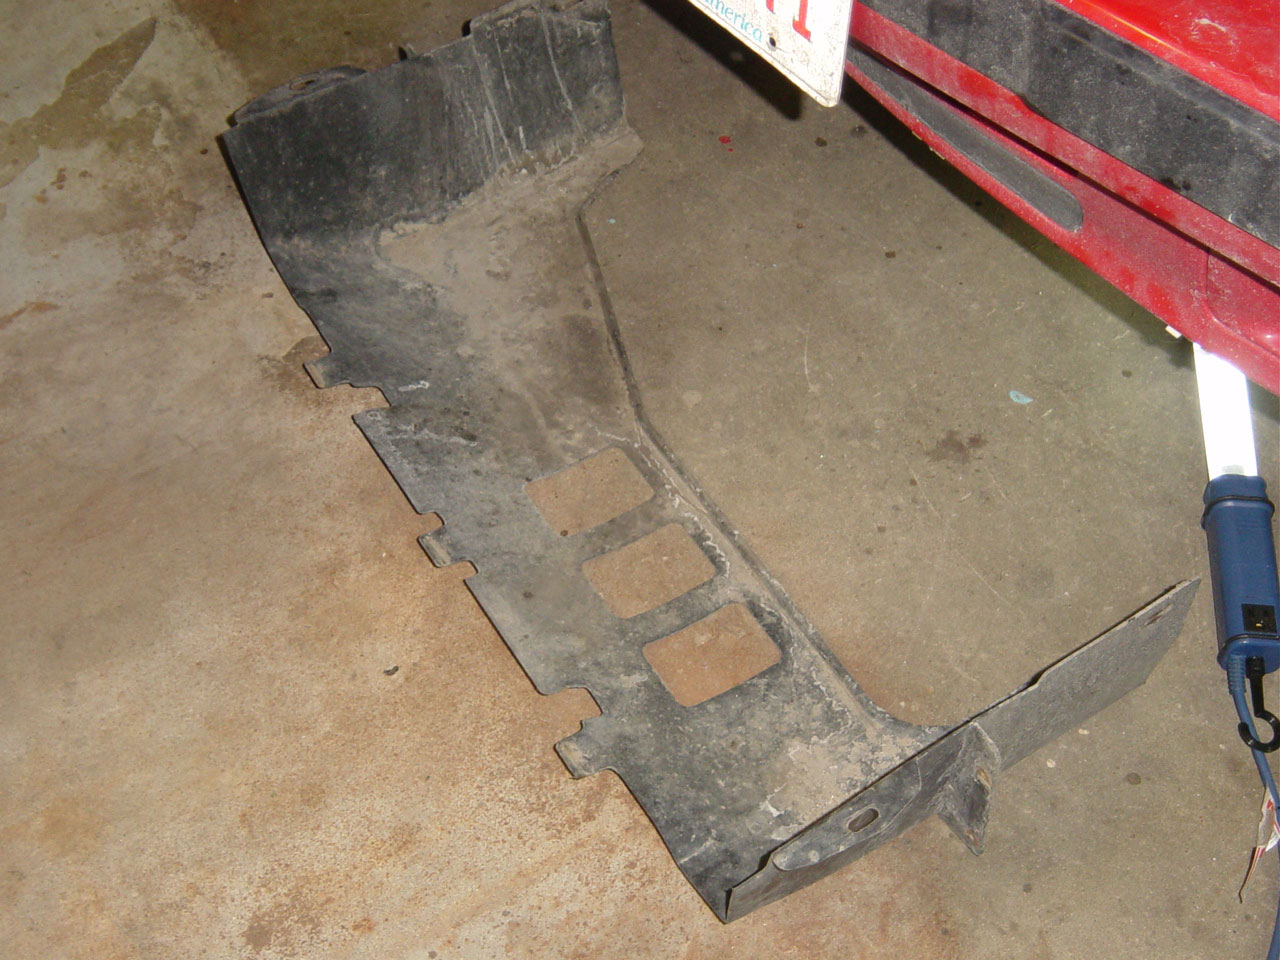
Here is a picture of the under panel removed. This step doesn't take much time and makes working down there much easier. |
 |
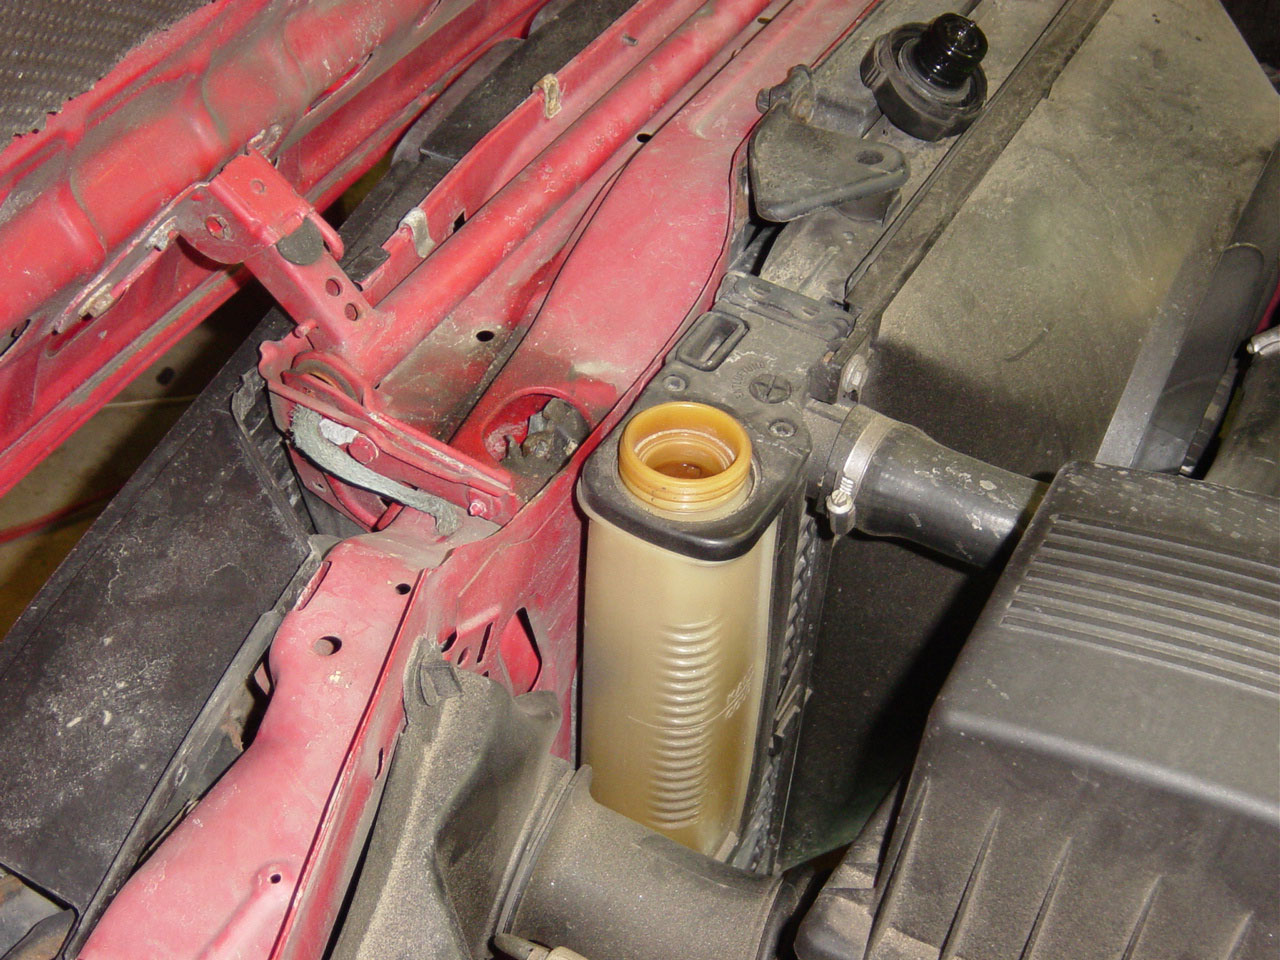
Remove the cap. |
 |
Using your hand, slowly open the valve. Coolant will start trickling out. Use the valve to control the flow of all the coolant leaving the radiator. |
 |
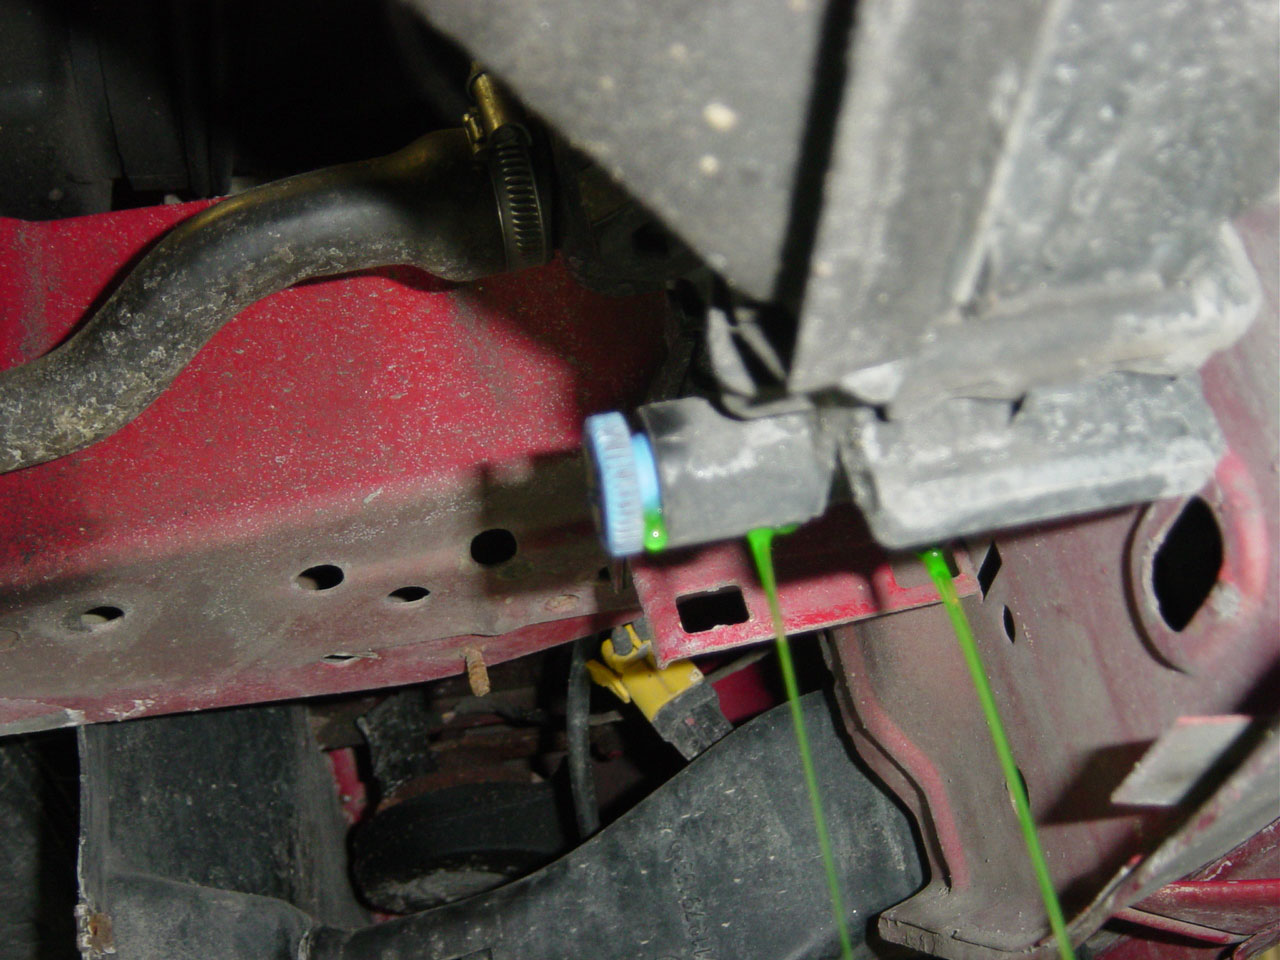
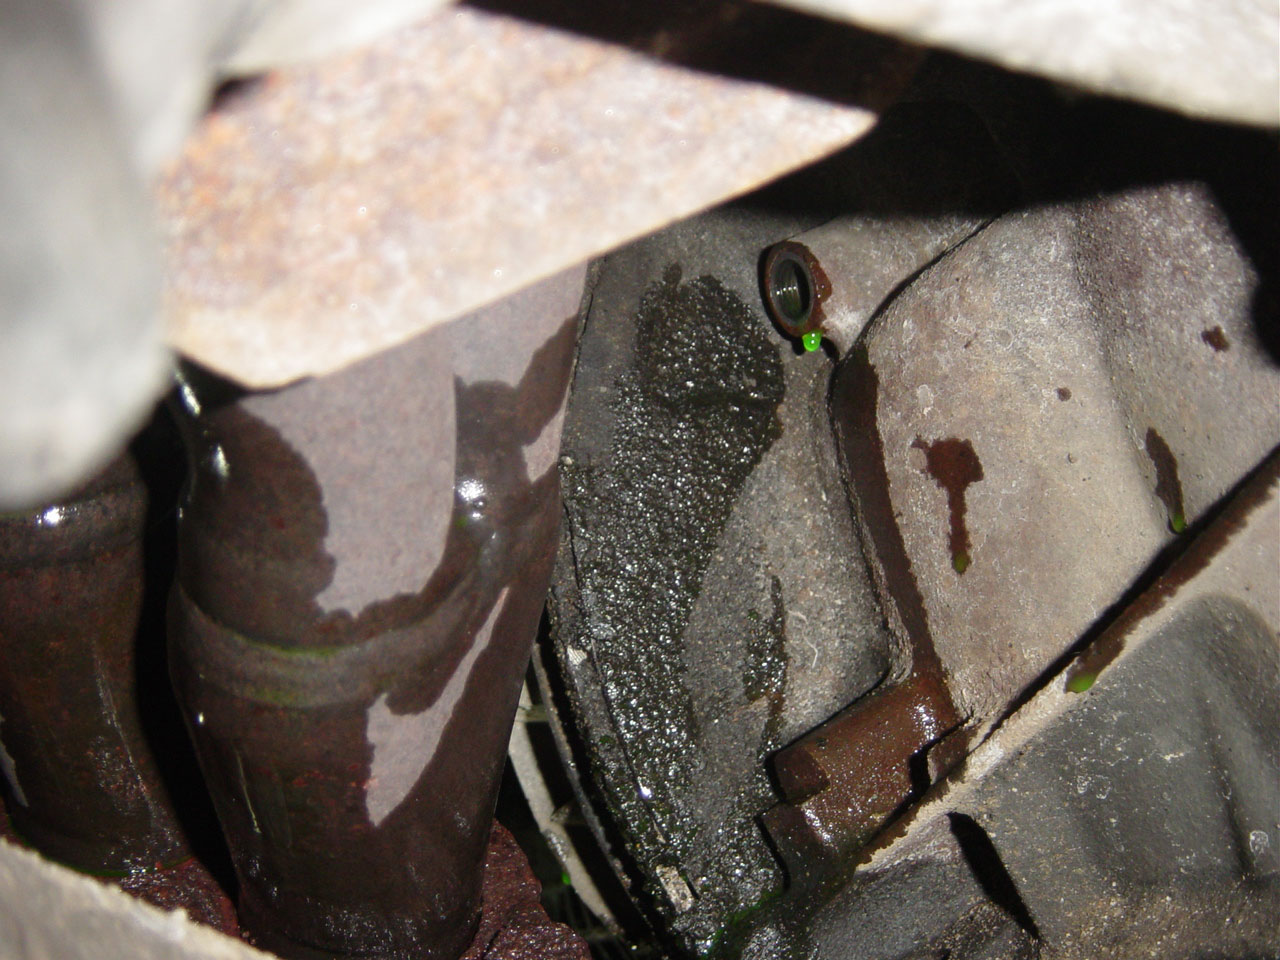
Most people don't know that good amount of radiator fluid is always inside the engine and that if you drain the radiator and not the engine block, you are not truly replacing your coolant. The plug is 19mm and located on the rear, passenger side of the M42 engine, somewhat behind the exhaust headers.
I tried to moderate the flow of coolant from the block, but it ended up everywhere. It splashed over the exhaust, ran down to the car, splashed on me and soaked everything. You can enlist your local neighborhood pets to lick it up for you. If you are really sadistic, you can allow your wife/girlfriend's prized pet to help you.
(Just joking here - hopefully by now we all know that animals are attracted to the taste of anti-freeze, but it ends up killing them by shutting down their kidneys.) |
 |
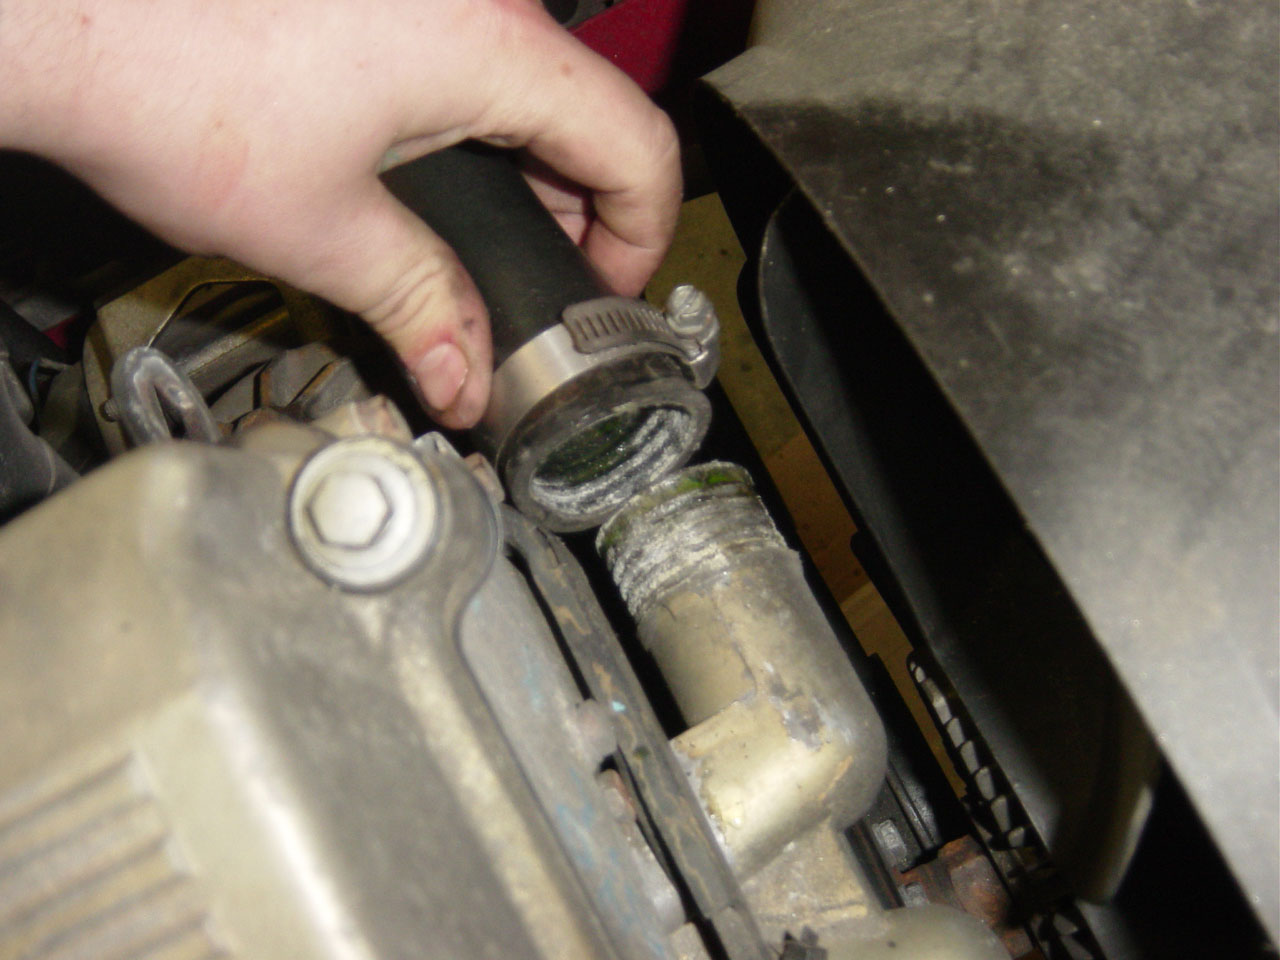
Unplug the host leading from the radiator to the thermostat. |
 |
Unplug the other hose. Note that more coolant will escape so have a catch basin ready below the hoses. This job is messy. |
 |
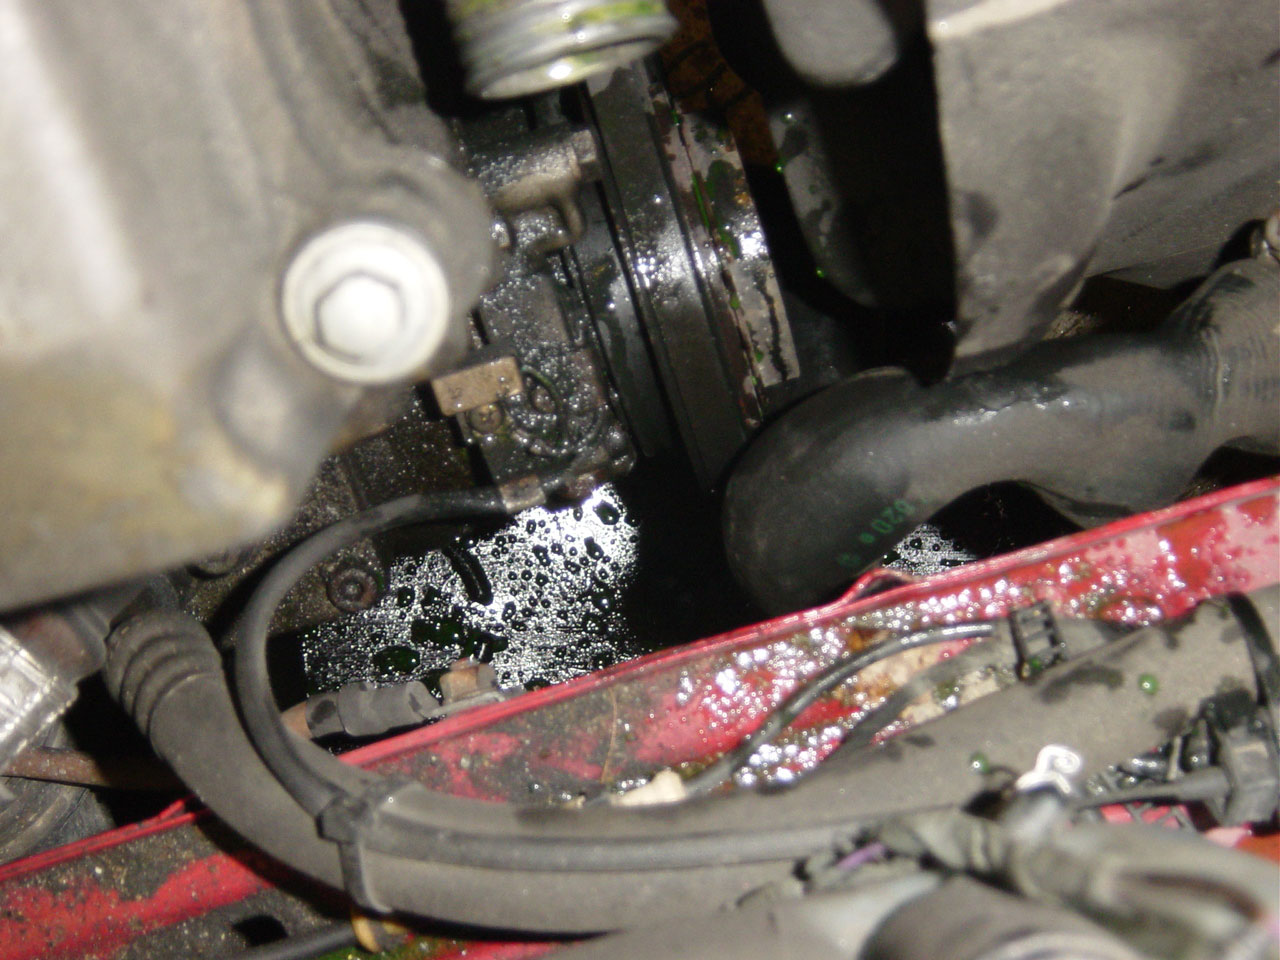
I removed the radiator shroud to make the access easier with a 10mm socket. This is not necessary. The Bentley manual (the E36 one for the M44 engine) recommends removing the fan to get access to the thermostat. I tried this but I couldn't get the fan off. You need a 32mm wrench and a method of holding the fan still while you give the nut between the pulley and the fan blades and quick impact in the clockwise direction if facing the front of the car. The threads are reverse threaded. The only tool I had that would fit this nut was a large adjustable wrench. I ended up never getting the nut to budge a millimeter and I managed to bend and break off several of the aluminum fins of the fan clutch.
Luckily, Bentley doesn't know it all. |
 |
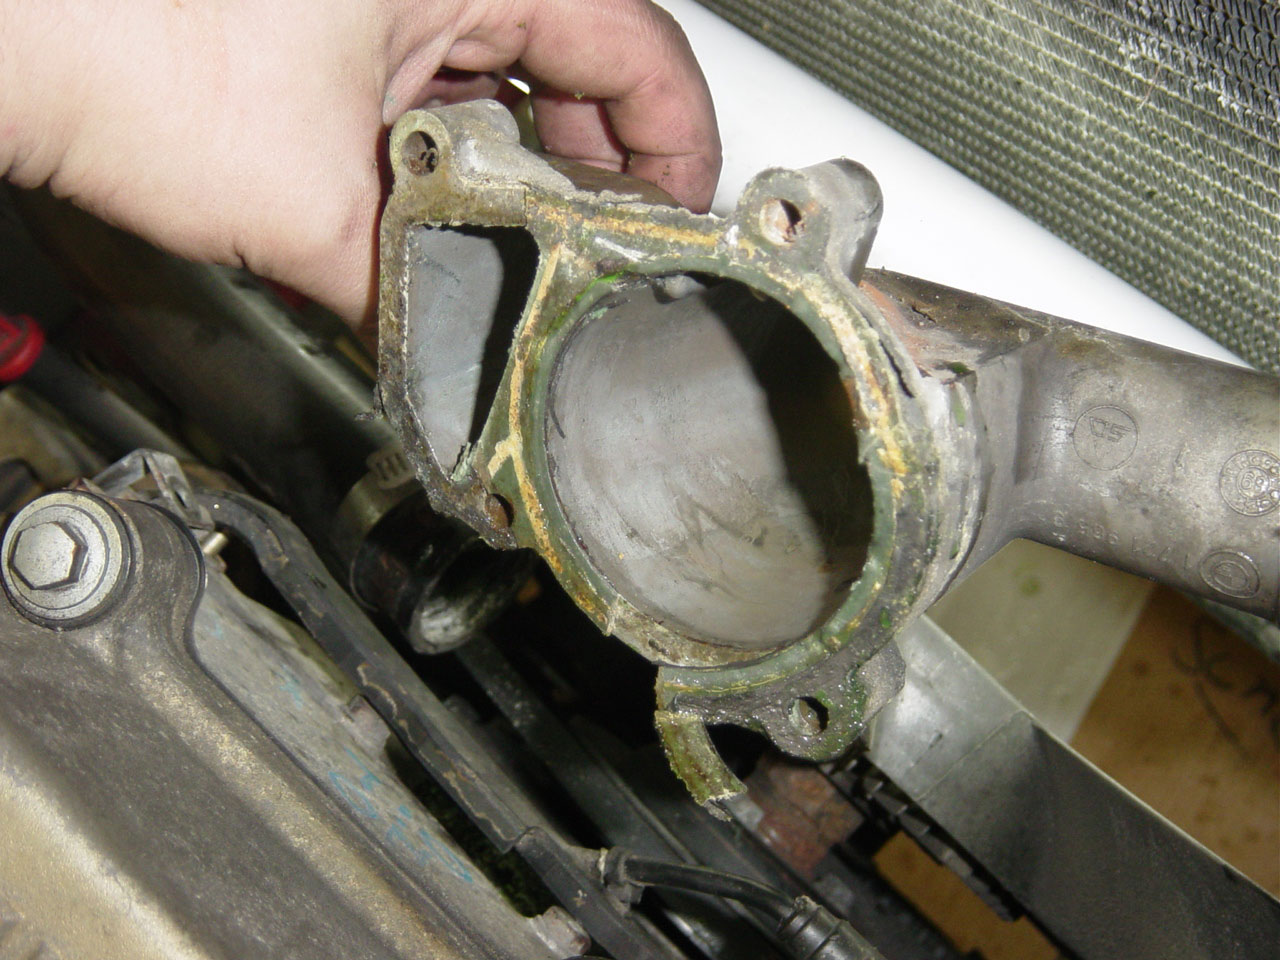
Remove the brackets and the wires that pass in front of the thermostat housing. Use a 10mm socket. There are 4 bolts holding the thermostat housing to the engine block. Pop the thermostat housing off the engine block. |
 |
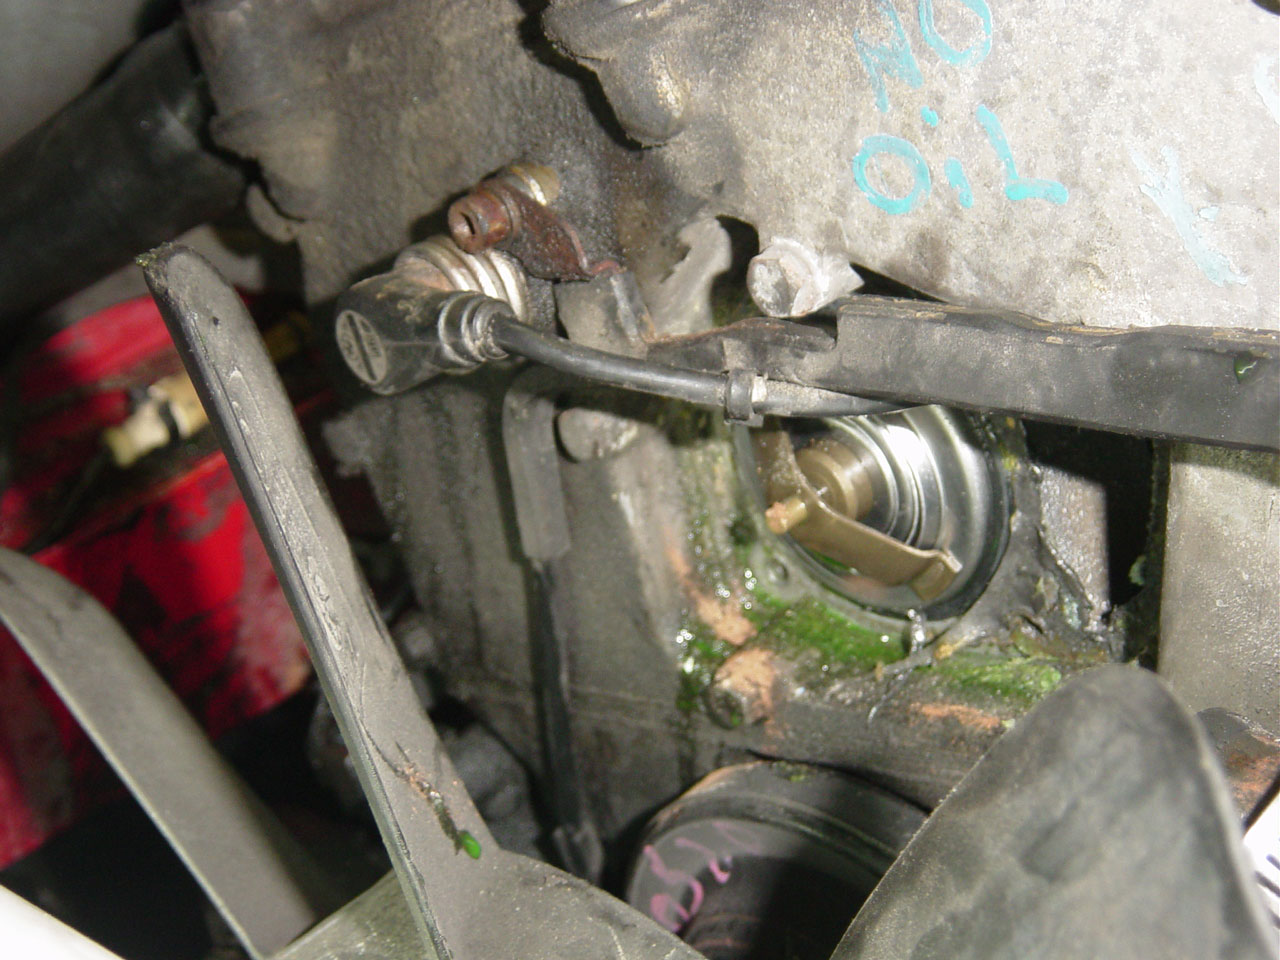
Here is my old thermostat. Note the orientation and direction of the old thermostat while taking it out of the block. You may need to put the new one in the same direction. Evidently some thermostats have marks for which way should go up. This thermostat was an 80 degree thermostat, not 88 like it should have been.
This picture is great. It shows a couple of things. First, the previous owner put the green crap in the car, not the good blue BMW coolant. I really should have flushed my system but it was far below freezing outside and I wasn't about to flood my inside workspace.
Secondly, notice the "No Oil" written on the block? I'm pretty sure at some point my engine was rebuilt. Whatever - as long as they did it right. It could be a good thing to have new chains and seals. |
 |
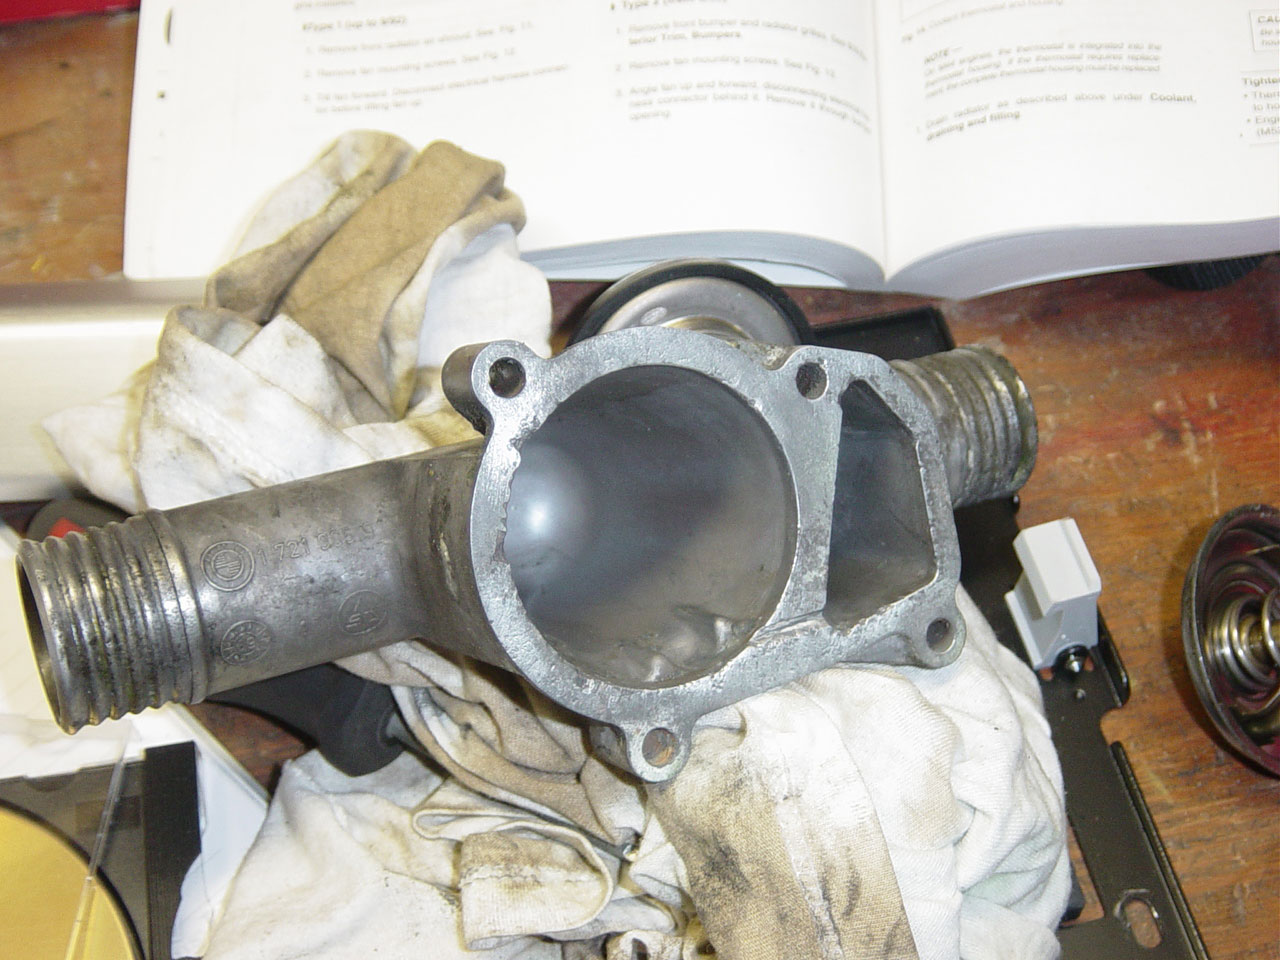
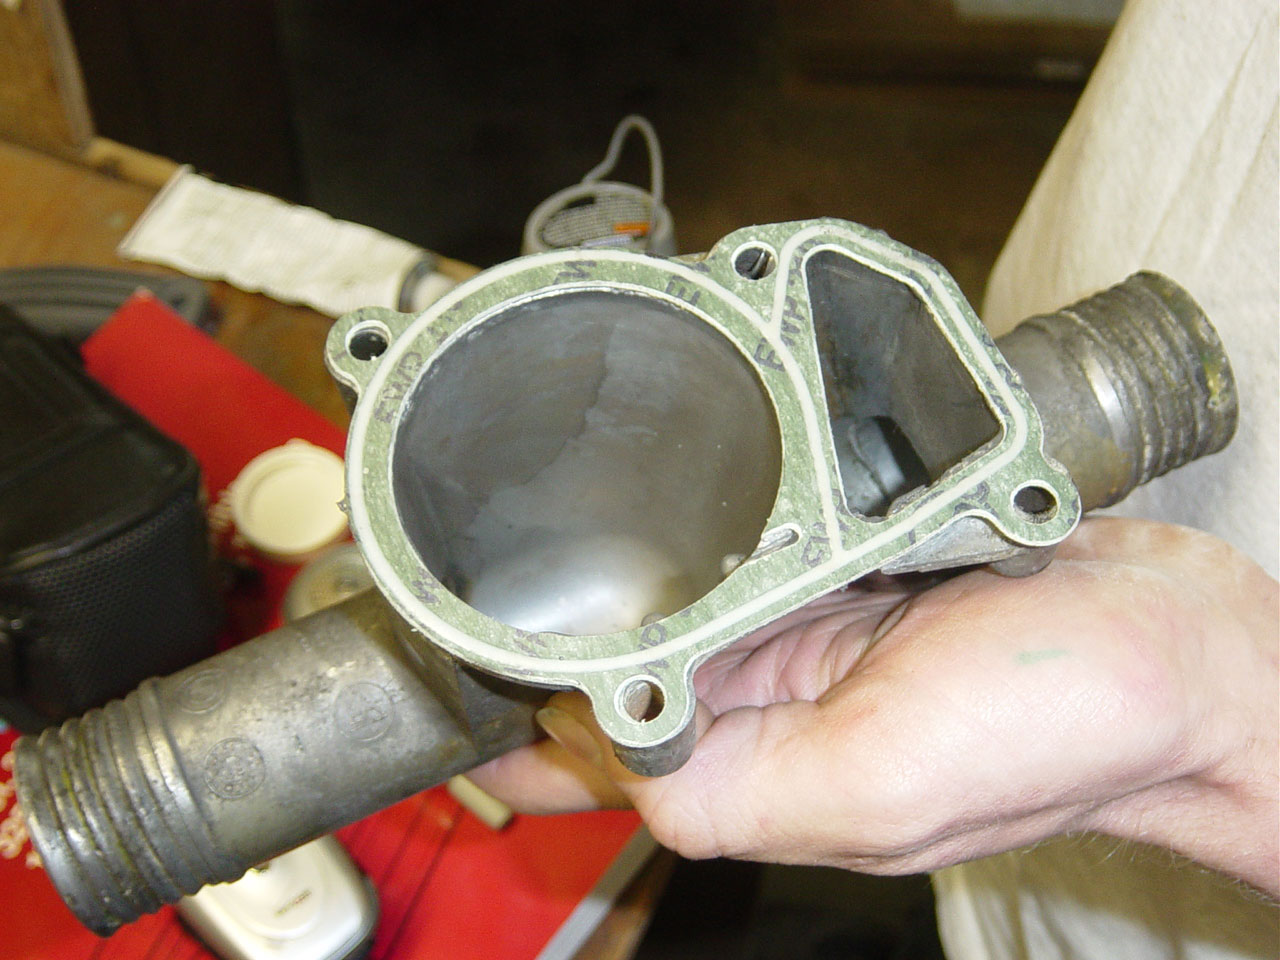
Clean the thermostat housing surfaces so that the new seal will not leak. |
 |
Place the new seal on the new thermostat. I had a ton of issues with this. I think the place I ordered my thermostat and seals shipped me the wrong seal. The seal they gave me had a notch and I could surround the thermostat edge with the seal. It looked right, but the thermostat never sat in the block like the old thermostat did. I decided to press on and reassembled the unit. The next day I bought distilled water and tried it. Coolant immediately spilled all over the floor.
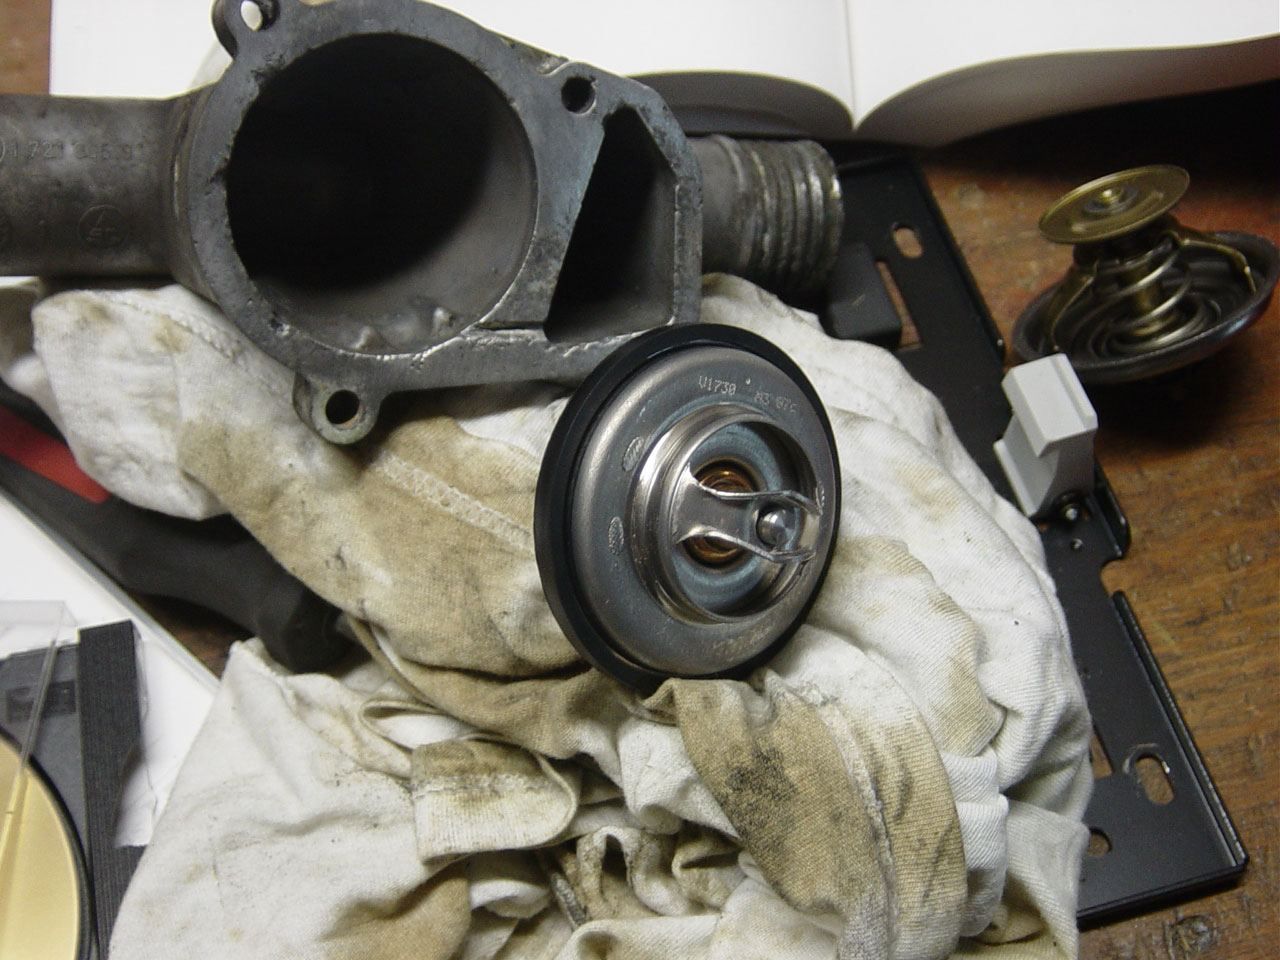
I ended up taking it all apart. I took the seal off and while thinking of what to do, I noticed that there was another seal in the box that the thermostat arrived in. It was a round seal that fits on one side of the thermostat. Now I could get the thermostat to fit in the block easily. |
 |
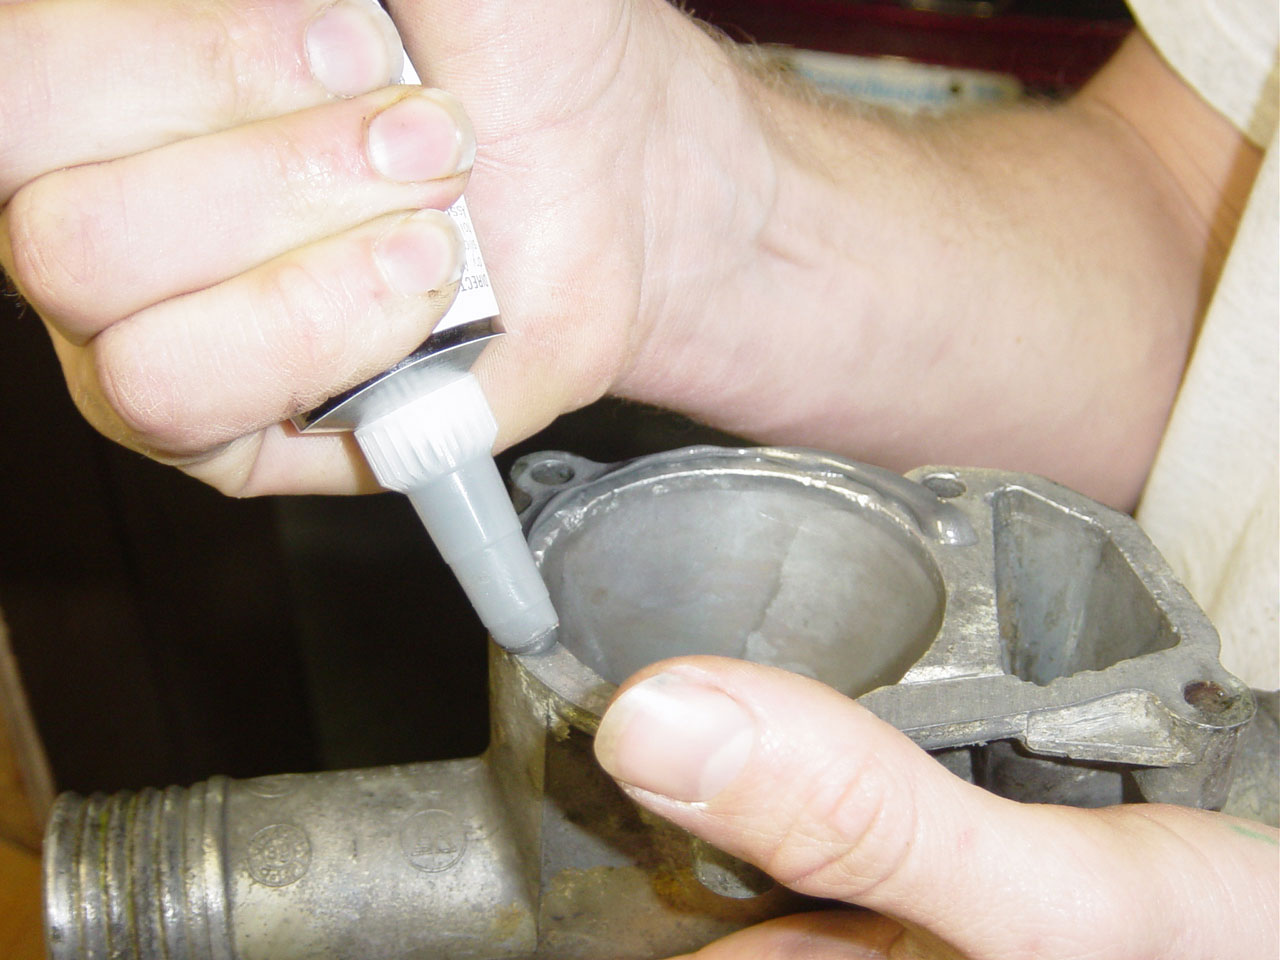
I applied a bit of Permitex gasket maker. |
 |
I then applied a new seal and managed to carefully angle the thermostat housing back into place while twisting it to avoid the fan blades that are always in the way. The use of the Permitex helps because it keep the gasket in place.
Reassemble everything and torque the thermostat housing bolts to 9ft-lbs. Do not over torque. |
| |
Add a 50-50 mixture of coolant and water into the radiator until it reaches the cold like. Turn the key so the car is on, but the engine is not running. Put the heat on full hot. The valve should open the fluid will empty from the expansion tank. Add some more.
Take the bleed screw out. It is right next to the expansion radiator tank opening. With the car running, keep adding coolant until it starts to run out of the radiator bubble free. |
| |
I ended up having a leak. It was a steady drip off the oil pan. I don't have the tools to check how much torque I put on the thermostat housing bolts, but I added some more torque, cleaned off the oil pan, and restarted the car. After doing this twice, the leaking stopped. |
| |
| Performed: |
February 13, 2005 |
The thermostat replacement worked. The 88 degree thermostat opens later than the old 80 degree thermostat did and my temp needle goes to a hair under 50%. The cabin heat is much improved. I hope to find a few extra MPG, but it will take some time to determine that.
Difficulty:
2 /5
(3/5 if you go through all the crap I did with trying to get the fan off, breaking off fan clutch fins, and dealing with the wrong seal)
Links:
http://www.pelicanparts.com/BMW/techarticles/E36-Coolant_Flush/E36-Coolant-Flush.htm
Disclaimer: I am not a professional mechanic. Information
this page should be used at your own risk and discretion. Different
models and model years may be different than my 1991 318i. Read: If
you screw your car up following my instructions, sorry. Isn't it sad
that in this sue crazy world you have to put a disclaimer on your
web page?