318i Modification
-
OBC Retrofit
The miniature on board computer that came with my 318i is pathetic. It only lists date/time and temperature. The full function OBC has many more functions including range, MPG, a timer, a speed limit chime, a code feature, and more. I've always been jealous of cars with the full OBC. To make matters worse, my mini-OBC has a problem where it will randomly stop working correctly. The characters on the screen start going berserk and it looks like the Predator's self destruct sequence after Arnold drops the tree on him.
I will preface this write up by saying that Matt Rhoads has an excellent write up on how to do this procedure and it includes all the part numbers. I am just going to regurgitate most of the information he said and add my installation pictures.
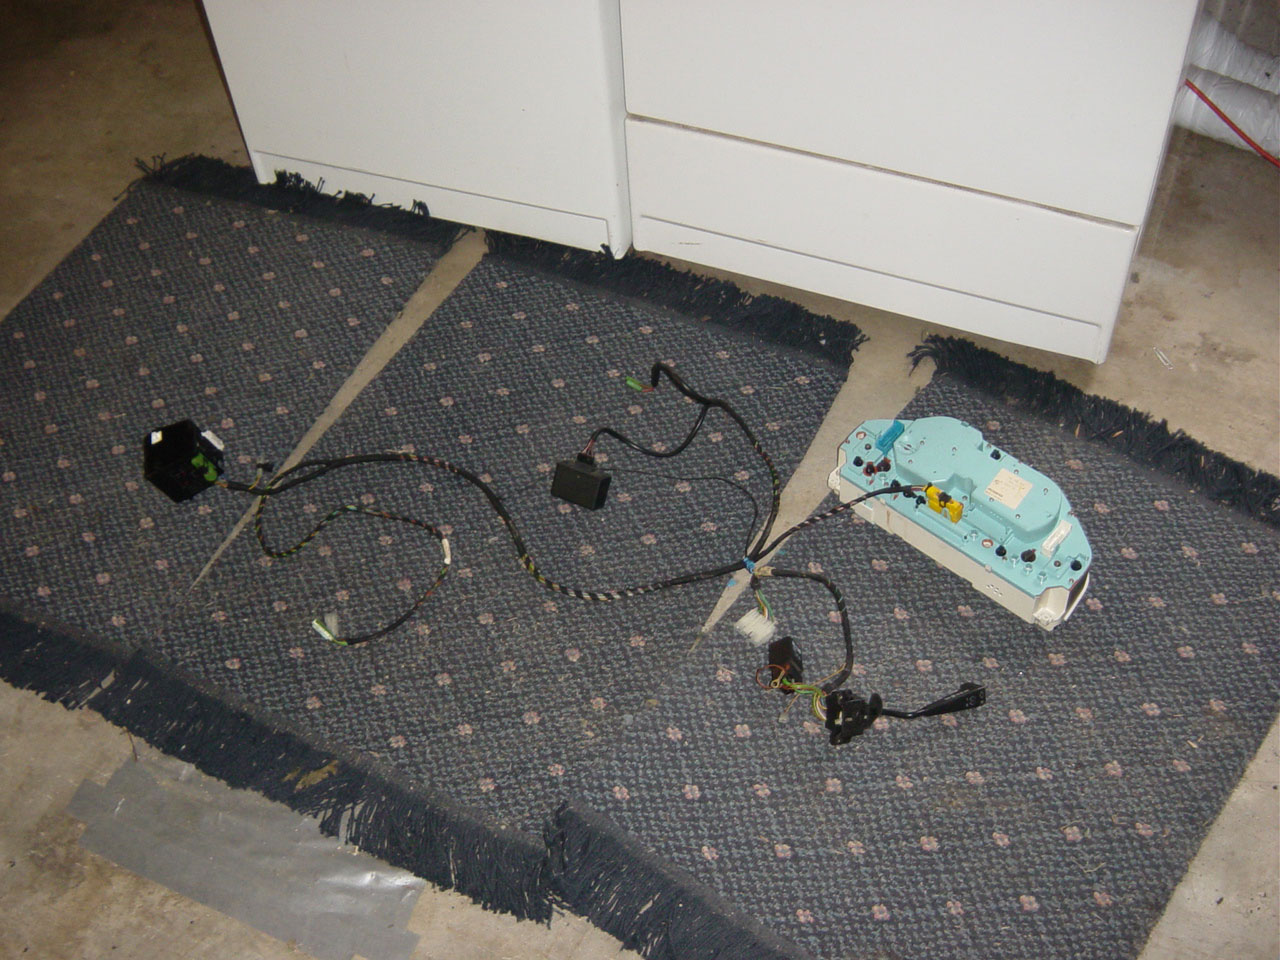
Below is a list of all the parts in the OBC system:
BMW Part |
BMW Part Number |
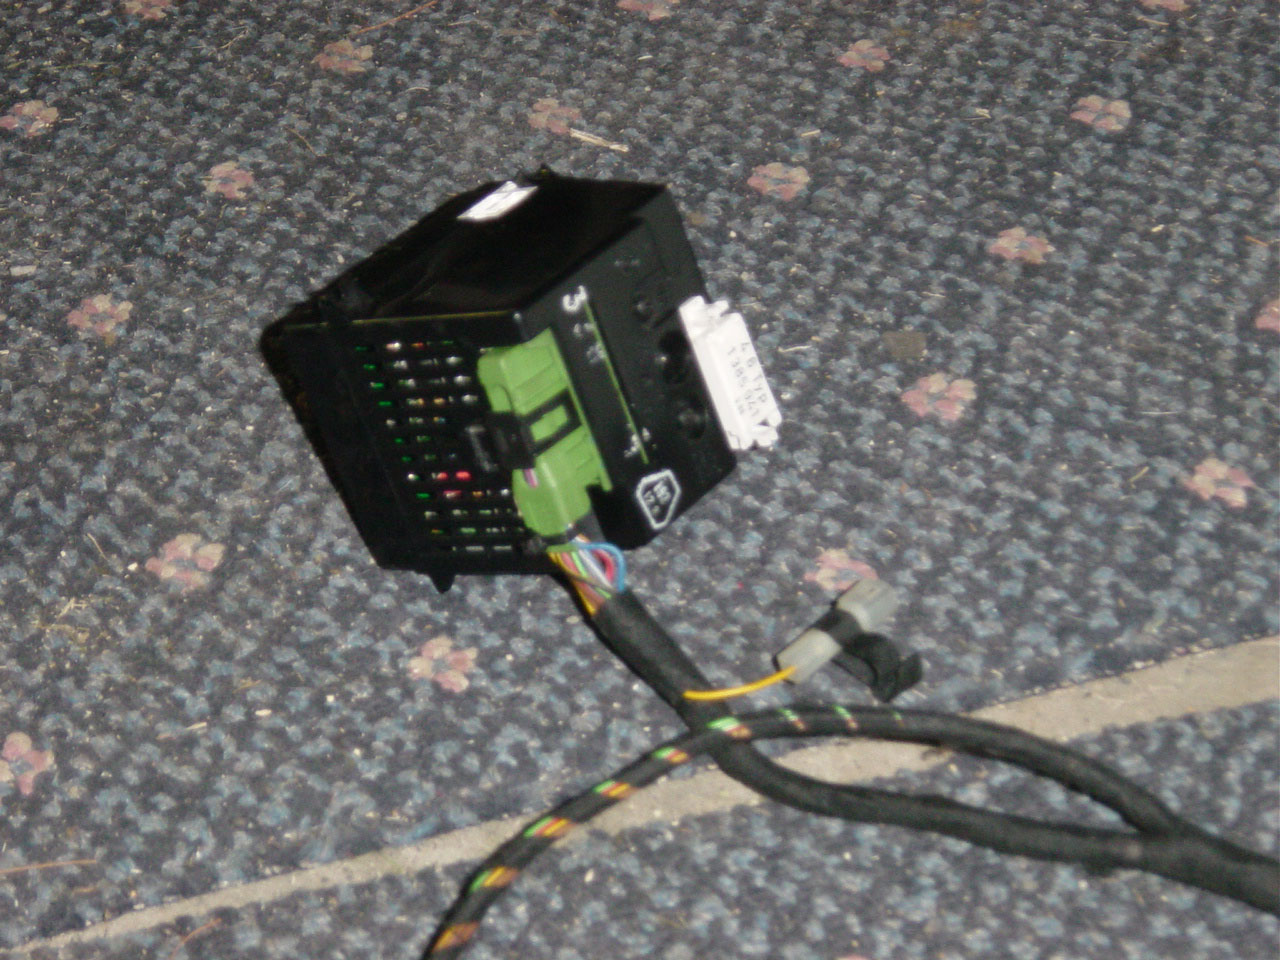
| OBC Control unit |
65 81 1 386 867 |
| OBC Light Bar |
65 81 1 375 461 |
| Upper Wiring Harness |
61 12 1 385 794 |
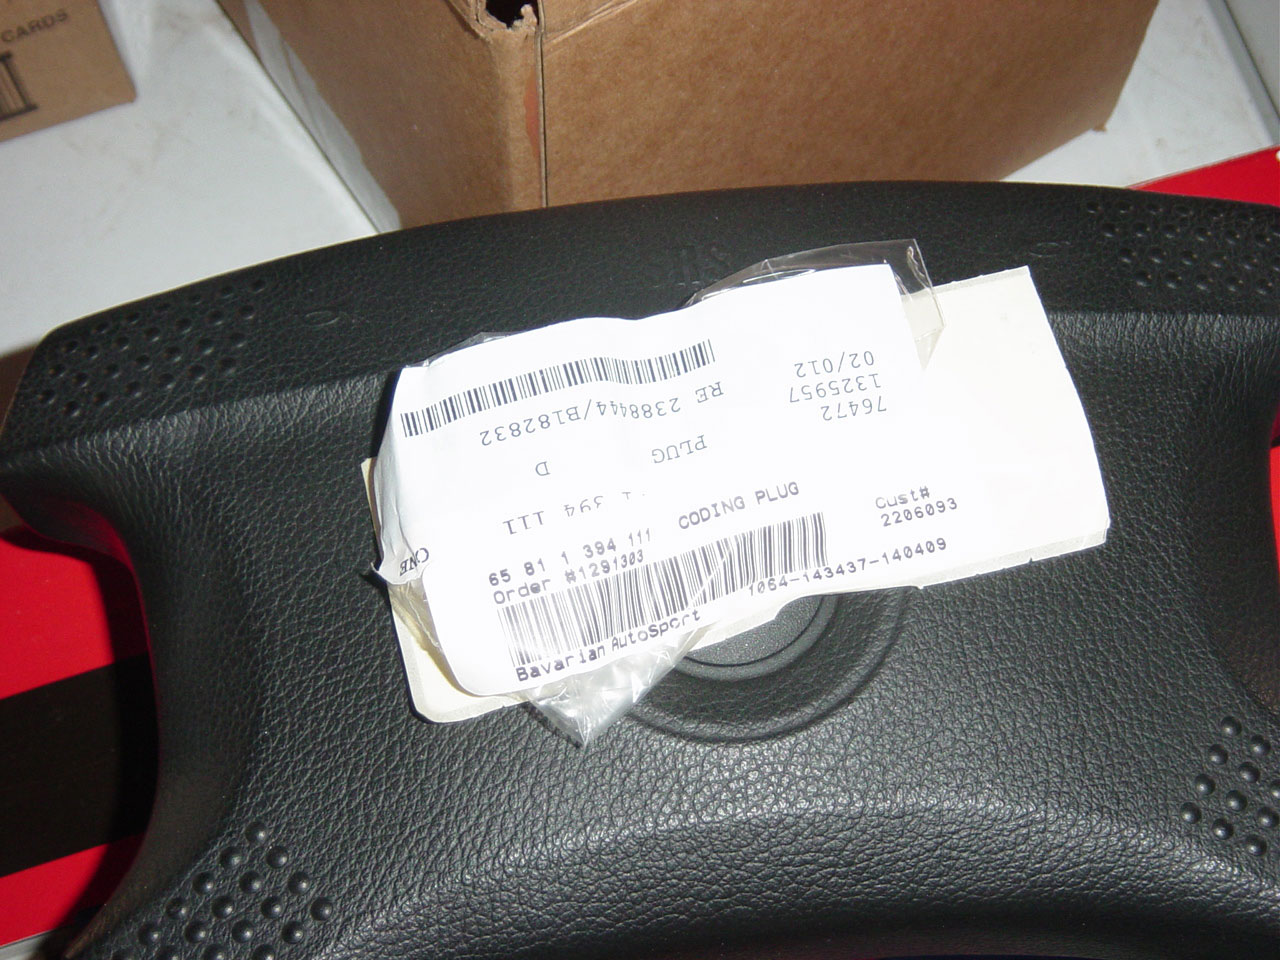
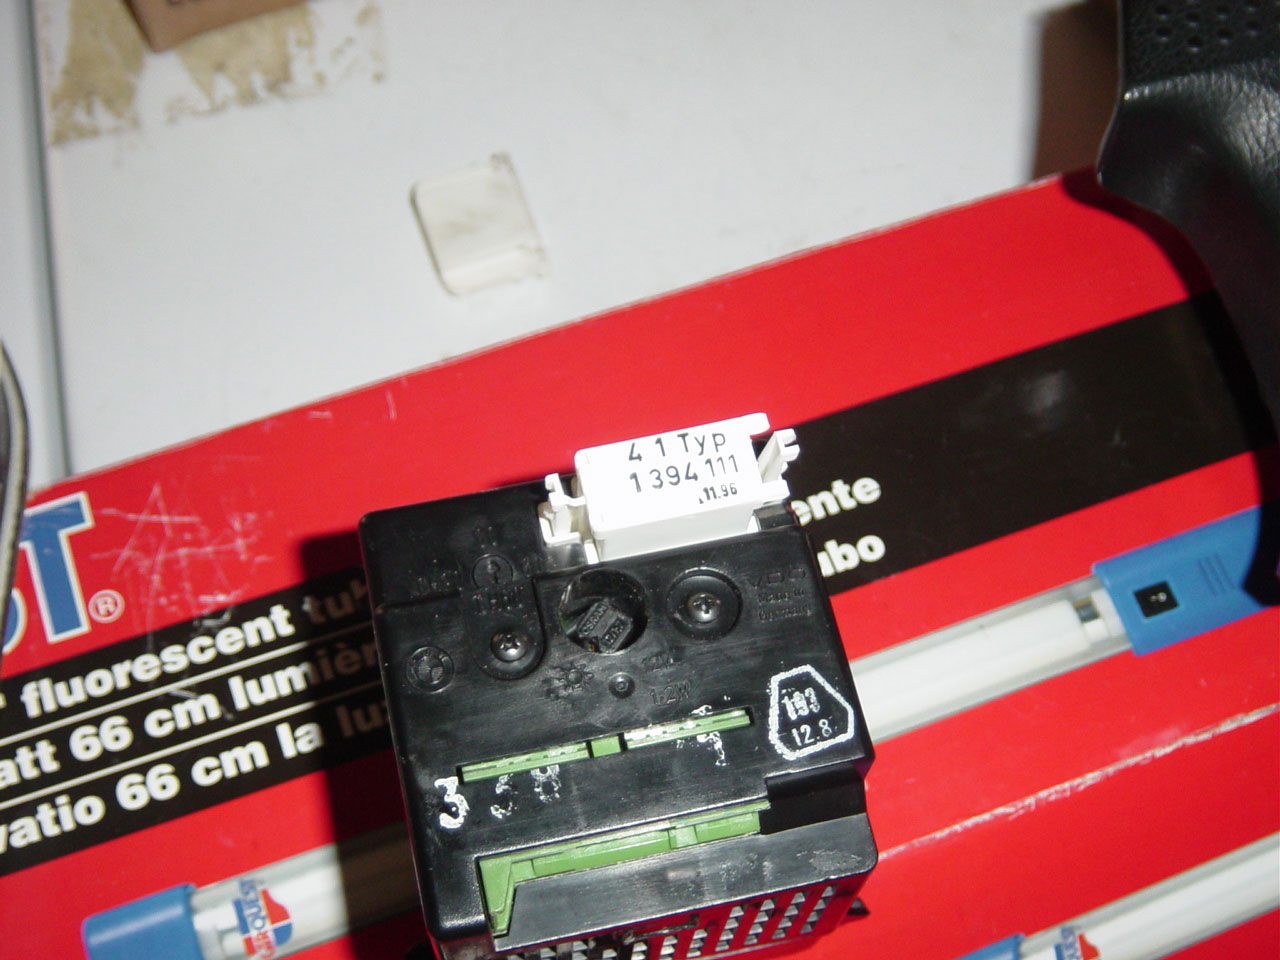
| Coding Plug |
See Table Below |
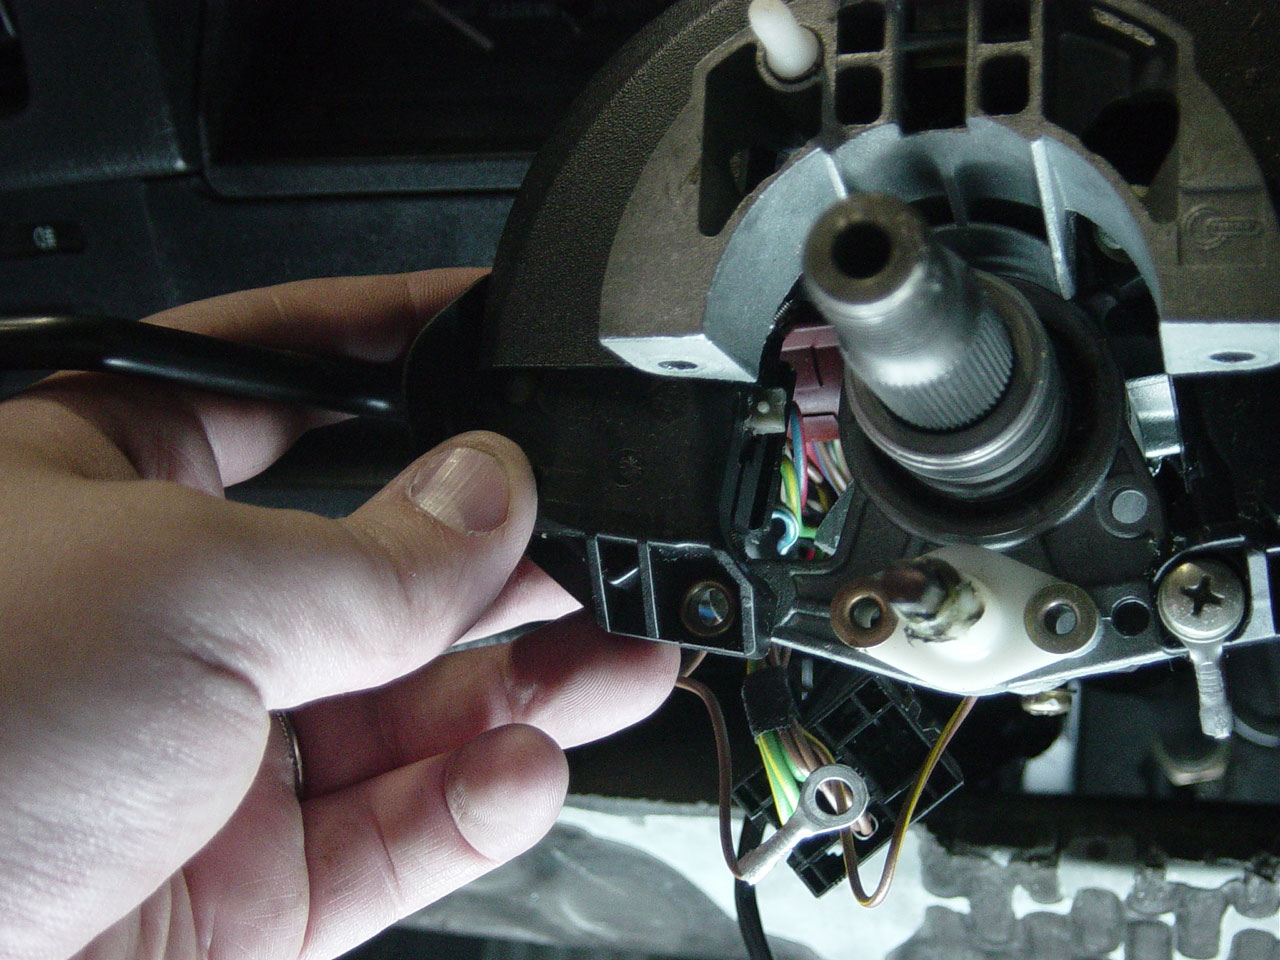
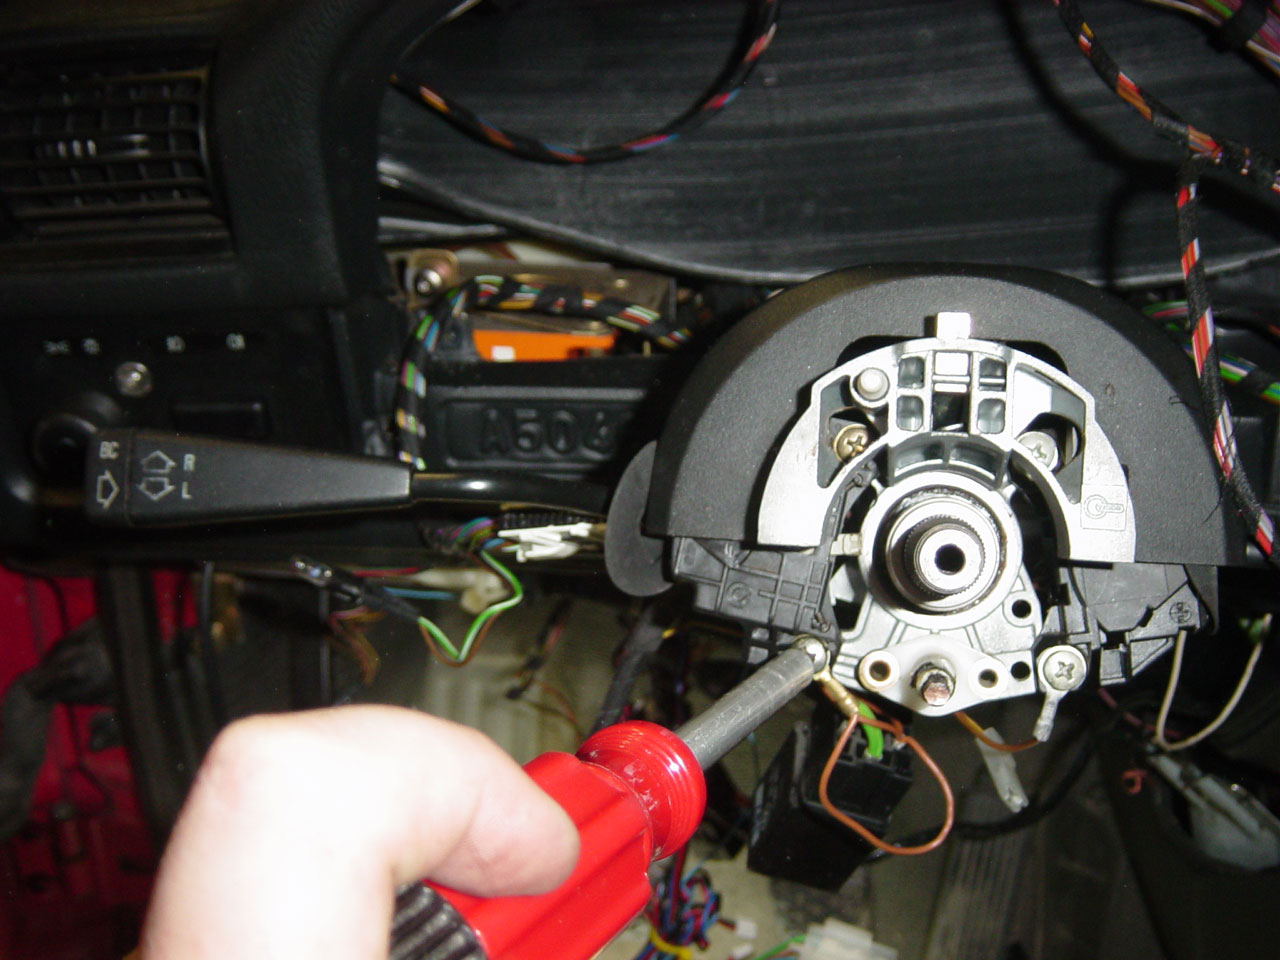
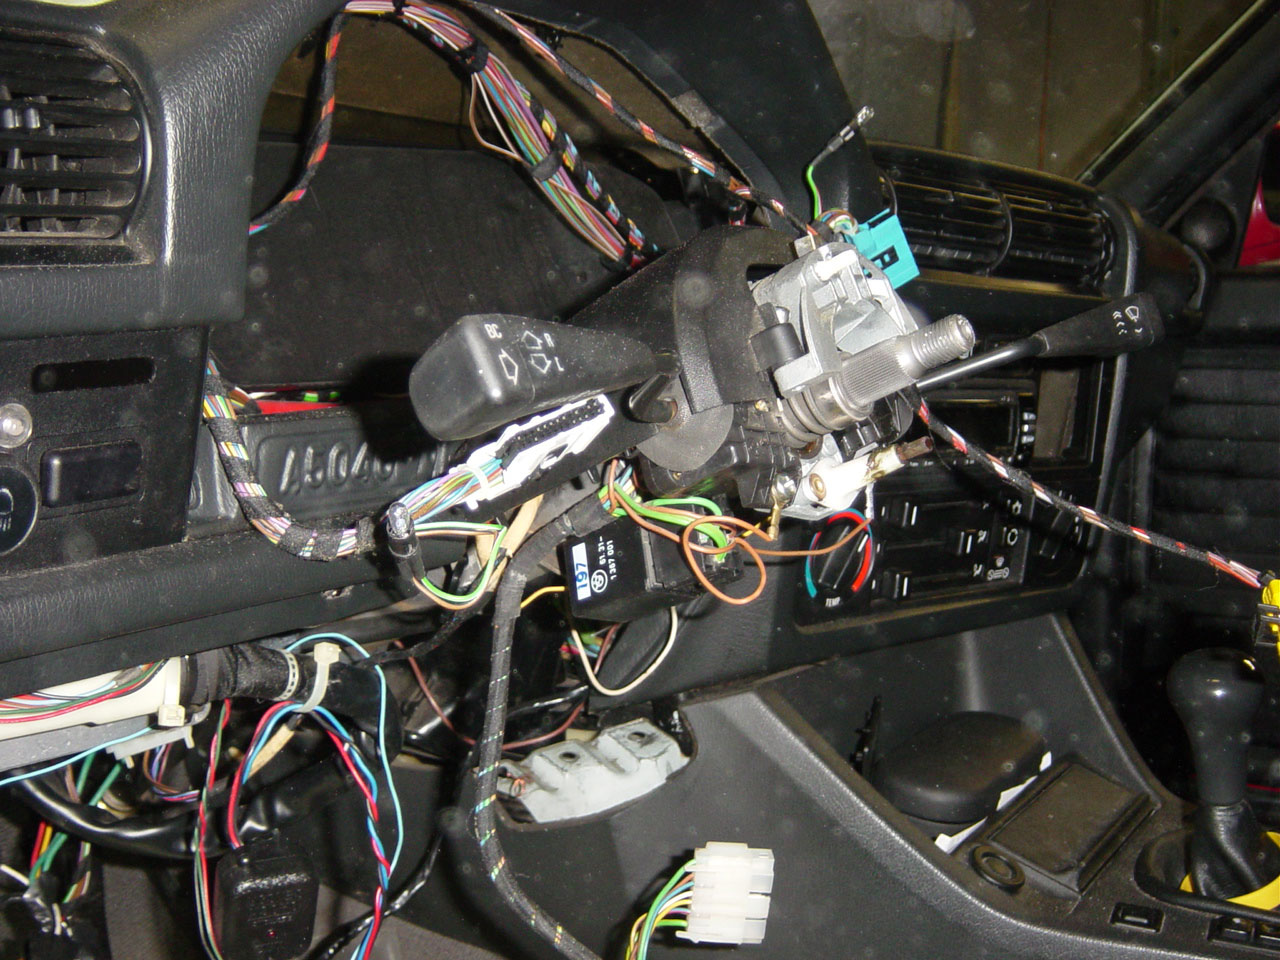
Turn Stalk with OBC Control
-Airbag Equipped Cars
-Non Airbag Equipped Cars
|
61 31 1 375 190
61 31 1 377 966 |
| Relay Box |
65 81 1 373 726 |
| Screw |
07 11 9 916 973 (2x) |
| Lower Wiring Harness |
61 12 1 386 982 |
| Alarm Horn |
61 33 1 379 090 |
| Horn Wiring Harness |
61 21 1 380 016 |
Most of the above equipment is available on eBay. That is where I purchased all my OBC equipment. Be careful with eBay because many sellers tend to ignore model year differences and say any stalk will work in any car. This is somewhat true, but not perfect. For example, if you have an airbag equipped car and you purchase the turn stalk from an older E30, the stalk dimensions will be different and the stalk will feel too far away.
Not all the parts are necessary. The relay box, screws, lower wiring harness, alarm horn, and horn wiring harness are all needed if you want to use the code function on the OBC. The code function disables the car until you type a code into the OBC. I have this feature on my E36 M3 and I never use it and decided to skip the hassle necessary to install it.
I also don't believe the turn stalk is absolutely necessary. The OBC enabled turn stalks allow you to press the stalk toward the steering column and it cycles the OBC throughout all the OBC modes. I think it is worth the effort as replacing the stalk is not that difficult.
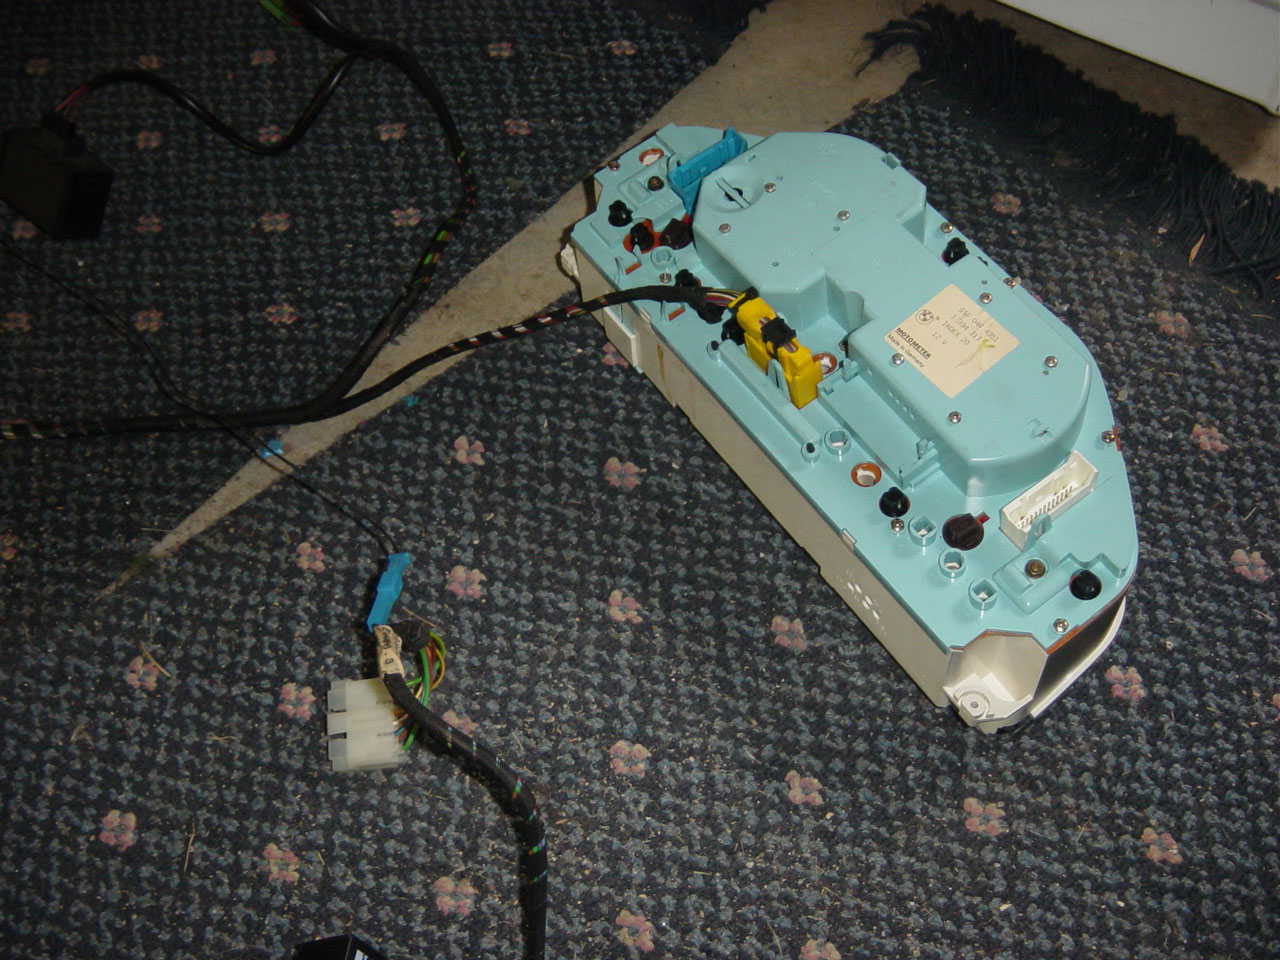
Before you install your new OBC, make sure you have the correct coding plug in the OBC. The coding plug is located on the back of the OBC and tells the computer important details about your car, gas tank, and engine. Below is a list of the different coding plugs. Most OBC's for sale are from a 325i/is/e/es so your OBC will probably come with the coding plug for that particular engine. Life is more difficult if you have a 318, a 320, or a 323.
Car Model |
Years |
Engine |
BMW Part Number |
| 318 |
1982 to 9/1985 |
M10B18 |
65 81 1 375 816 |
| 320 |
1983 to 9/1987 |
M20B20 |
65 81 1 376 032 |
| 9/1987 on |
65 81 1 385 939 |
| w/ extra fuel tank |
65 81 1 376 033or
65 81 1 381 319 |
| 323 |
1983 to 9/1987 |
M20B23 |
65 81 1 376 032 |
| 325i |
9/1987 on |
M20B25 |
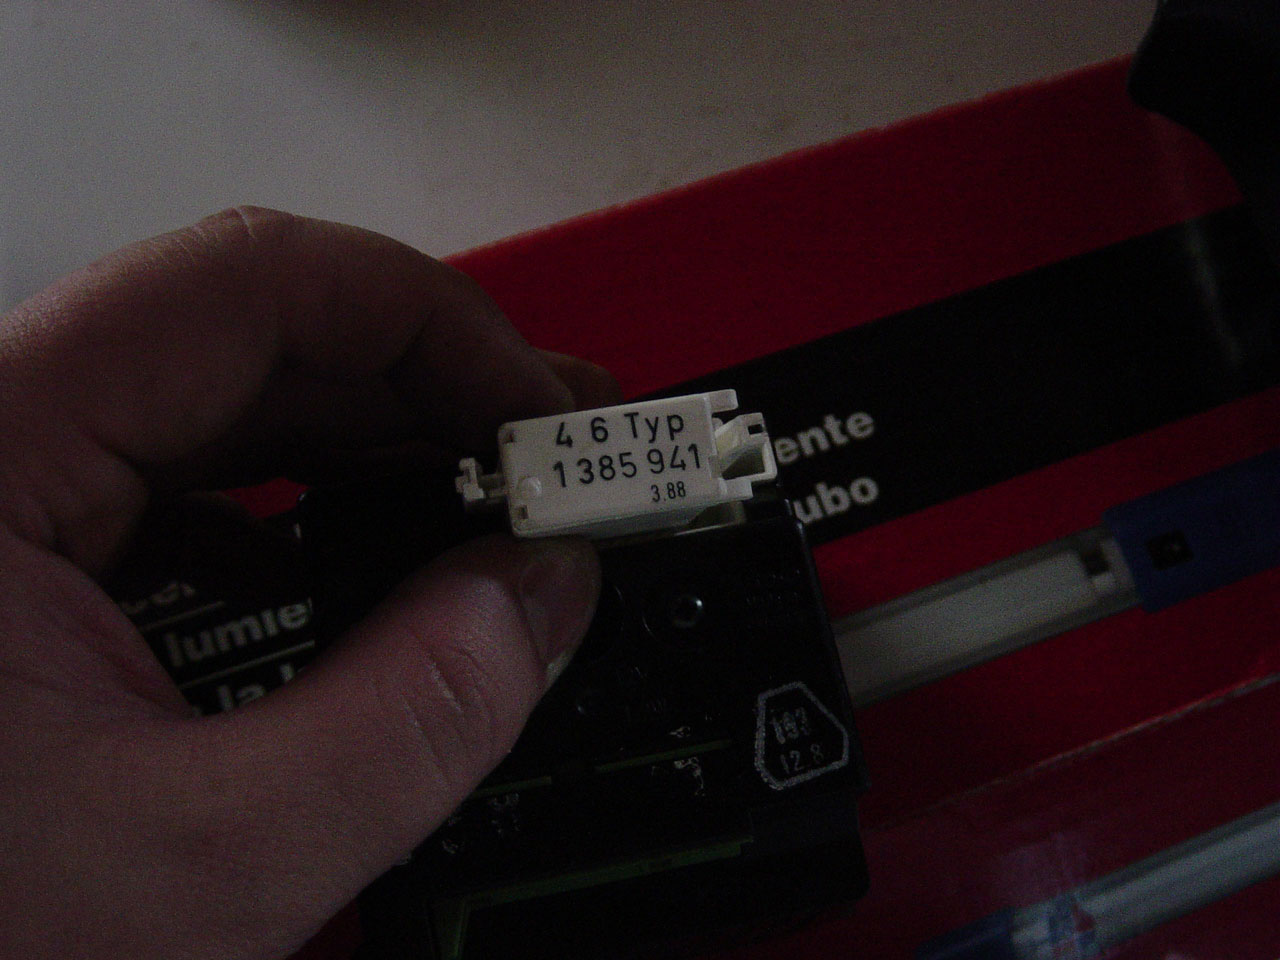
65 81 1 385 941 |
| 325e |
1983 to 09/1986 |
M20B27 |
65 81 1 373 698 |
| 10/1986 on |
65 81 1 381 795 |
| w/ extra fuel tank |
65 81 1 381 320 |
| 318i/is |
1989 to 09/1991 |
M42 |
65 81 1 394 111 |
| M3 |
9/1987 on |
S14 |
65 81 1 380 891 |
Matt makes note that the coding plug for the M10B10 may not be accurate because the coding plug was designed for the M10B10 as used in the E28 518i which had a 70l fuel tank as opposed to the 55l tank in the early E30 318i. There is also no plug for the M40 motor or any diesel motors.
Considering no 1991 US 318i or 318is come with the option of the full OBC, I had to purchase a new coding plug. Bavarian Autosport was able to get it for me but it took a few weeks as it was a special order.
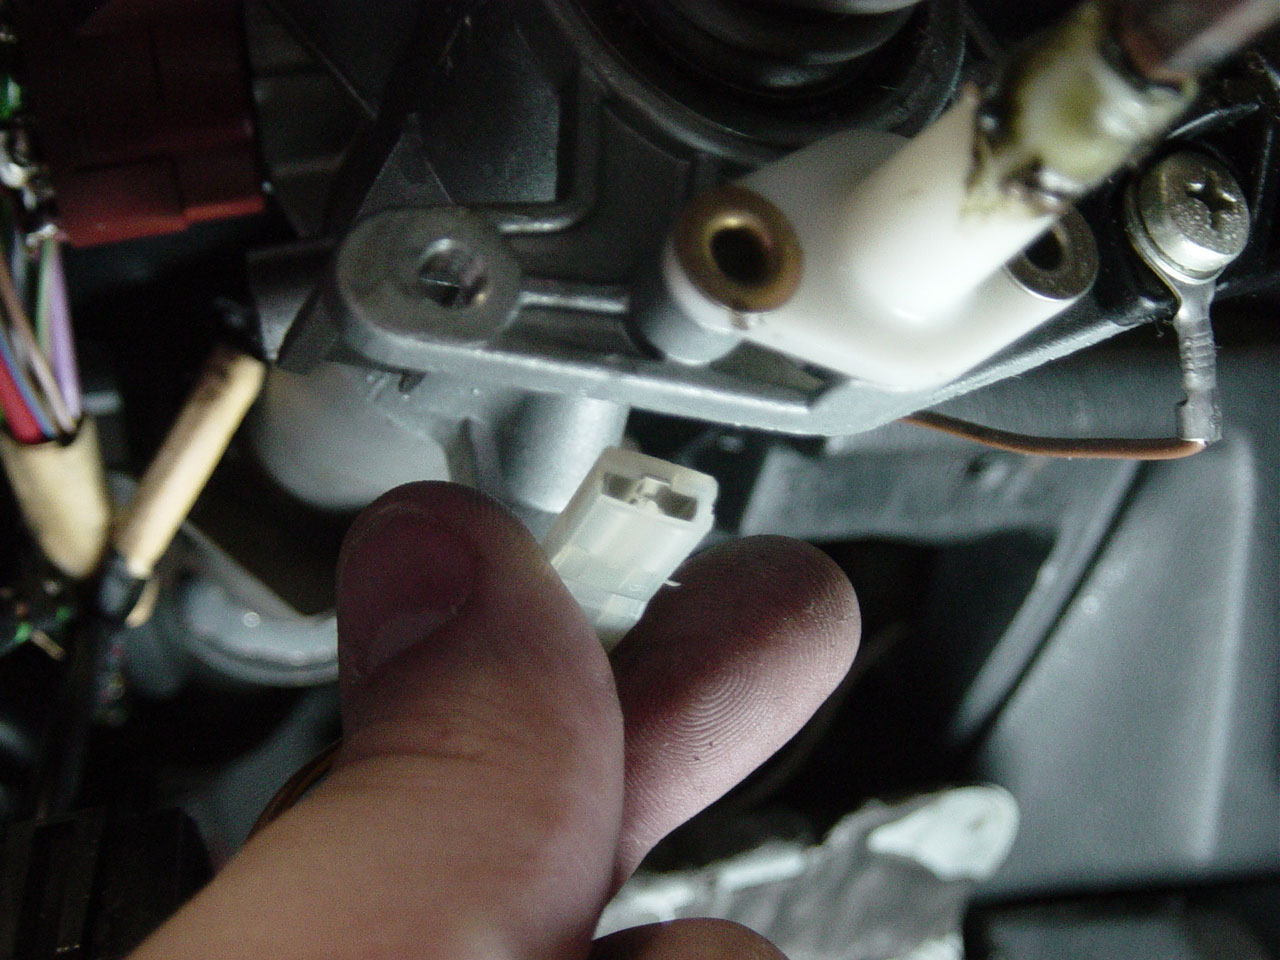
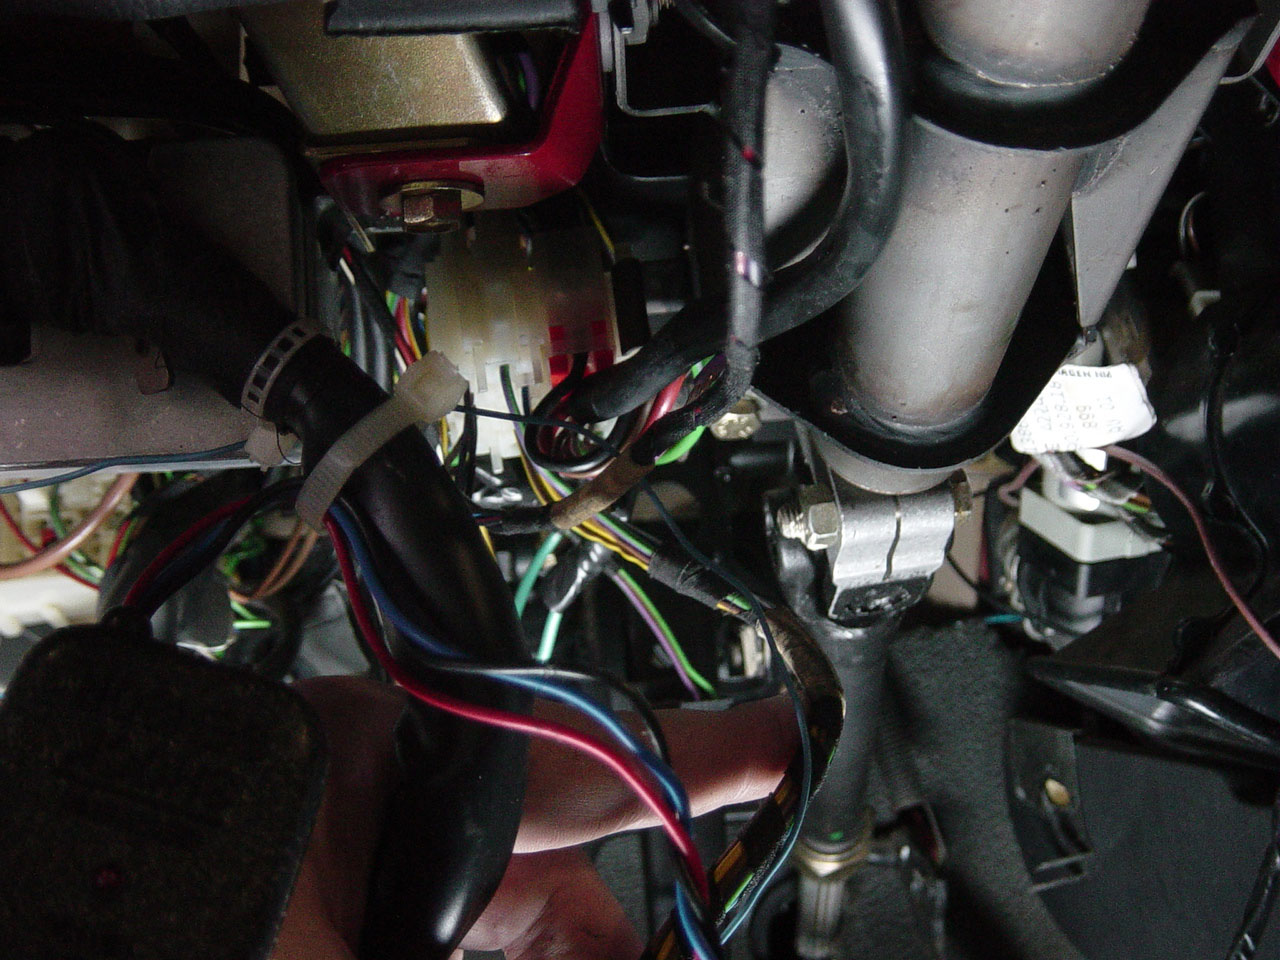
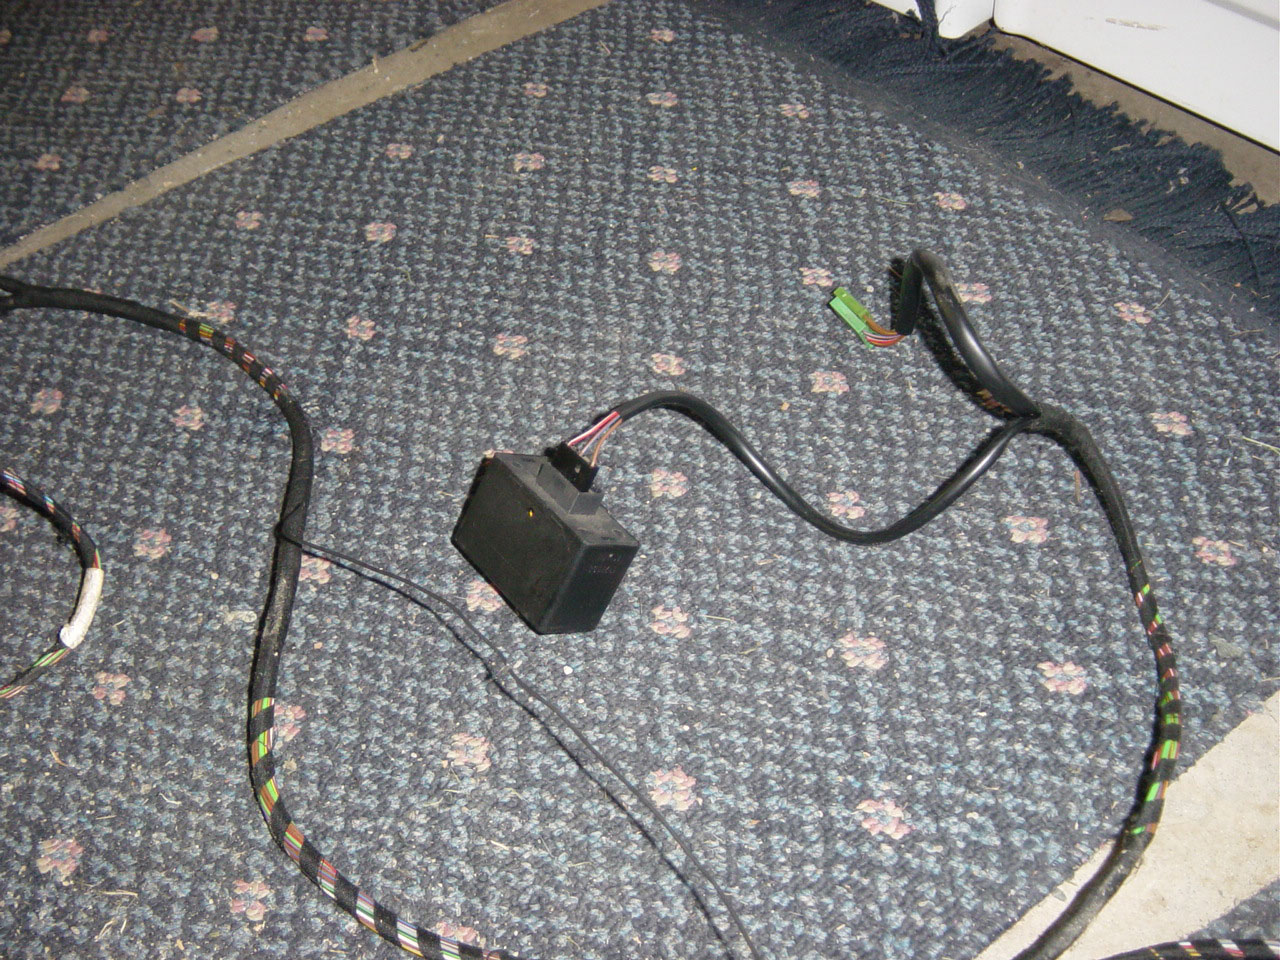
Before we begin, here is a table of the connections of the upper wiring harness:
Connector Color |
Number of Pins |
Wire Colors |
Connects To: |
| Green |
? |
|
OBC |
| Yellow |
20 |
|
Instrument Cluster |
| White |
2 |
Blue and Brown |
Outdoor Temp Sensor |
| Black |
4 |
|
Door Chime |
| Blue |
1 |
Black |
OBC Turn Stalk |
| 2 x White |
3 |
|
Connect together |
| White |
2 |
Green and Green/Red |
No Connect |
| White |
1 |
Yellow |
No Connect |
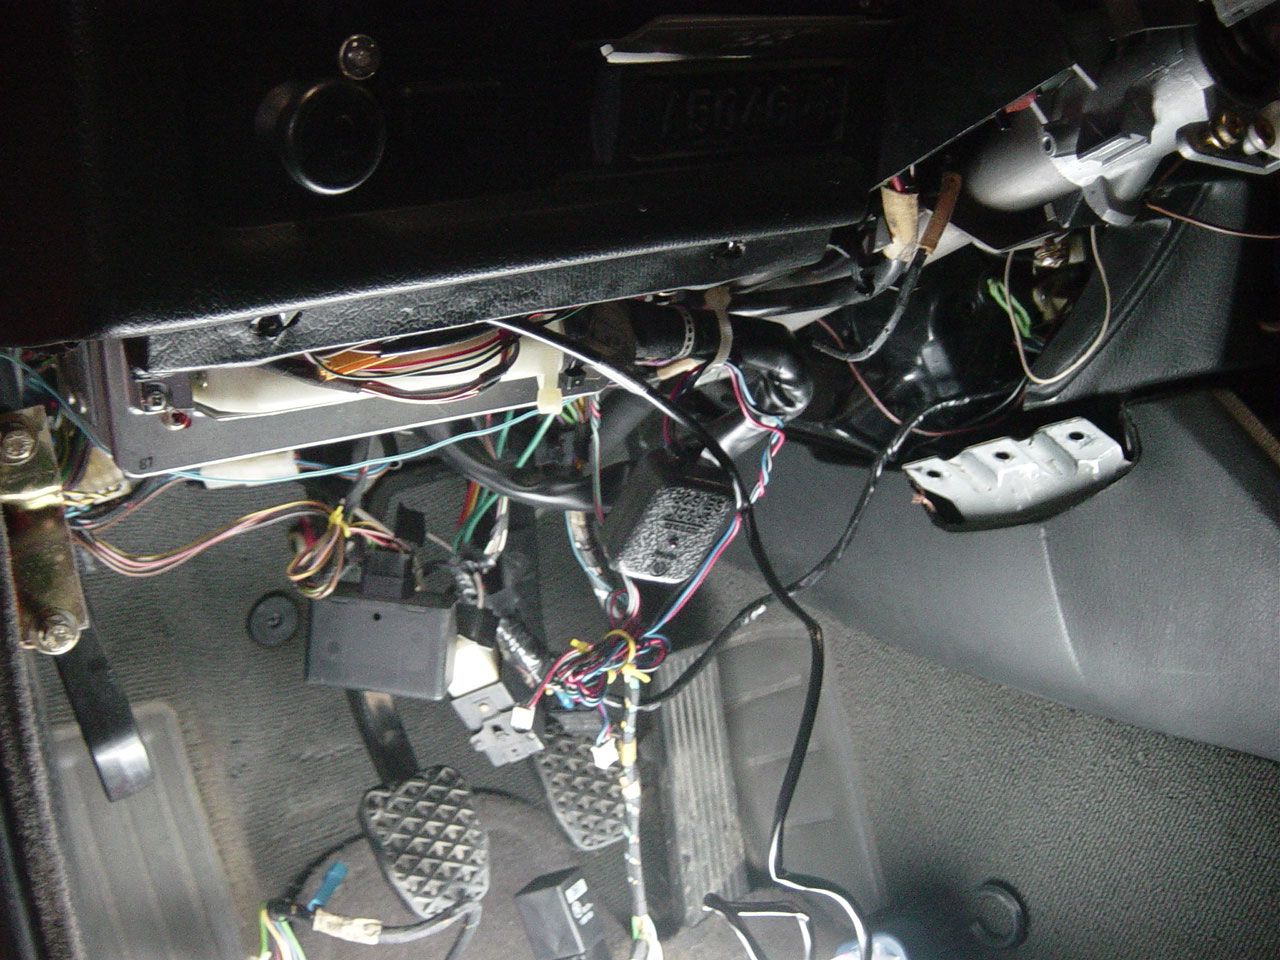
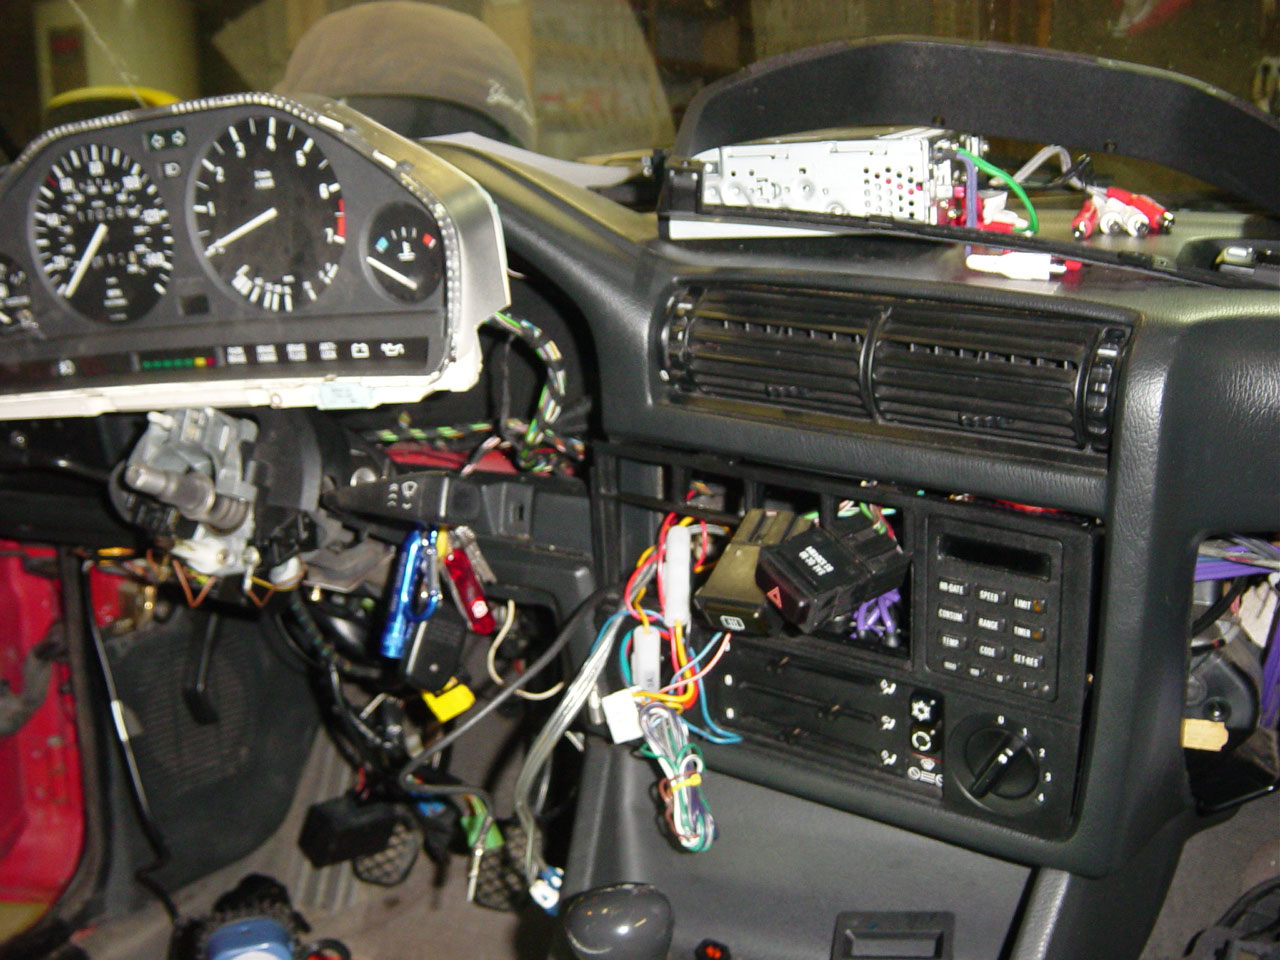
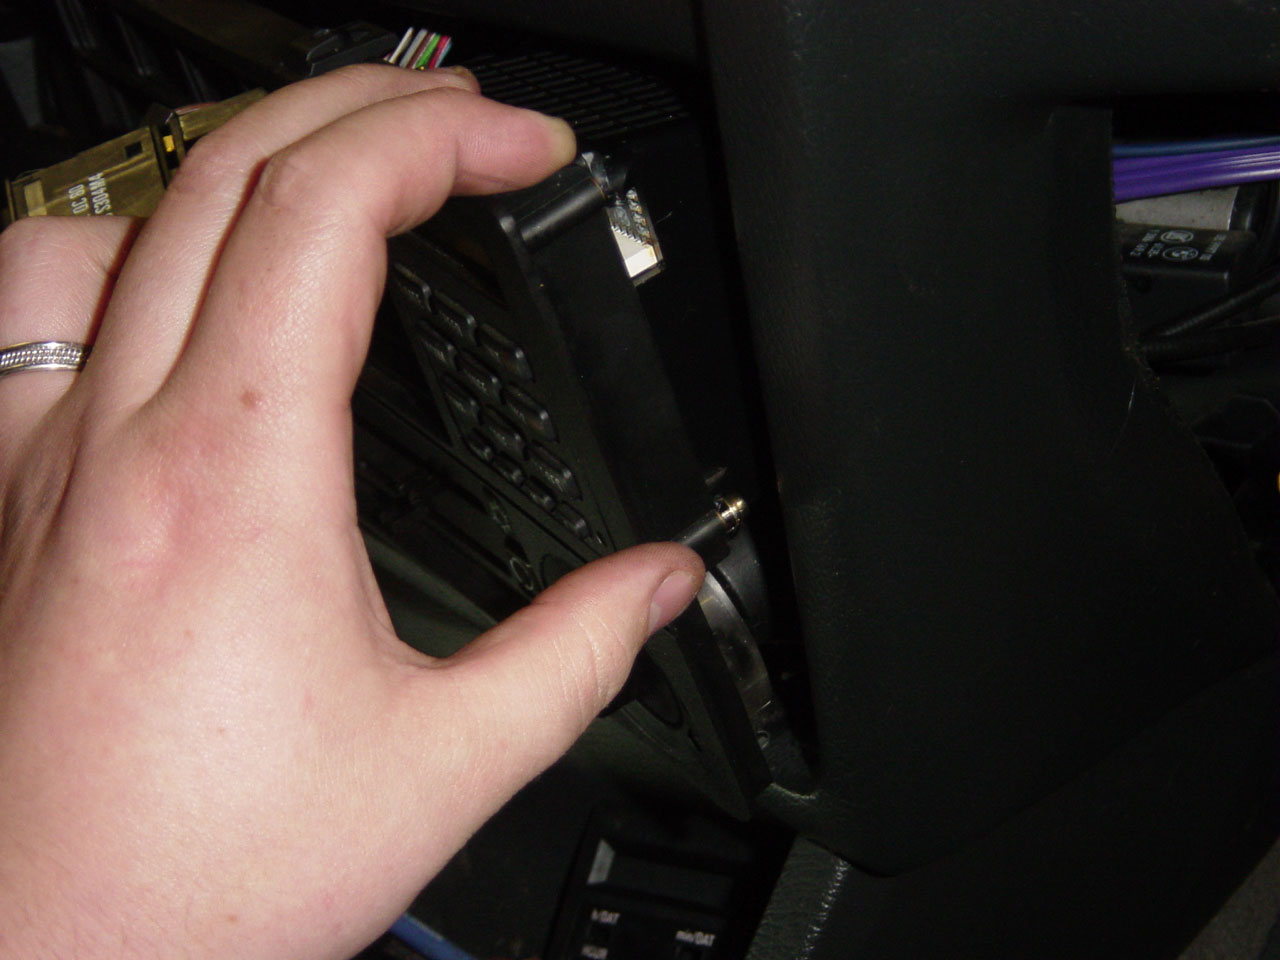
Let's begin the retrofit! Remember that my 1991 318i may be slightly different than your car.
Click on the thumbnails for larger pictures.
Difficulty:
2.5 /5
Disclaimer: I am not a professional mechanic. Information
this page should be used at your own risk and discretion. Different
models and model years may be different than my 1991 318i. Read: If
you screw your car up following my instructions, sorry. Isn't it sad
that in this sue crazy world you have to put a disclaimer on your
web page?