///M3
Tech Procedure -
Euro Headlight with HID Installation
Page 2
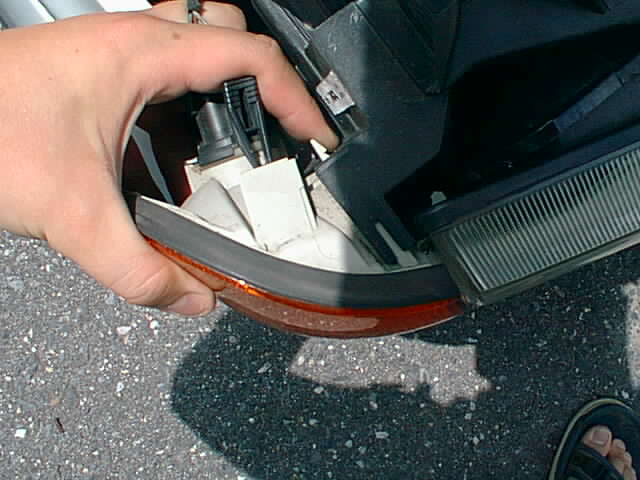
Take the amber corners off. They are only held on with a plastic tab.
Use your fingers or a screwdriver to pull the tab back and then slide
the amber corner toward the front of the car. Take the bulb out of it
by squeezing the black tabs that hold it on. You can see the tab I'm
talking about if you look near the knuckle of my index finger.
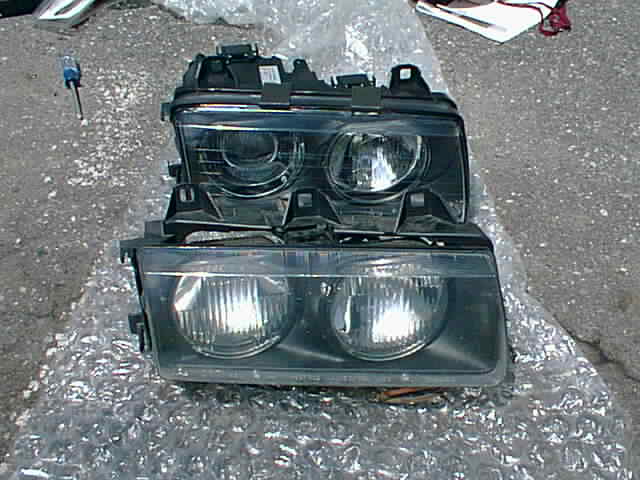
The headlight should come right out now. Here is a side by side of
the stock headlight and the Euro Ellipsoid headlight.
Here is the back side of the two. Notice that the Euro version is much
beefier? All those projectors and whatnot take up space! If you get
a set of these things you'll get the feeling that they are well engineered!
Oh those Germans! Behind each of the beams is a "door" that
you can take off to access the bulbs and wiring. Between the two "doors"
is a connector.

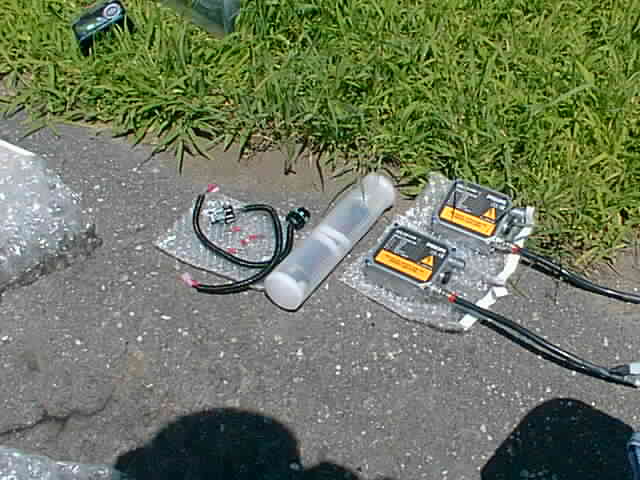
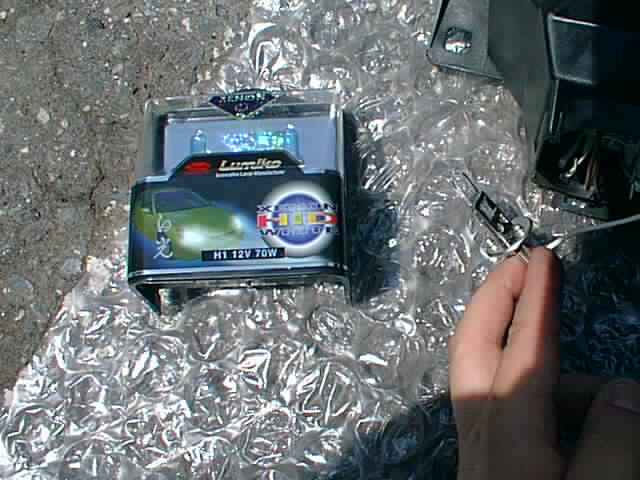
Here is the contents of my HID lit. From left to right are some useless
wires and connectors that I didn't need, a tube with the bulbs in it,
and the two Phillips ballasts.
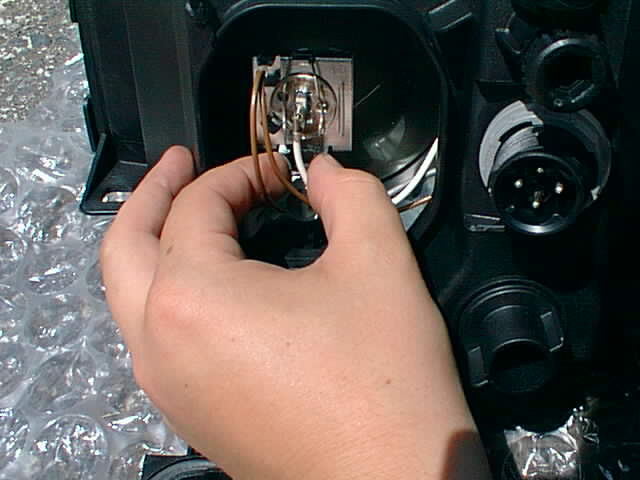
Now is a good time to put the superwhites in the high beam housings.
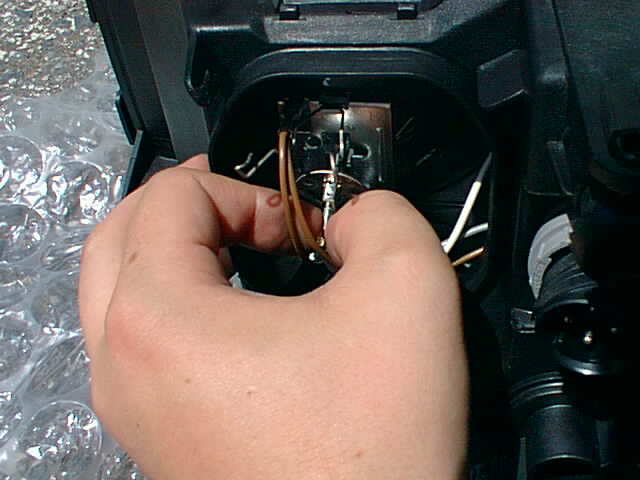
I took off the door and inside are some brown and white wires and the
bulb. Two metal prongs that swing down and hook to secure the bulb.
Squeeze the prongs and swing them up. Note the orientation of the bulb
and the one square side of the H1 bulb.
Pull the bulb out carefully.
With it out, disconnect the wire from the bulb. Here are the superwhites
I got from SPP. They are filaments with Xenon gas and are tinted blue
to make the appearance of a more white bulb.
Connect them up to the white wires. Don't play with the brown wiring.
Those are the ground wires.

Page 3