///M3
Tech Procedure -
Euro Headlight with HID Installation
Sad, but some of my first modification were to the headlights of my
car. Maybe I can justify it by saying that they are for safety reasons?
In reality, there were a lot of threads on the message boards I read
about the headlight upgrades and when some of the group buys came around
I bought a set of ZKW European Ellipsoids, a Phillips
Xenon HID kit, and two sets of superwhite bulbs from Supreme
Power Parts.
For those of you who don't know, the headlights that BMW uses for the
E36 in Europe are far superior to those that they give us here in the
US. First, the European Ellipsoids have superior lenses and projectors
to the US reflectors which puts more light where you want it. If you
park your car in front of a wall, you will see that the light has a
nice sharp horizontal cut off on the left side and then angles up to
the right. This helps to illuminate the side of the road where the road
signs are. The ellipsoids also have a glass lens instead of the stock
plastic lights and the lens can be replaced if it cracks. Lastly, the
European lights have a "city light" option which is basically
a small bulb in the high beams that can be turned on at twilight or
in the city and it emanates a soft glow from the high beam housing.
The HID kit is a large step up from traditional filaments based bulbs.
The majority of light bulbs in cars have a filaments that glows when
a voltage and current is applied to it. The HID (High Intensity Discharge)
lights have no filaments. Instead a ballast is used to create a very
large voltage (in the order of 12,000V) from your car's existing 12V
lighting. 12,000V are needed because the light from a HID bulb is created
by electricity arcing across two terminals. One the arc is created,
only 12V is needed to keep them on. The light created by HIDs is much
whiter (closer to sunlight) and brighter than filaments based bulbs.
Inside the bulbs that I have is Xenon gas so most people tend to call
them Xenon lights. Careful with the terminology! Some companies and
people are selling filaments based bulbs with Xenon gas in them and
saying they are Xenons. Sure, but they aren't HIDs!
Lastly, I got the superwhite bulbs for the high beams and foglights
because the stock ones will appear very yellow compared to the HIDs
which will be on the low beam. Even the superwhites will appear yellow!
Note that that these modifications can be made to any E36'er.
So shall we get started?
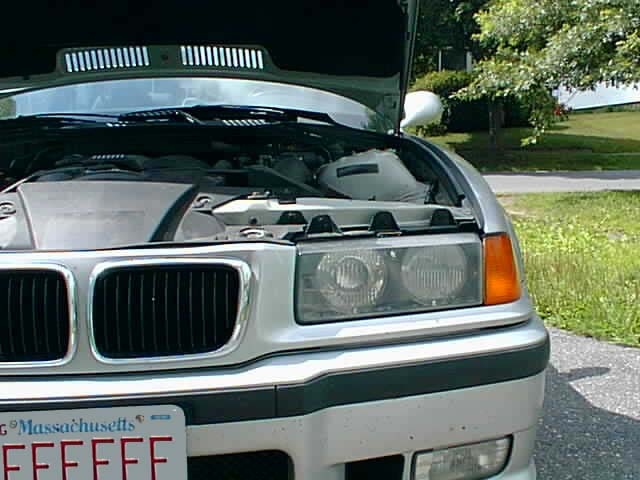
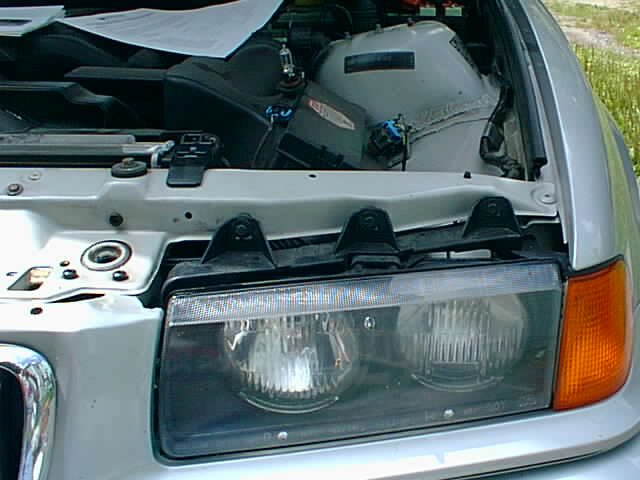
Here are the stock headlights. Please disregard all the nasty bugs
on the front end! I'll be cleaning the car tomorrow!
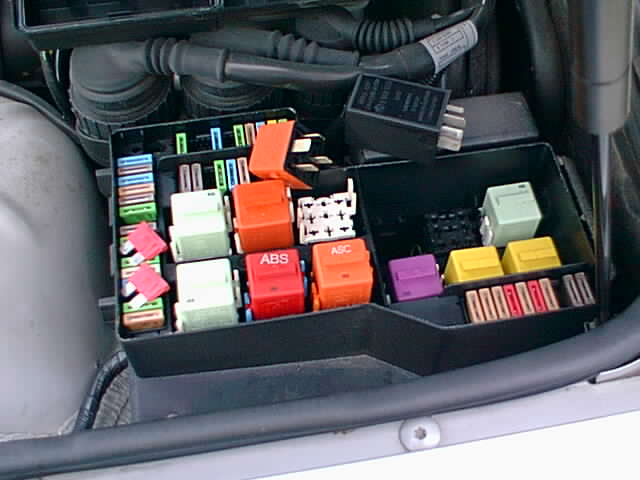
Open up the fuse box which is on the drivers side of the car close
to the cabin. The small thin pieces of plastic and metal are the fuses
which are rated based on how many Amps they will take before the break.
The large cubes are the relays. Yank out K46 (High Beam relay) and K48
(low beam relay. Also take out fuses 37 and 38 which are the parking
lights.
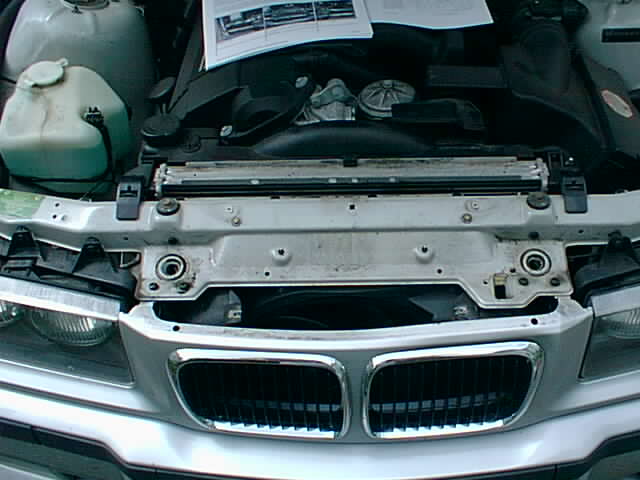
Remove the cowl by removing the 6 Phillips head screws. This is a good
time to get down and clean under there! Be careful removing the cowl
because it secures itself to the front of the car with plastic tabs
that can break if you try to pry it out of the car. Remove it by first
disconnecting the air tubing then pull toward the engine. You'll see
what I mean when you have the cowl off in your hands.
Remove the old lights by rotating them counter clockwise and pull them
out. Both the high and low beam bulbs come out the same way.
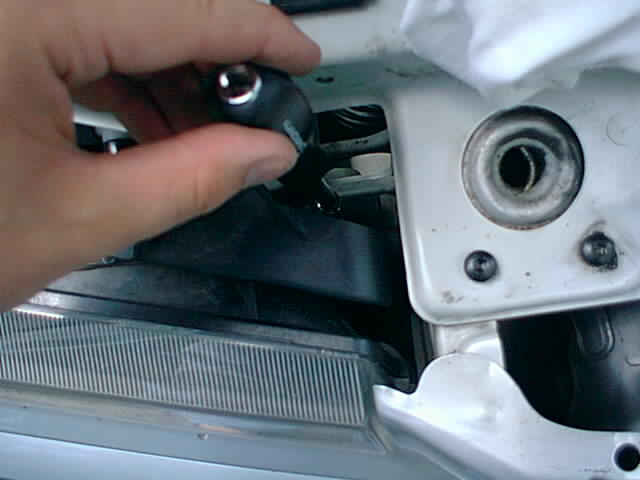
With the bulbs out, time to take the headlight assemblies out. First
take the three screws across the top of the assembly off with an 8mm
socket. You'll need at least a 6" extension. I went to my local
auto store and got one of those things that looks like a screw driver
but has a tip that connects to a 1/4 inch socket. The bases that the
8mm screws are in may turn with the screw. Do not let them turn. If
they do, your headlights will not be aimed properly. Don't be too worried
because you will probably want to aim them perfectly anyway. More on
aiming later.
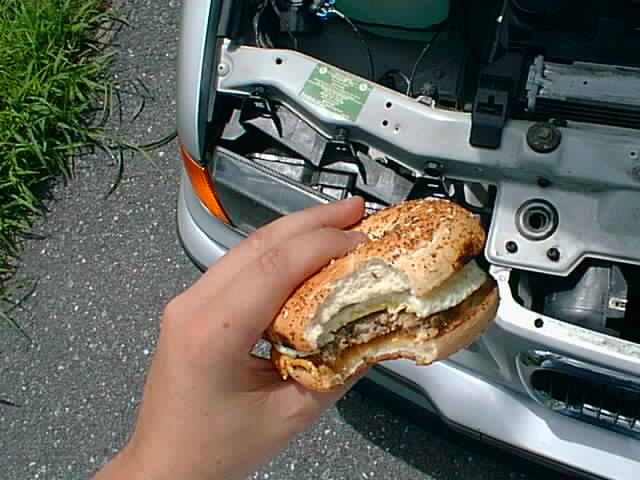
Take a Dunkin Donuts break. Mmmm... sausage, egg, and cheese on a toasted
everything bagel. Yum!
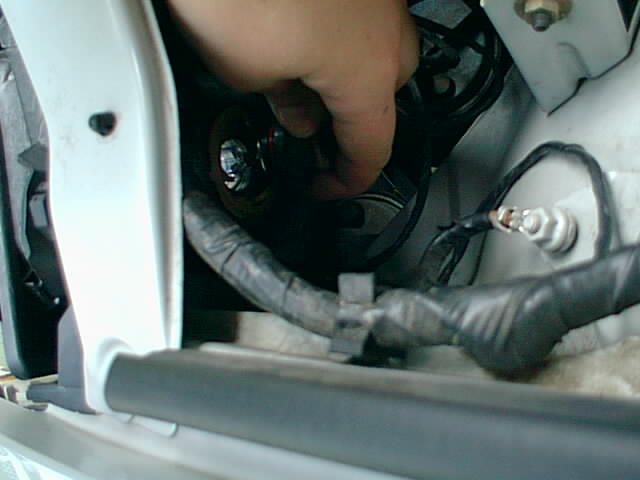
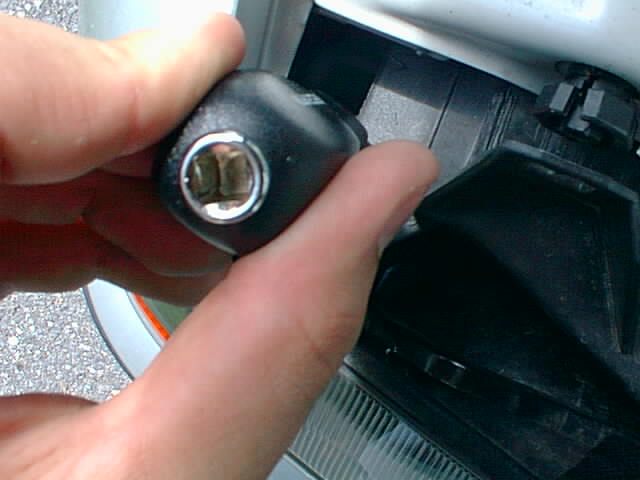
Now there are two more screws holding this thing in. From here on,
I'll be working on the passenger side of the car. Stick your fingers
in there from the back where you see the holes in the metal so the screw
doesn't fall into the abyss of your car's engine bay.
Get the other one that is near the amber corners.

Page 2